
Dual Monitor Desk Setup Inspiration: Everything You Need to Know About a Secondary Screen
It’s been a while since I shared any real desk setup tips.
But recently, I noticed something interesting.
Most of the questions in my comments weren’t about keyboards, lighting, or aesthetics.
They were all about one thing:
The secondary screen.
What size should you get? What stand should you use? How do you make it look clean?
So instead of answering one by one, I decided to put everything together in one place.
My Current Setup
🖥️ Main Screen + Secondary Screen

My main display is a 27-inch monitor.
The secondary screen I use is a 16-inch portable monitor — 2K resolution, 60Hz.
This combination feels balanced.
The main screen handles all the core work, while the secondary screen supports everything else — references, tools, previews.
I’ve talked before about screen size combinations, so I won’t go too deep here.
But for most people, this is a very comfortable starting point.
Question 1: How to Choose a Secondary Screen?
🔍 Step 1: Don’t Look for Brands — Look for Specs
A lot of people ask me for specific model recommendations.
Honestly, I don’t have one.
The portable monitor market is still relatively fragmented.
Most options look similar — especially with black bezels.
If you’re looking for something more minimal (like white + slim bezel), you’ll likely end up choosing a niche or DIY-style option.
Instead of focusing on brands, here’s what actually matters:
- – 16-inch portable monitor (sweet spot for size)
- – 2560 × 1600 resolution (2K clarity)
- – 60Hz refresh rate (stable for daily use)
- – Slim bezels (better visual consistency)
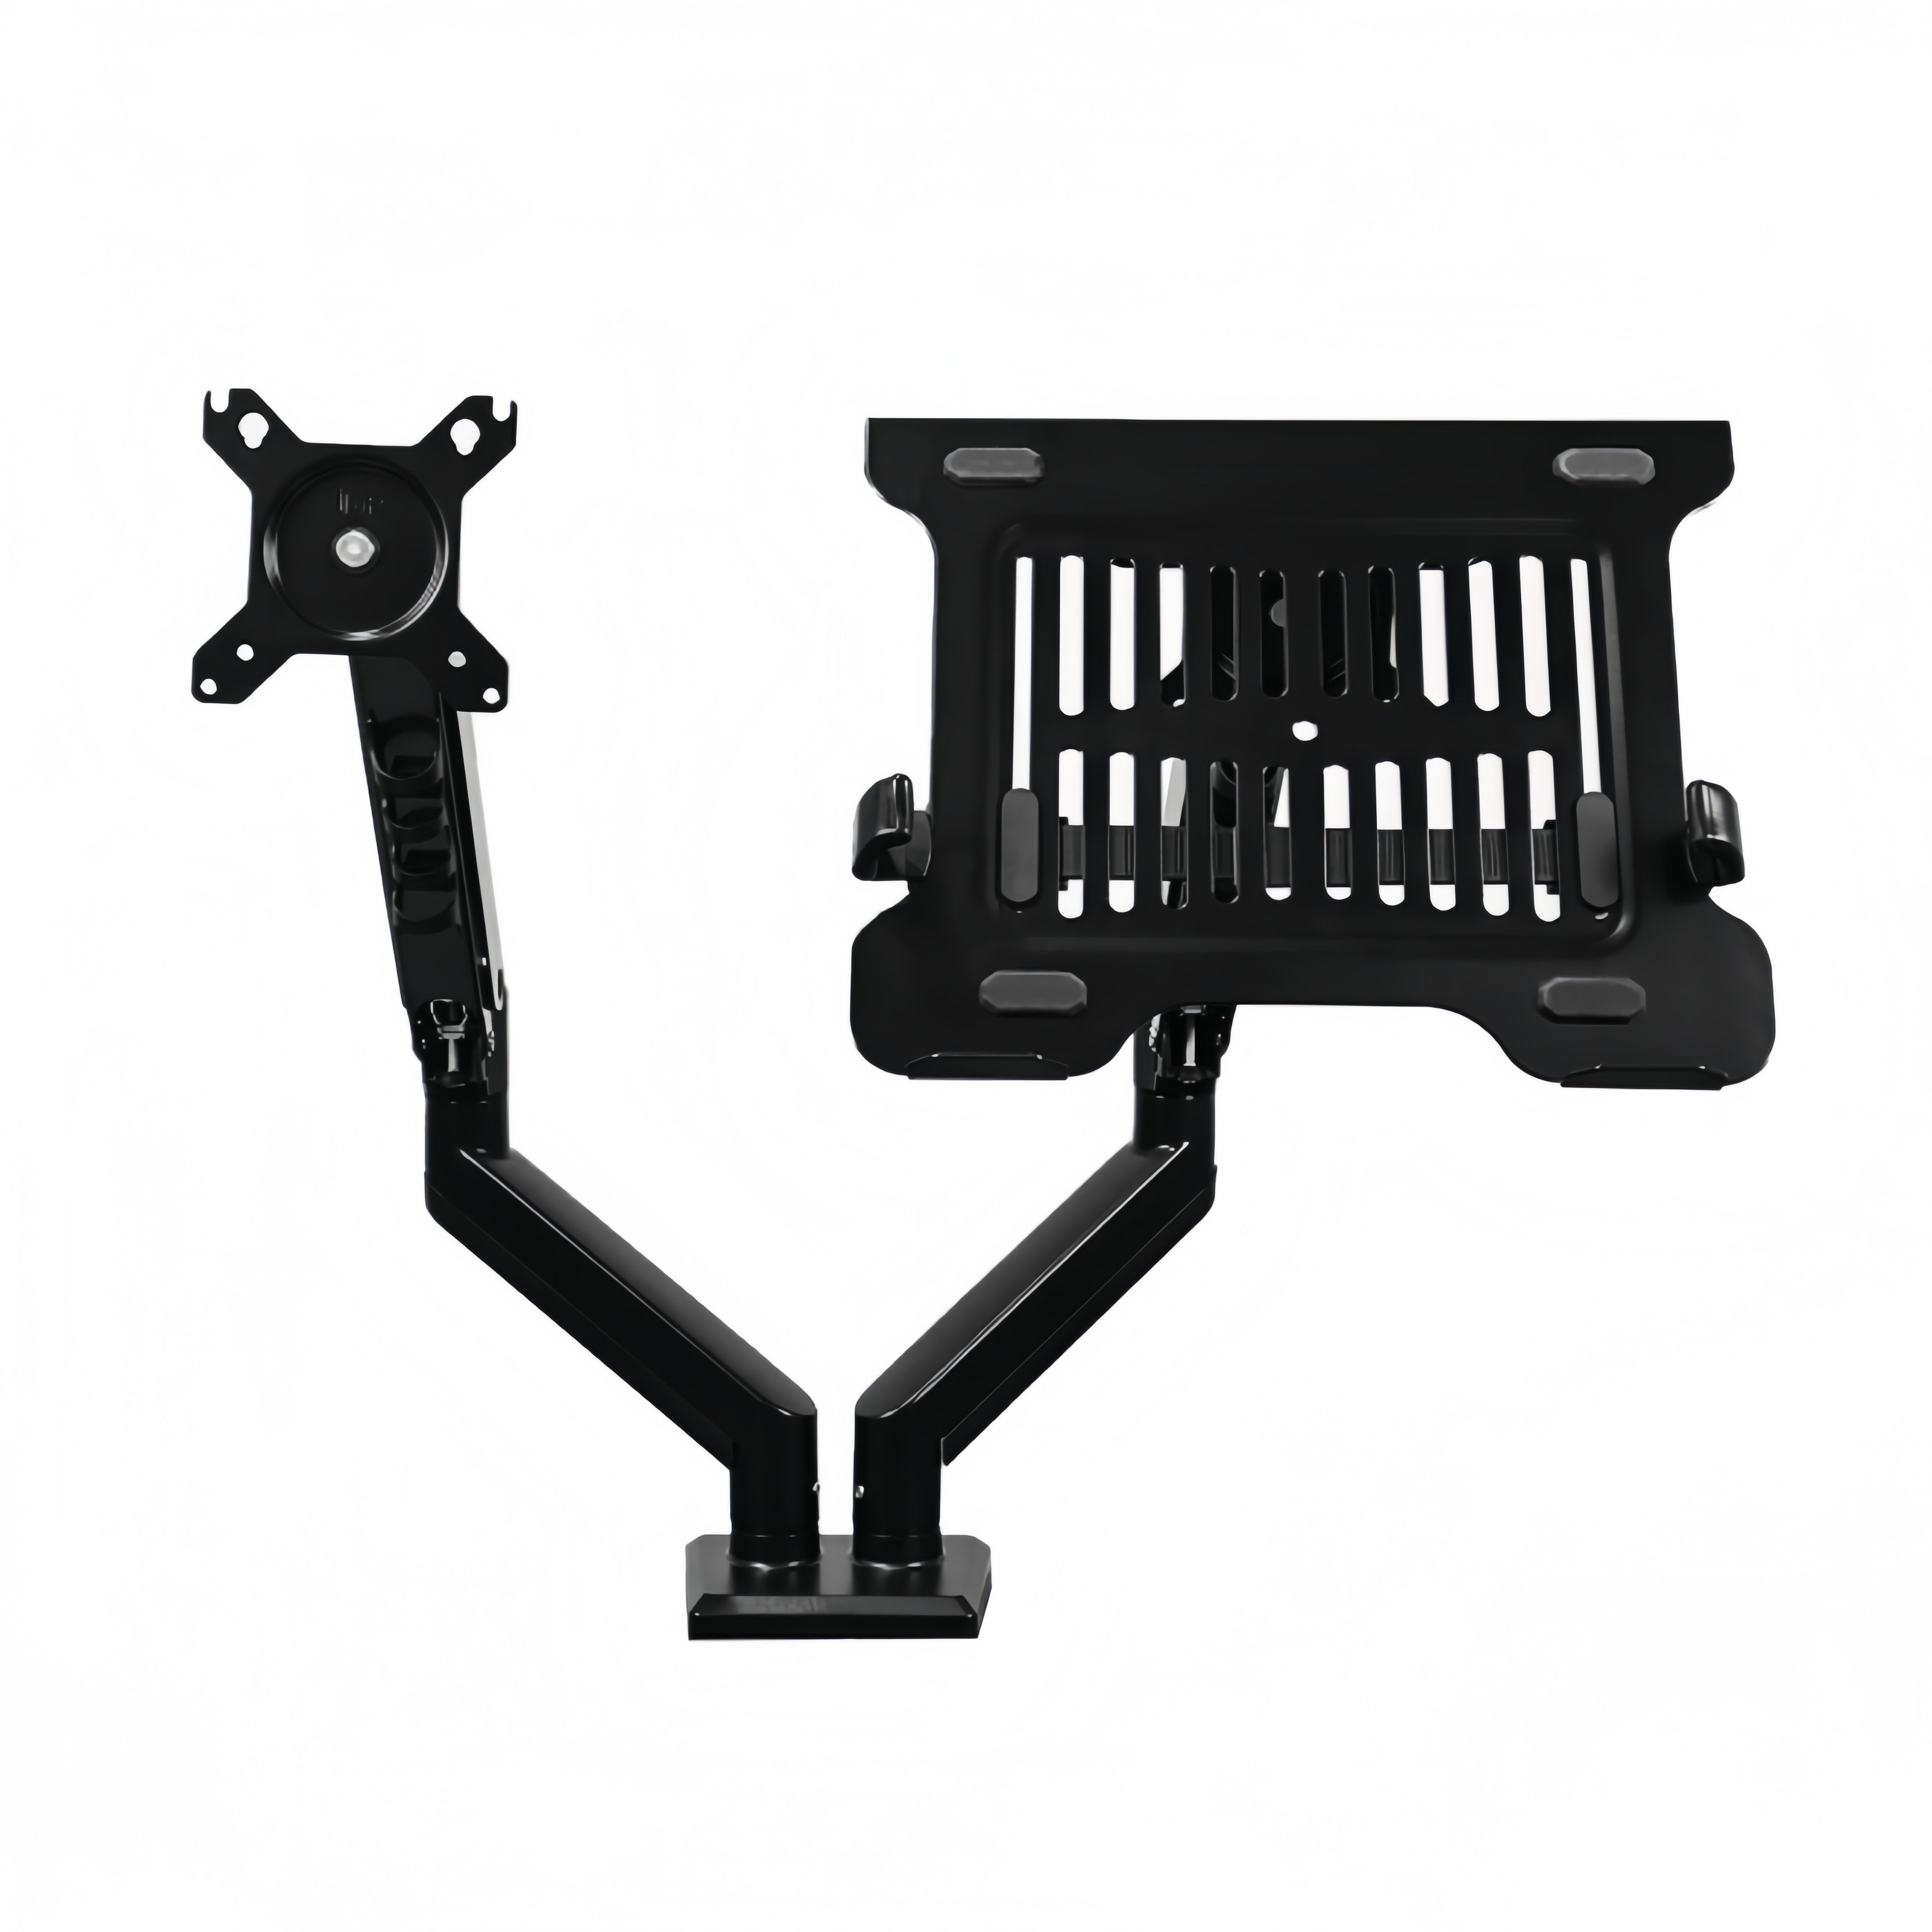
- – VESA mount support (important for mounting)
If you search using these parameters, you’ll find something that fits your setup much faster.
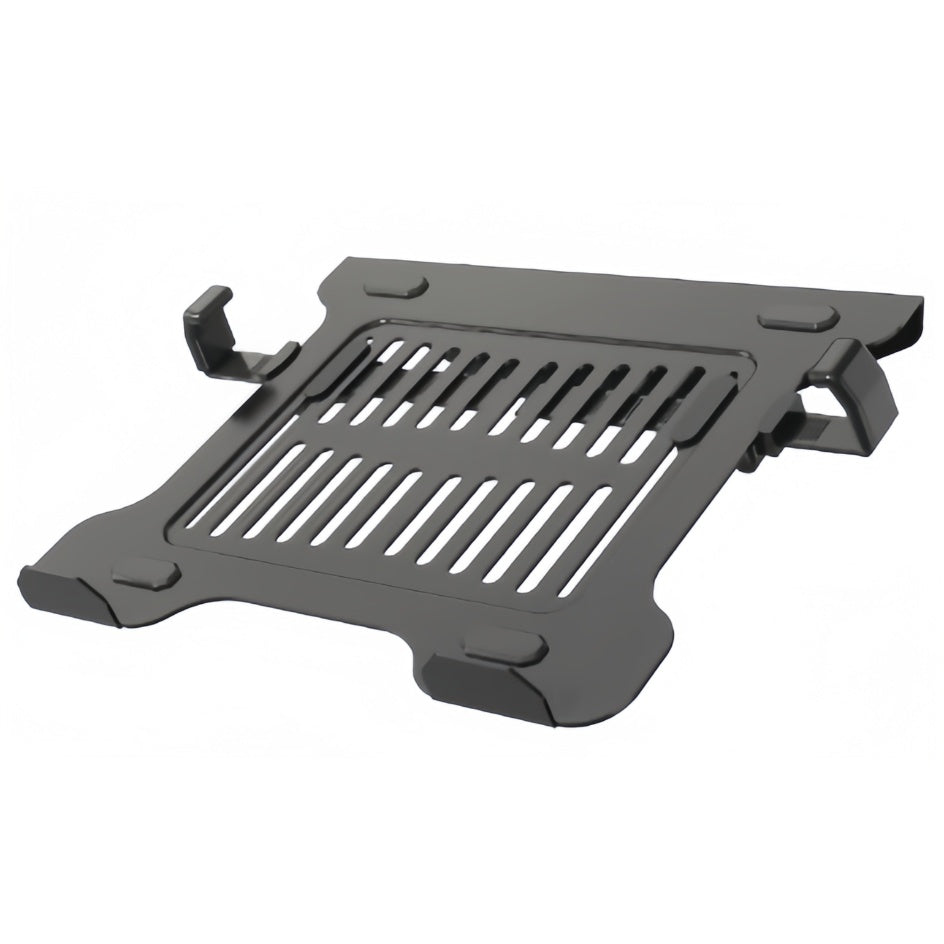
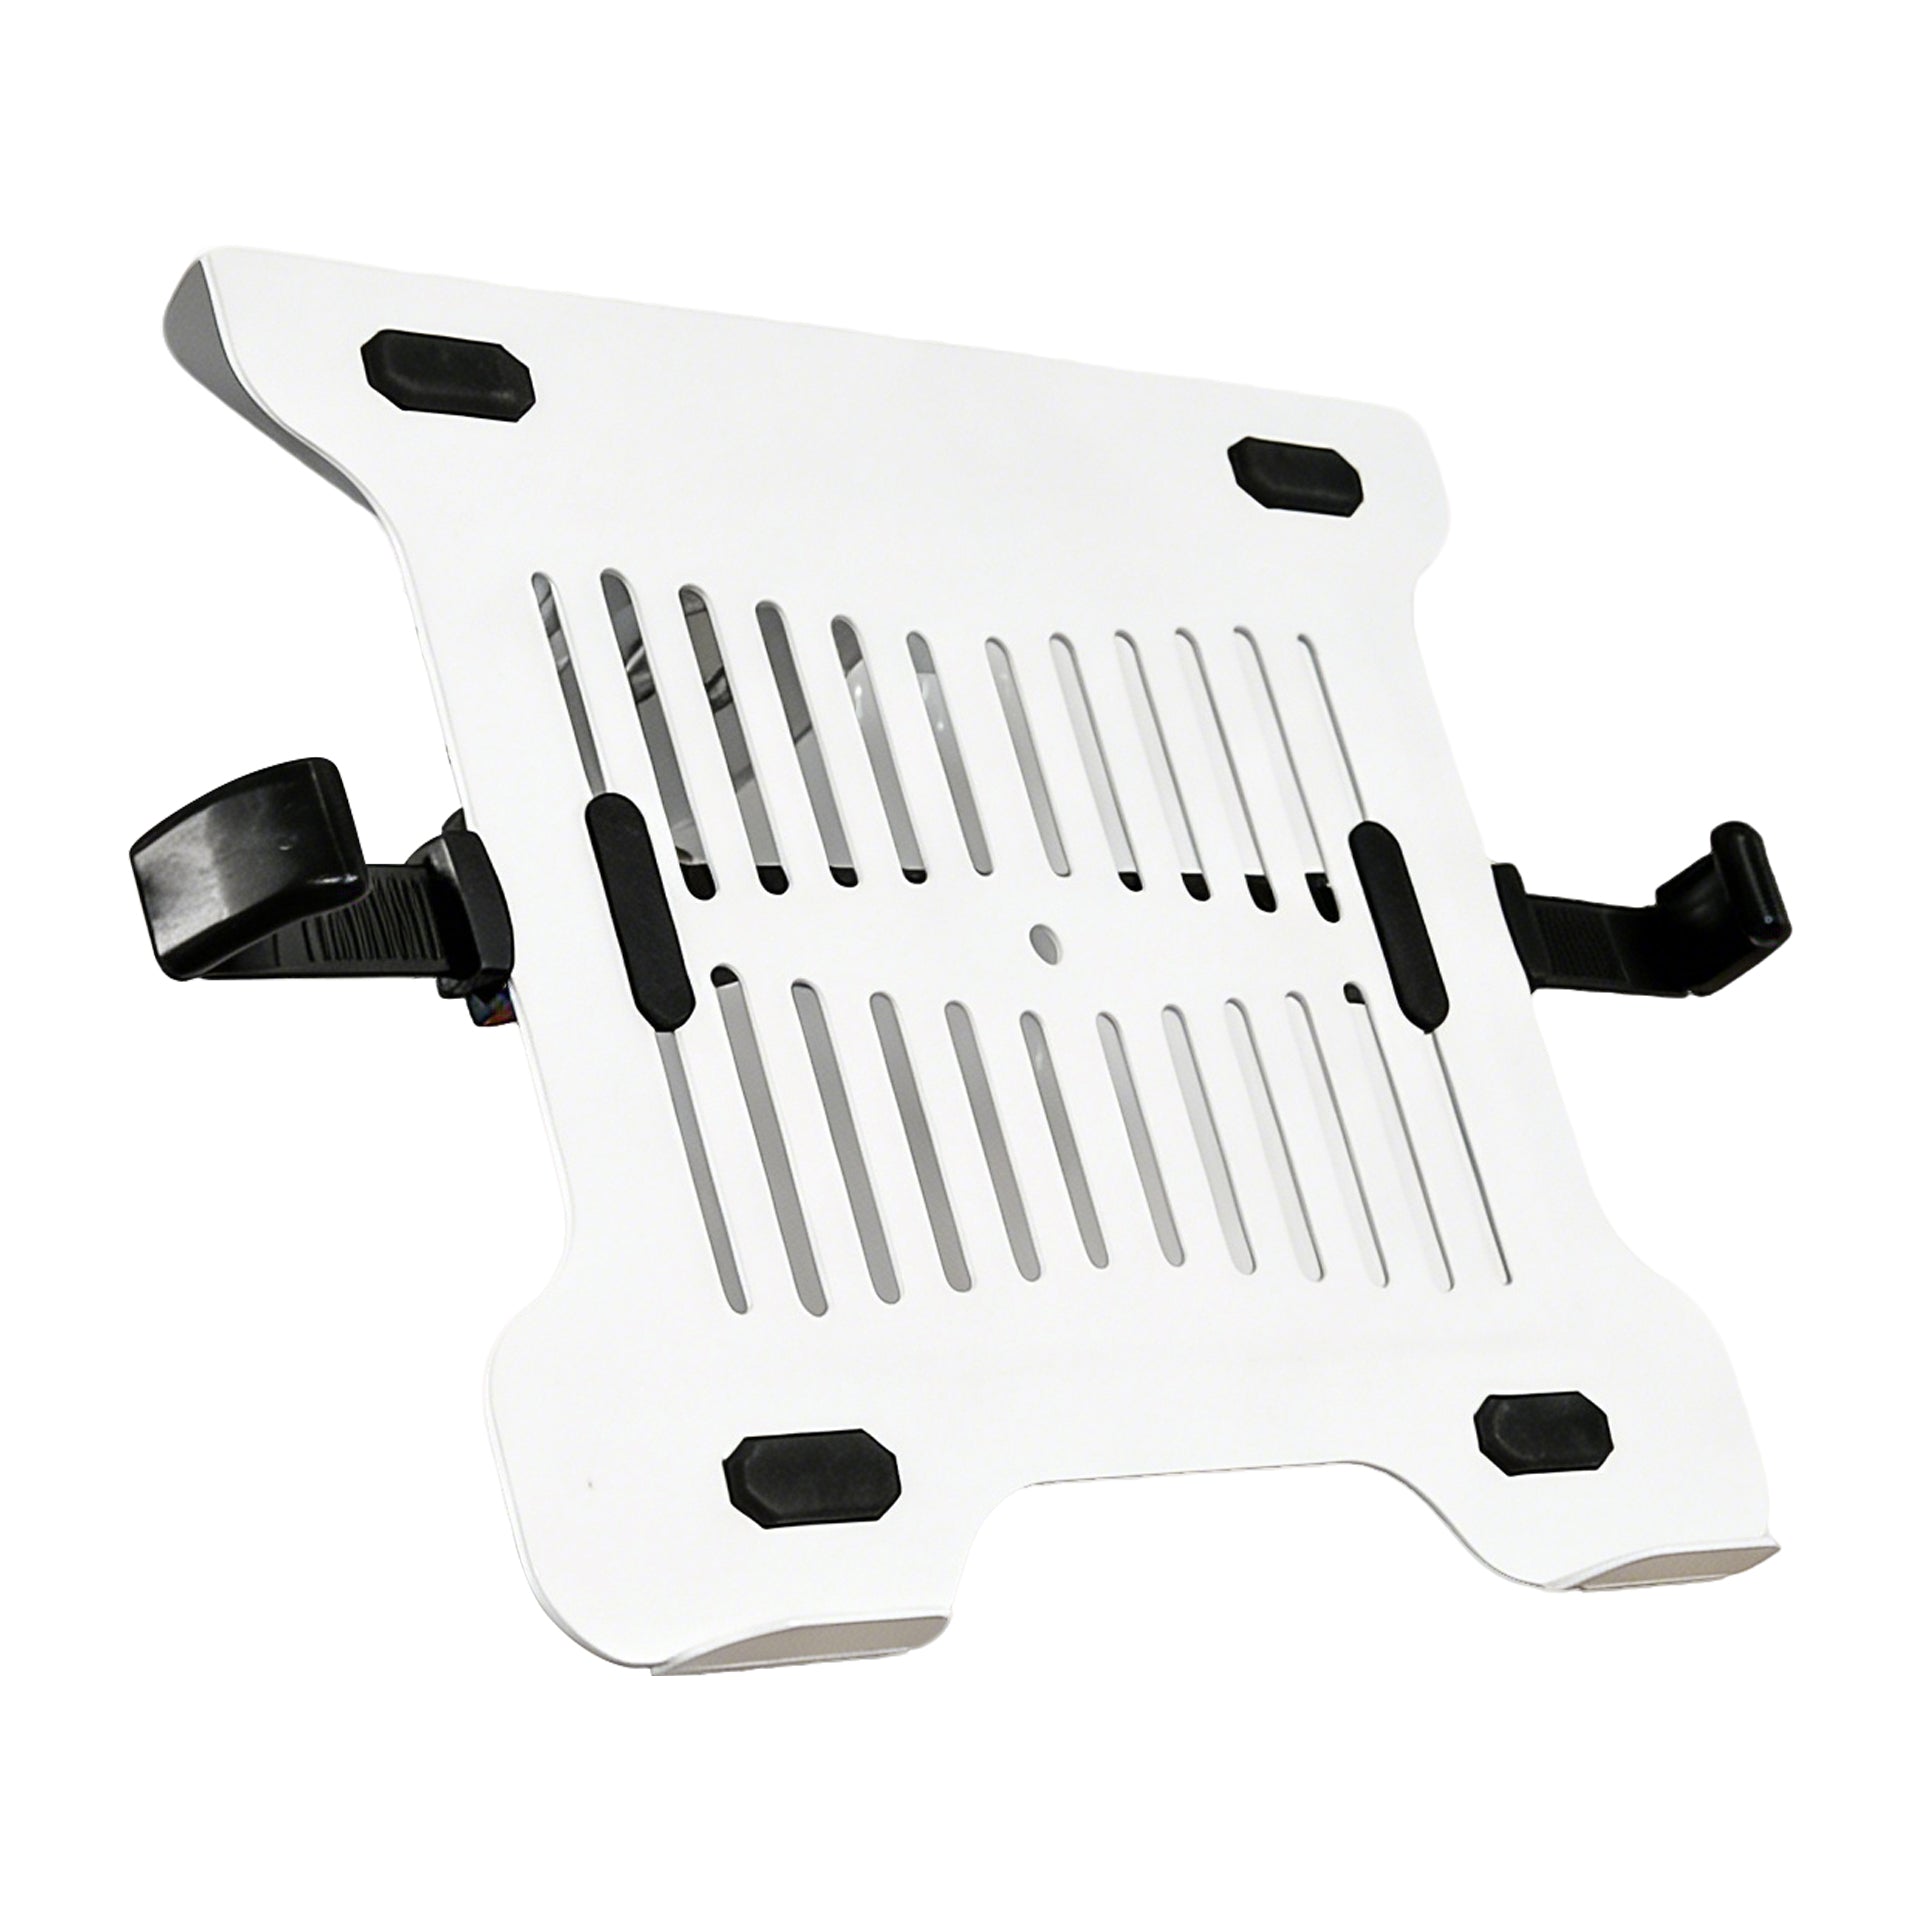
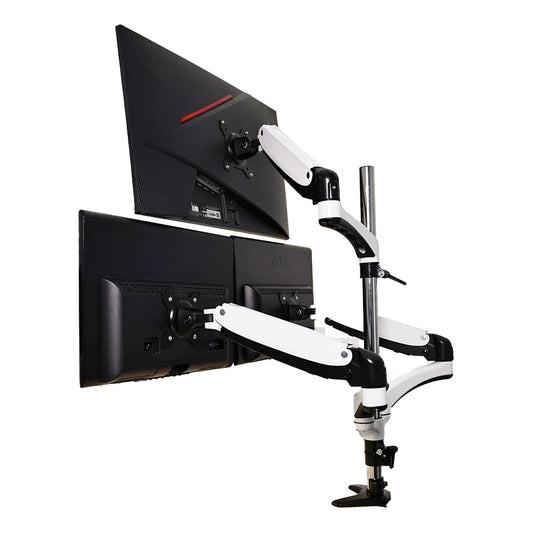
Question 2: What Stand Should You Use?
🦾 Step 2: My 4 Setup Iterations
- – VESA desktop stand → stable but bulky
- – 3D-printed DIY stand → flexible but not polished
- – Suction tablet stand → clean but limited adjustability
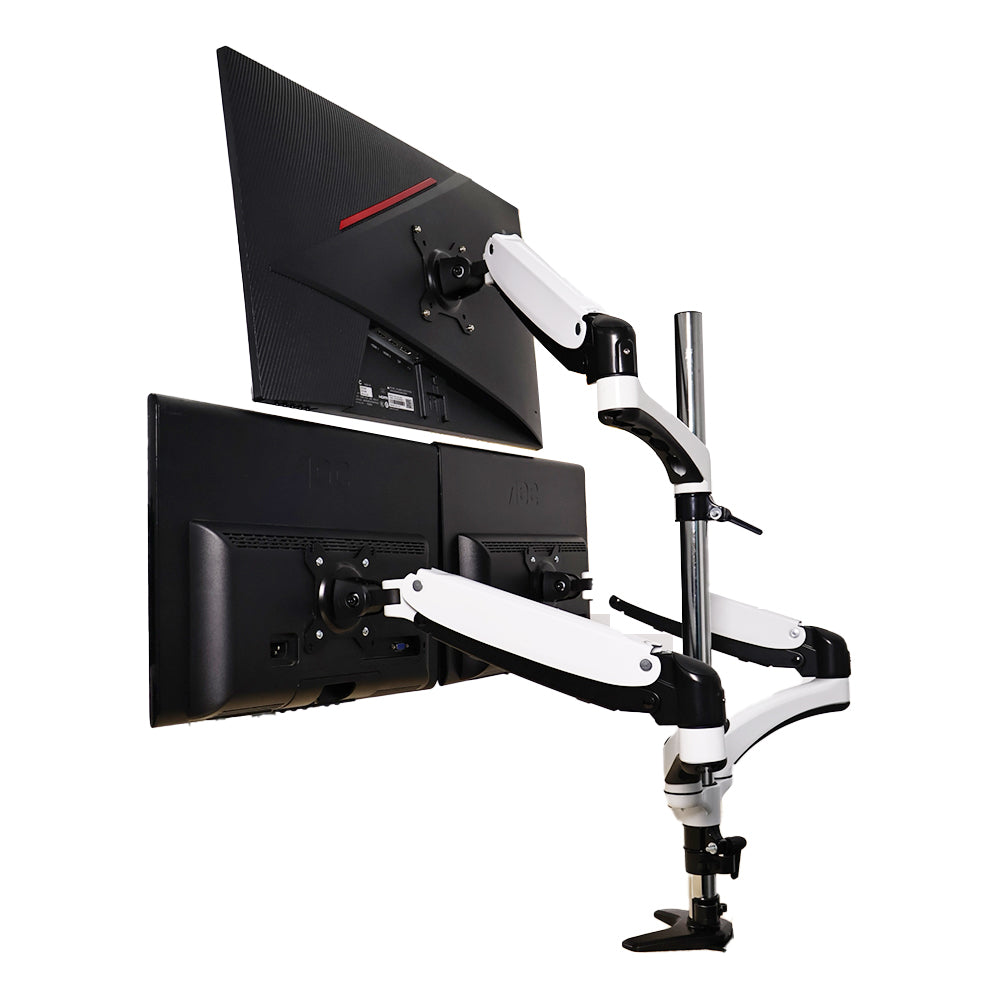
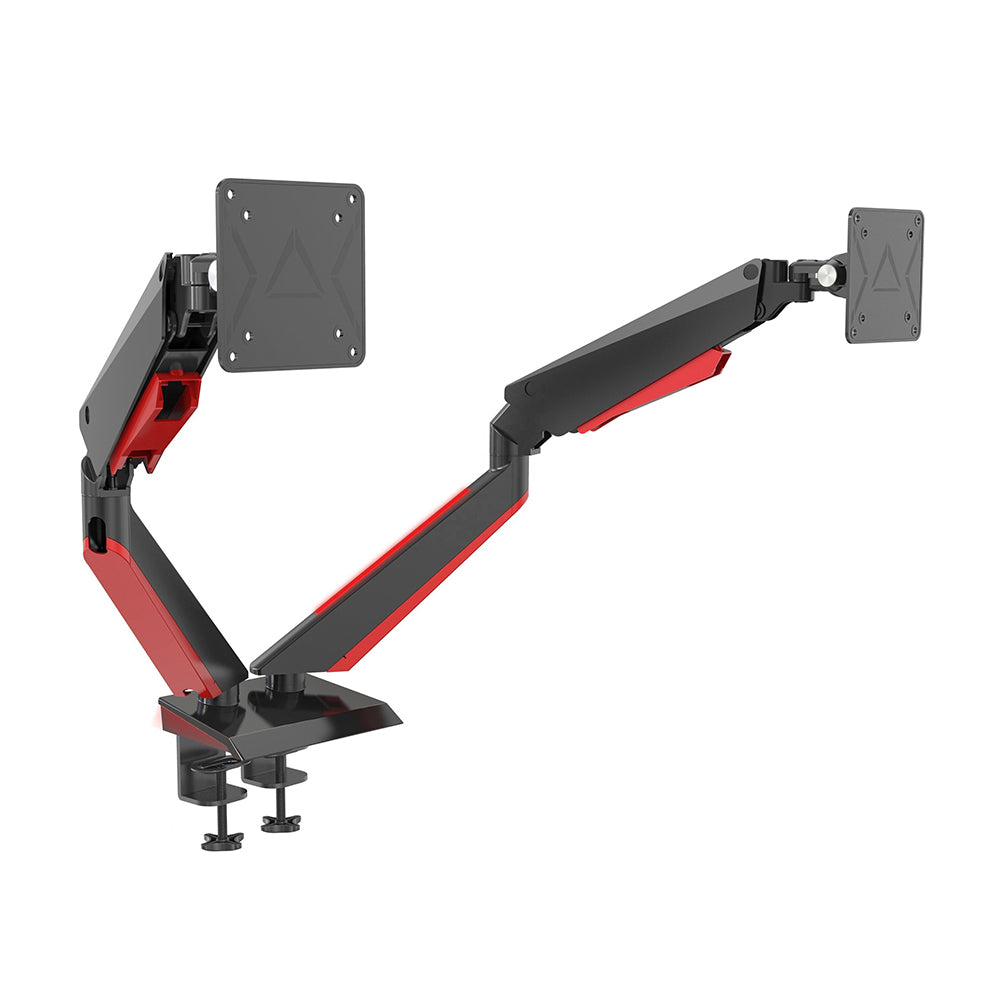
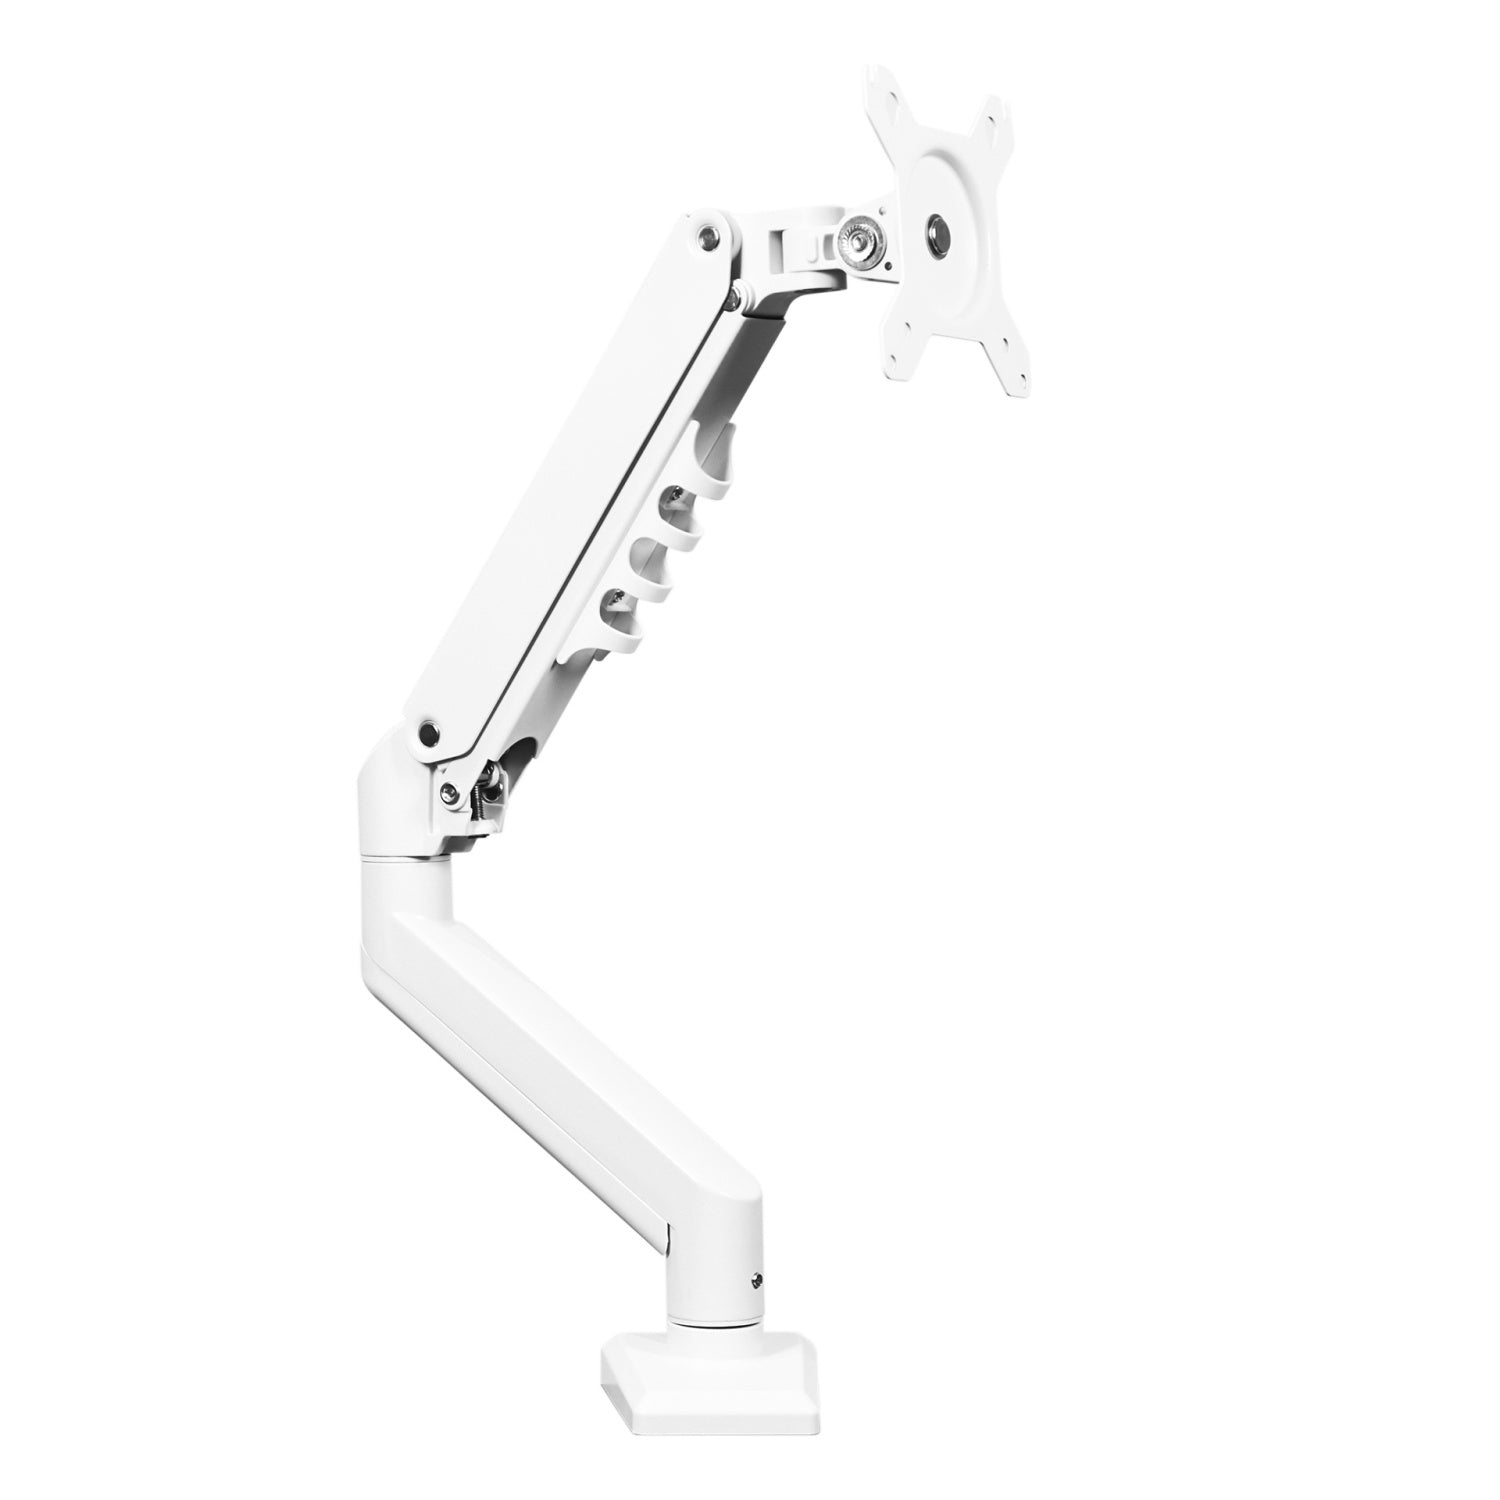
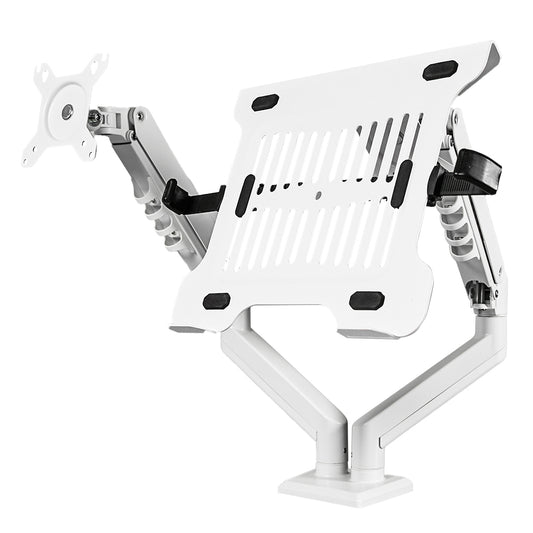
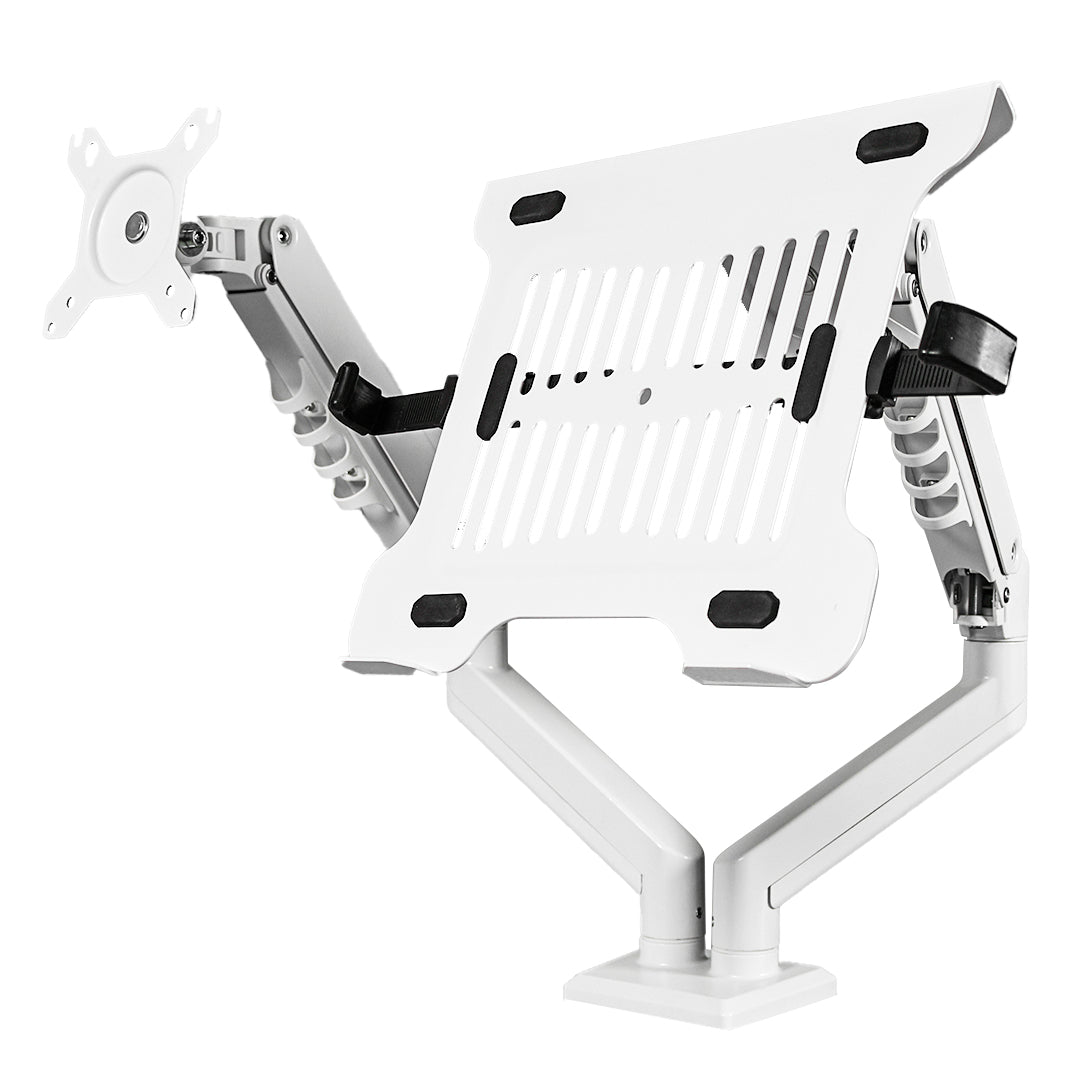
- – Monitor arm (current setup) → best overall balance
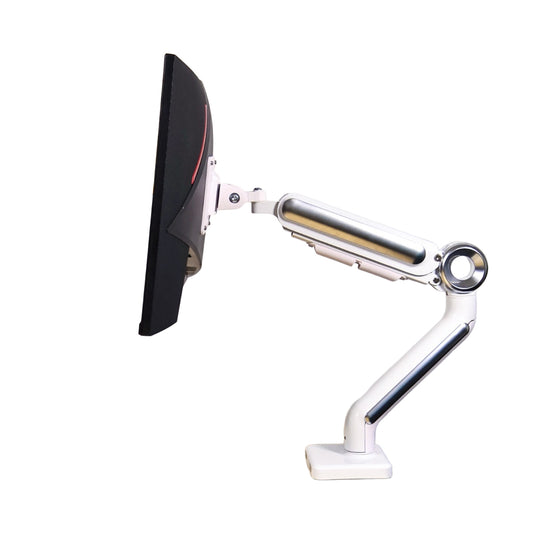
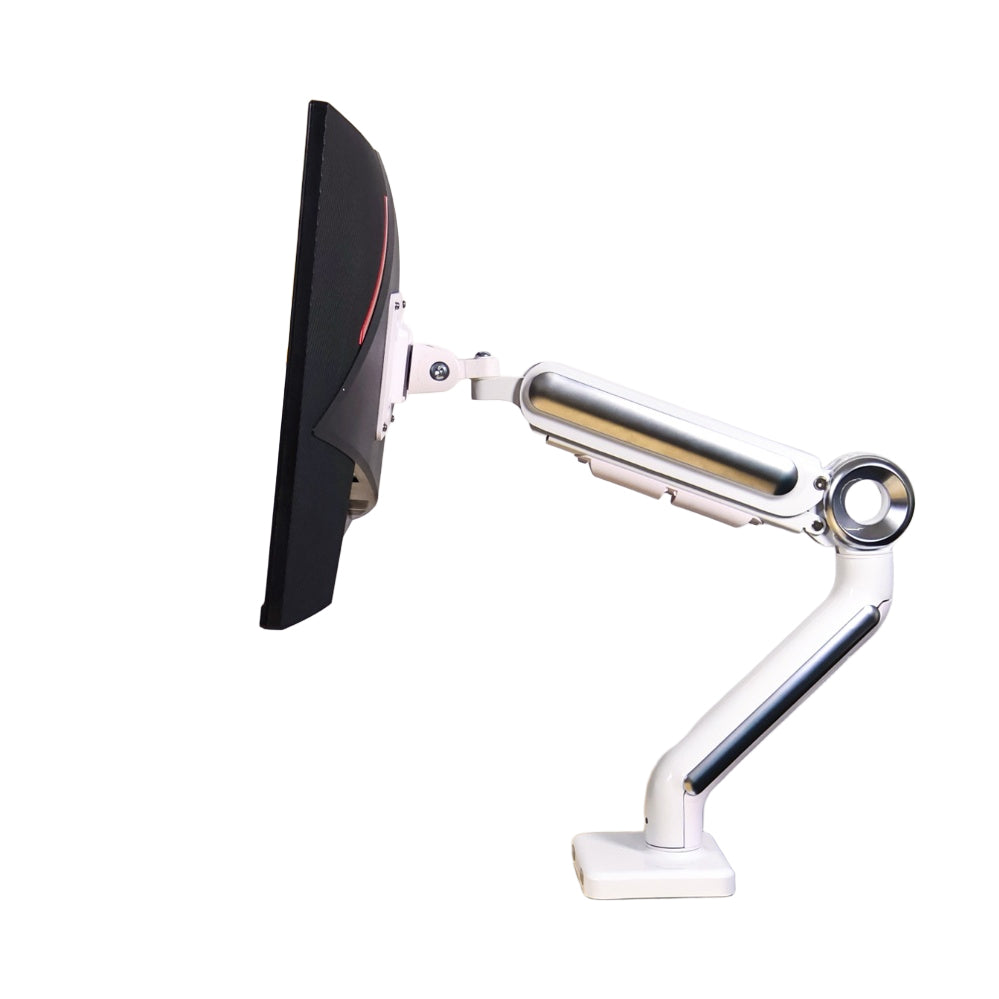
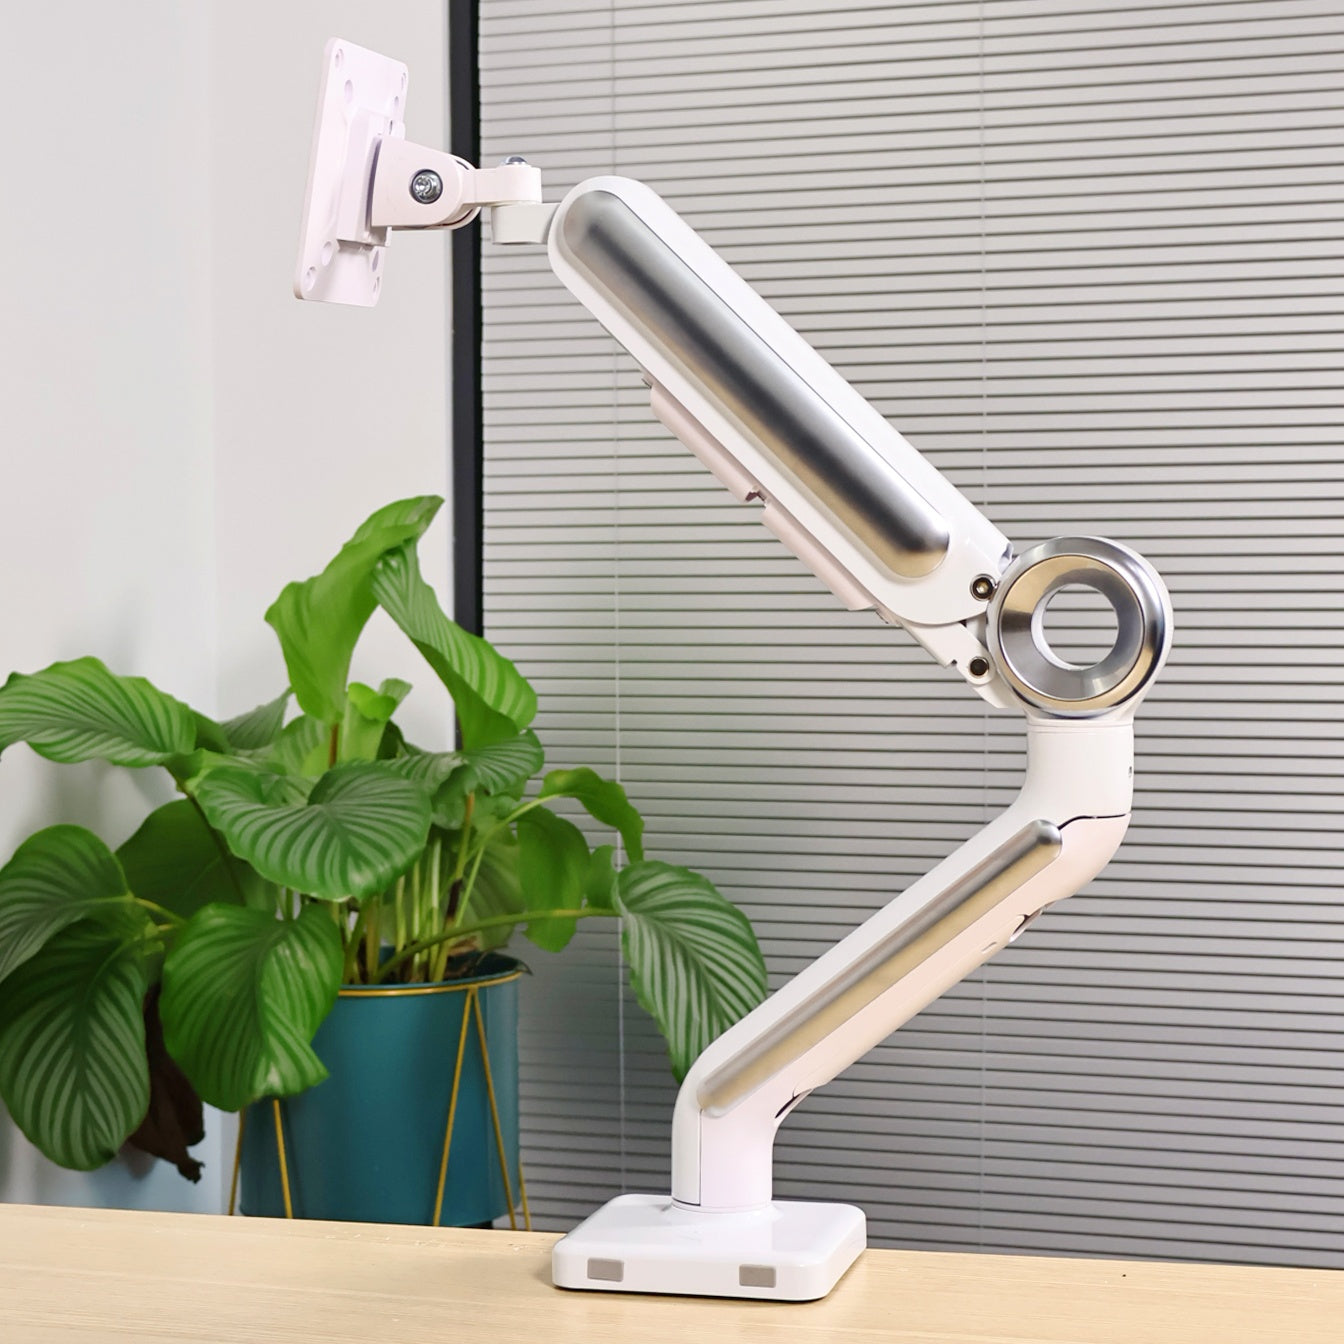
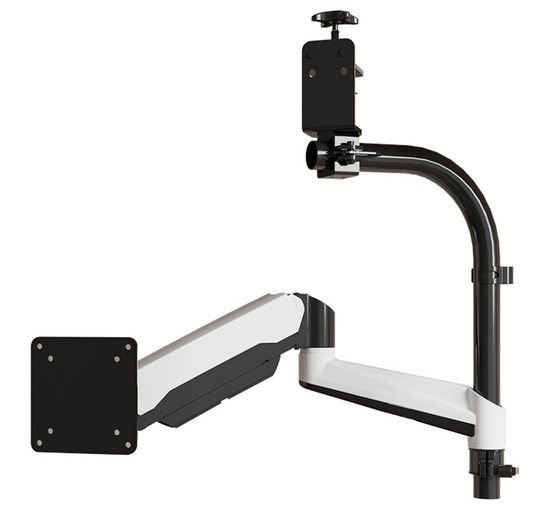
⚖️ Step 3: Why a Monitor Arm Works Best

I’m currently using a Swelix monitor arm.
- – Clean cable management
- – Full adjustability (height, angle, distance)
- – No limitation on screen size or layout
- – Frees up desk space completely
Once the screen is off the desk, everything feels lighter.
Hidden Problem: Portable Screens Are Too Light
⚠️ Step 4: The Weight Issue
Portable monitors are very light — usually around 0.5kg.
But most monitor arms are designed for 2–9kg.
That means the arm won’t stay down properly.

🛠️ Step 5: Simple Fix That Actually Works
- – Use a VESA counterweight plate
- – Or attach something small (like a dumbbell)
Question 3: How Do You Make It Look “Wireless”?
🔌 Step 6: Cable Setup Trick
- – Mini HDMI to HDMI adapter (U-shaped)
- – Choose inward or outward bend carefully
✨ Step 7: Cable Management Through the Arm
Most monitor arms come with built-in cable routing.
You can run all wires along the arm, keeping everything clean and aligned.
What This Setup Actually Improves
- – Less switching between apps and windows
- – Better focus during work
- – Cleaner visual space
- – More natural workflow
- – A setup that feels easier to use
Final Thoughts
If you’re thinking about upgrading your desk setup, start with the essentials that improve your daily workflow.
Upgrade Your Desk Setup