
Desk Setup Inspiration for Beginner Editors: A Real Workspace Upgrade That Actually Works
When I first started editing, I thought I just needed better software.
Or maybe a faster computer.
But after a while, I realized something else was slowing me down — my desk.
Too many cables, not enough space, screens in the wrong place… everything technically worked, but it never felt smooth.
So I slowly started changing things.
This setup has been in use for about two months now, and honestly, it just feels easier to work here.
What This Setup Is Actually Trying to Solve

This isn’t a “perfect desk setup.”
It’s just built around what I needed for editing.
- – Keep everything within reach
- – Reduce distractions on the desk
- – Make long editing sessions more comfortable
- – Keep things simple and not overly expensive
Step 1: Sit-Stand Desk 🪑
If you spend hours editing, this is one of those things you start to notice.
Sitting all day just gets uncomfortable.
My desk is 1.8 × 0.8m, and it’s been solid enough to hold everything — monitors, PC, speakers, and a shelf.
It’s not something you absolutely need right away, but once you have it, it’s hard to go back.
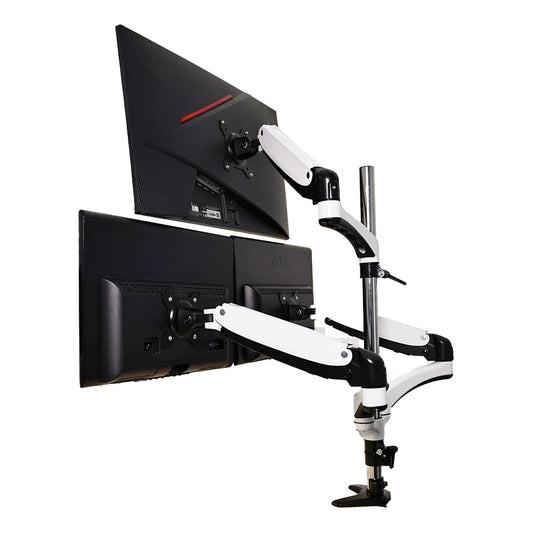
Step 2: Dual Monitor Setup 🖥️
This is probably the biggest upgrade.
I’m using a 27-inch main monitor and a 15.6-inch portable screen.
The main screen handles editing, while the second screen keeps footage, timelines, or references open.
You don’t need two identical monitors.
For editing, even a smaller second screen makes a noticeable difference.
Step 3: Lighting Setup 💡
Lighting isn’t just for looks.
It actually changes how the whole space feels.
I added light strips behind the monitors and along the back of the desk, plus a small lamp for extra depth.
It makes late-night editing a bit easier on the eyes, and honestly, it just feels nicer to sit here.
Step 4: Cable Management 🔌
This is where most of the “mess” actually comes from.
Not the devices — the cables.
I used a simple setup:
– Cable tray under the desk
– Velcro ties for grouping cables
– Cable channels to keep everything hidden
From the front, it almost looks wireless.
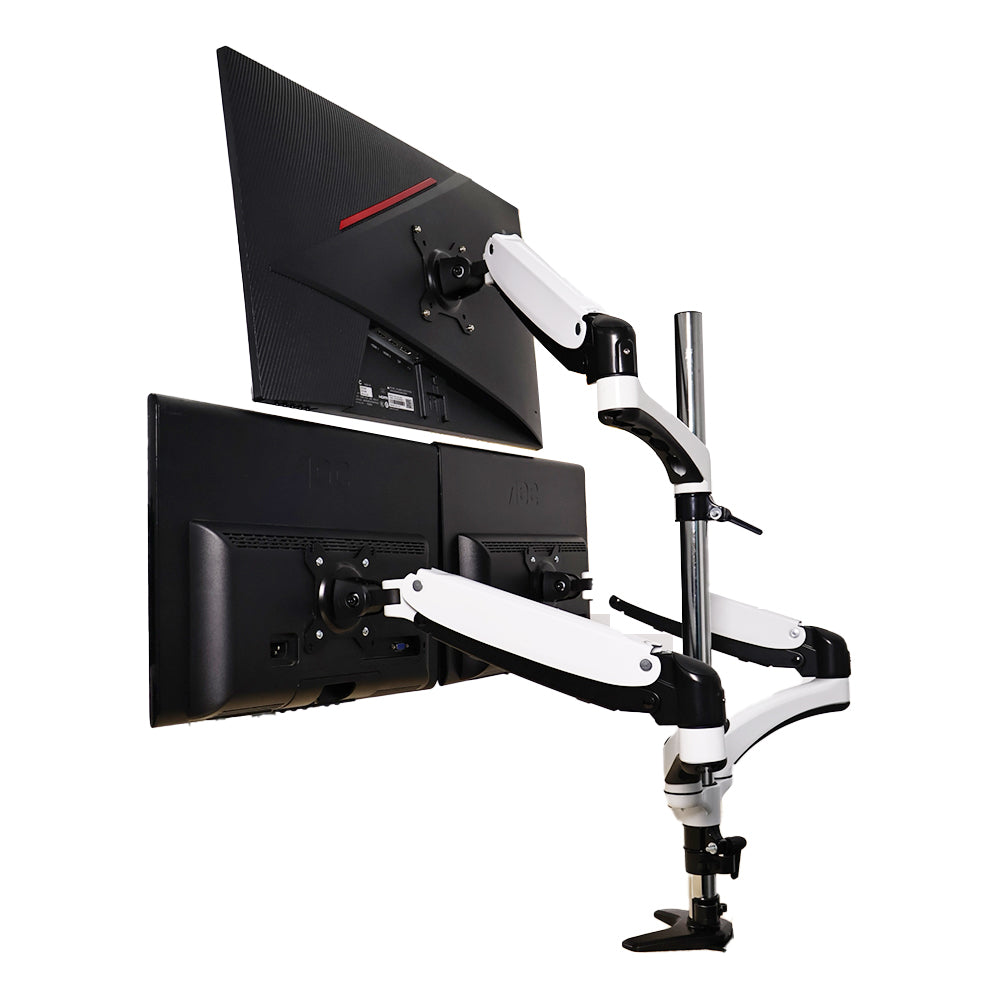
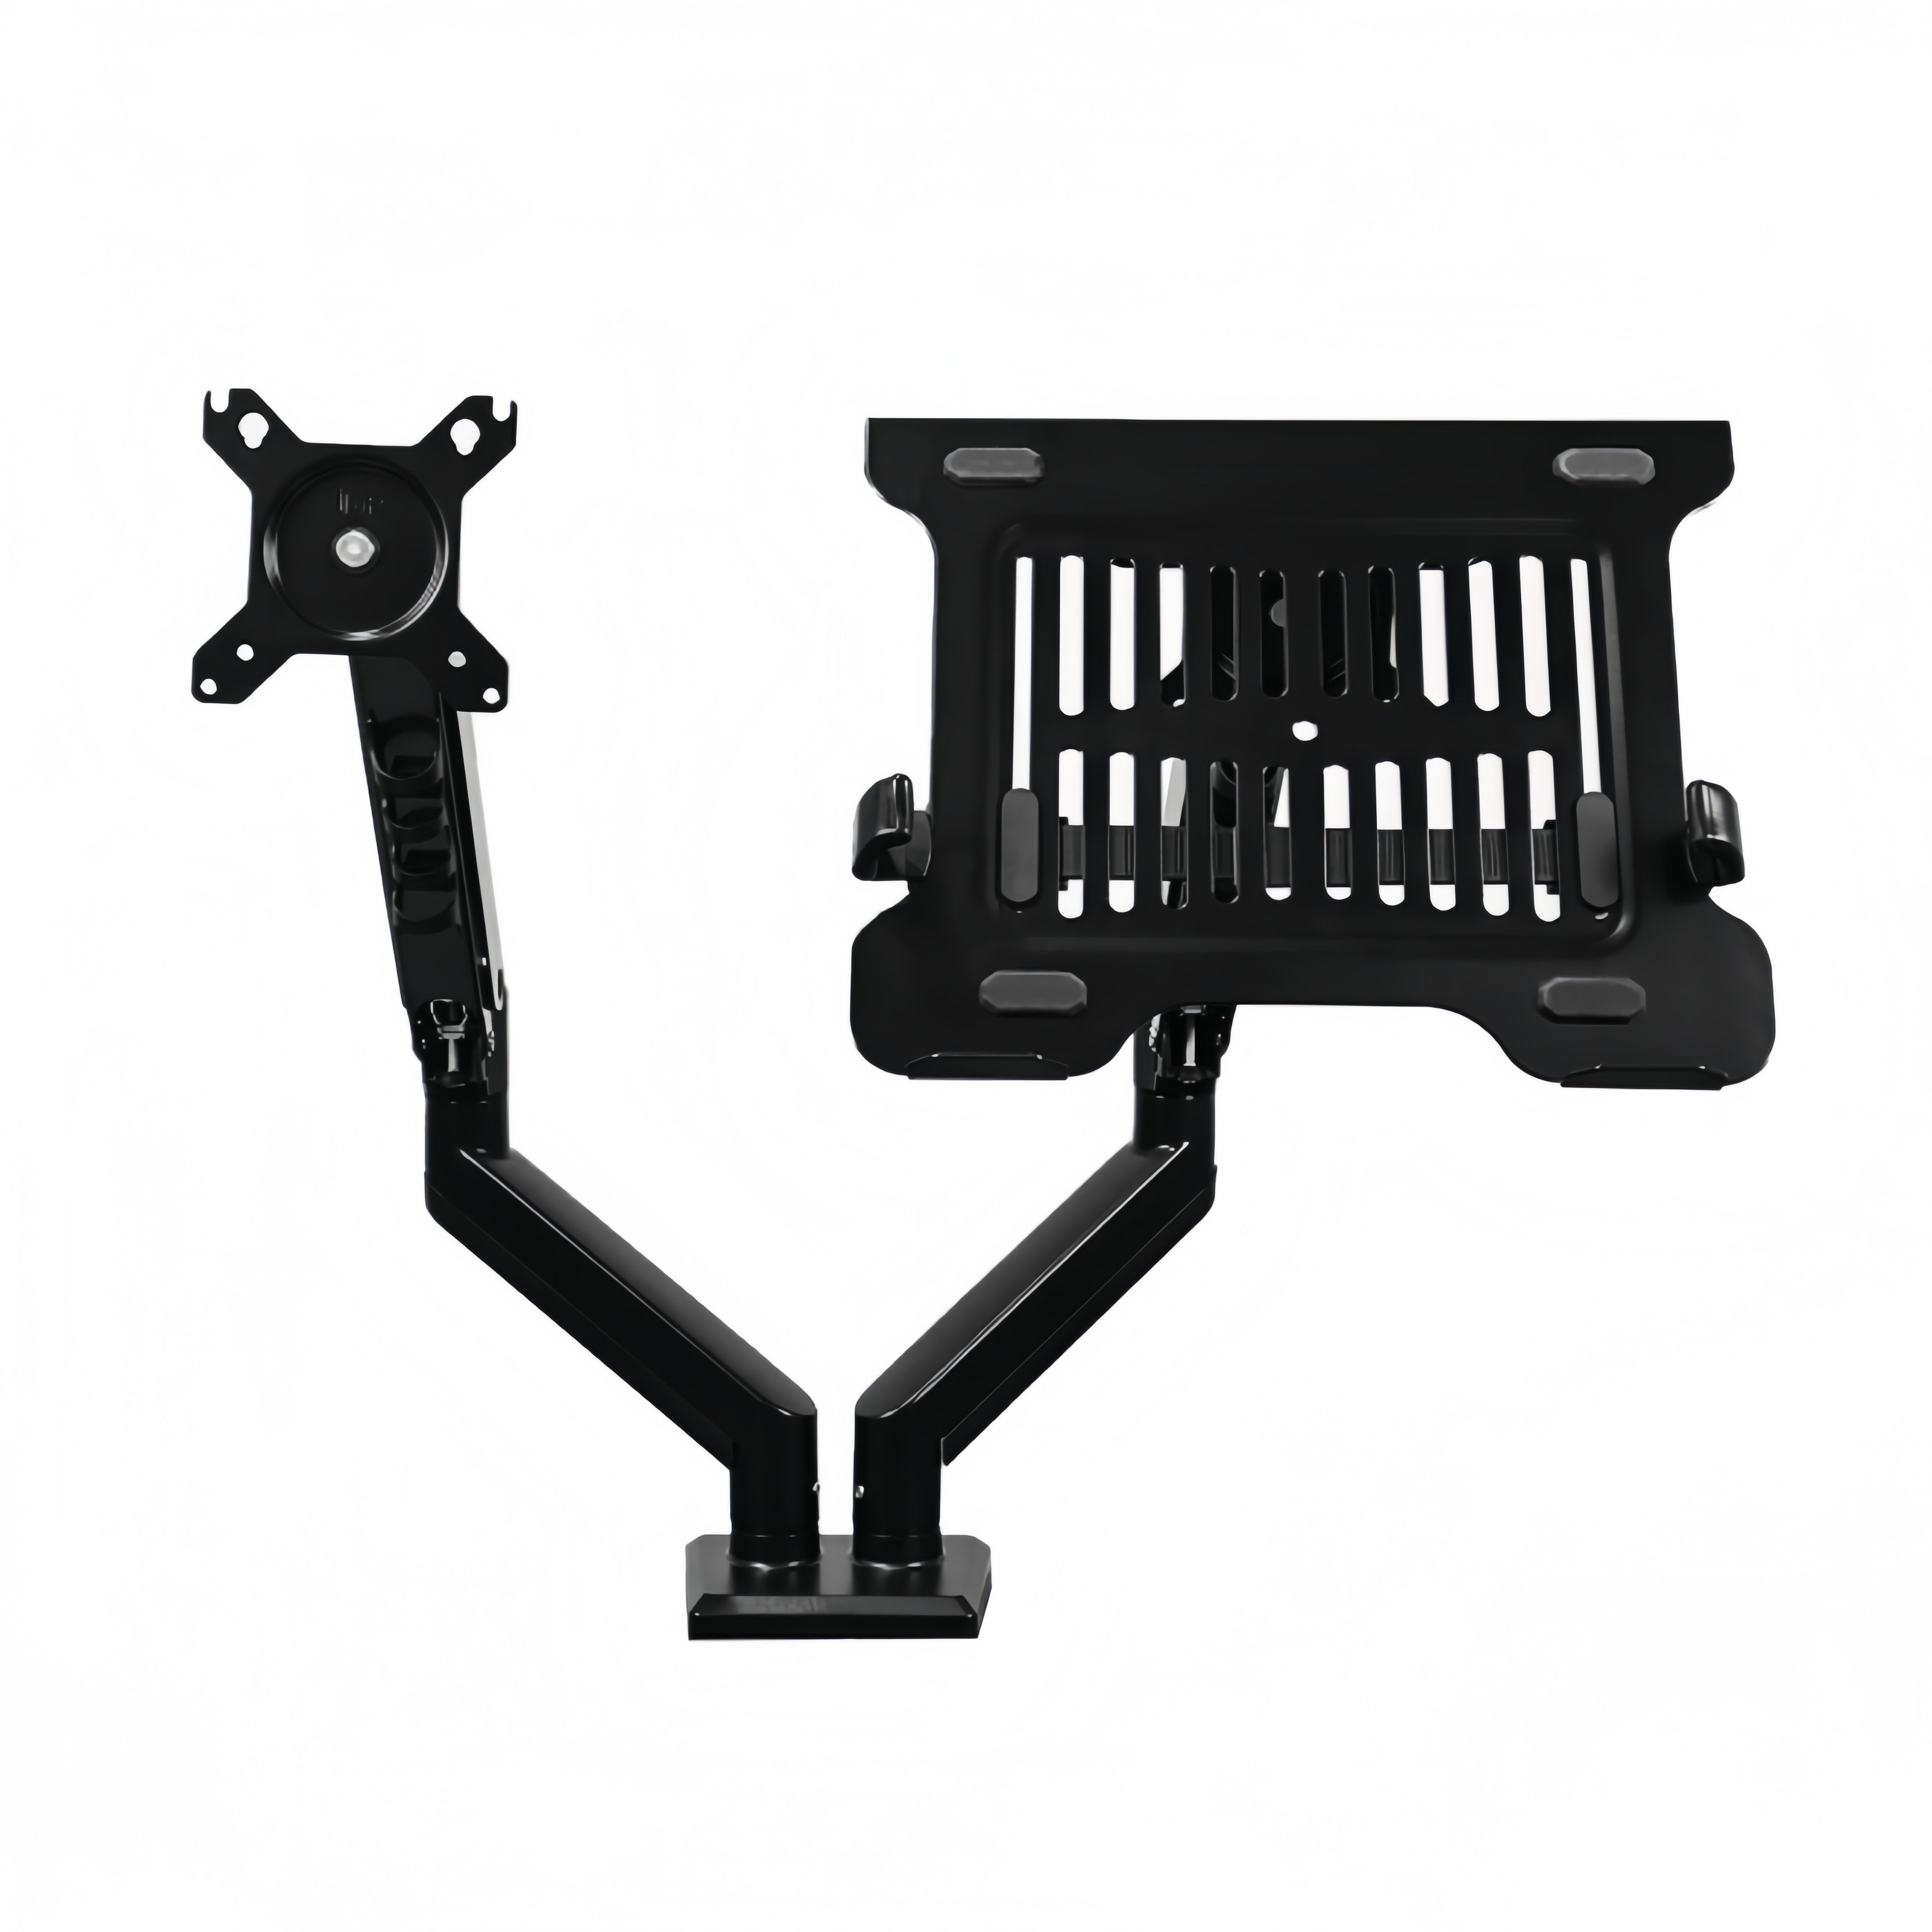
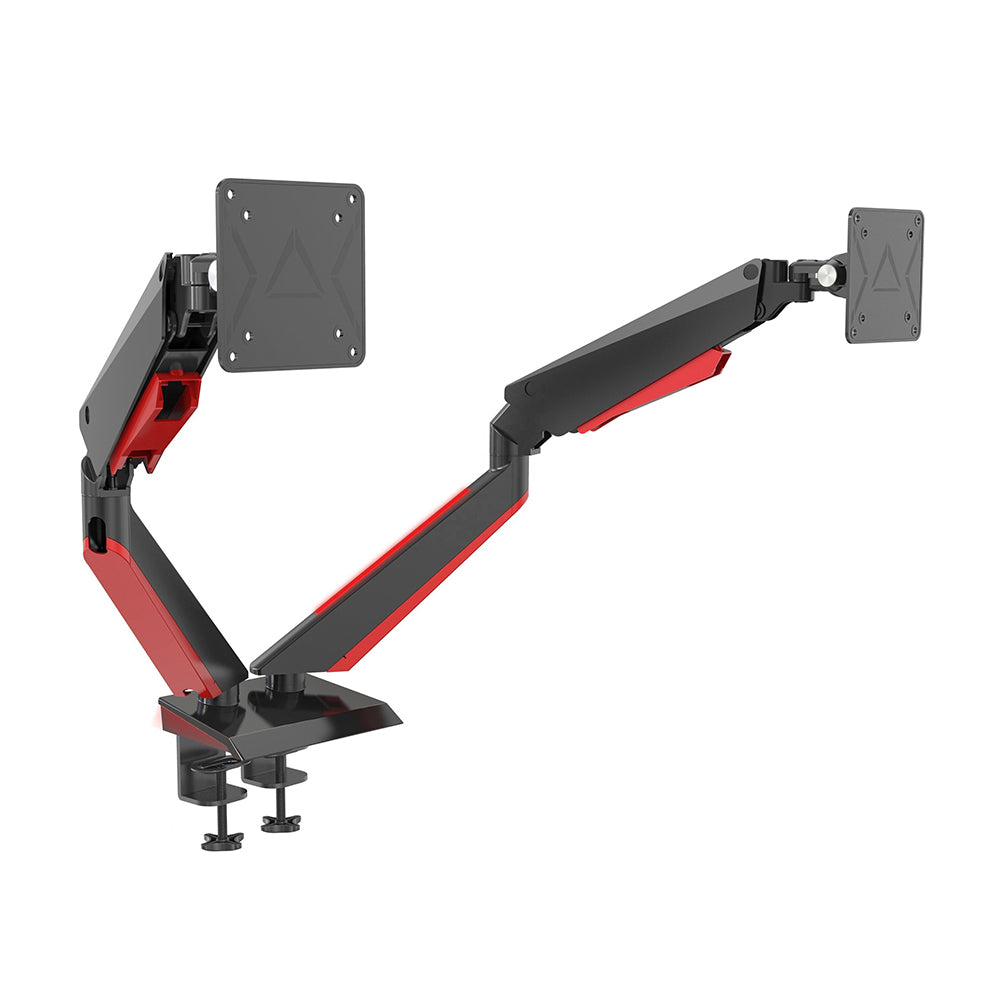
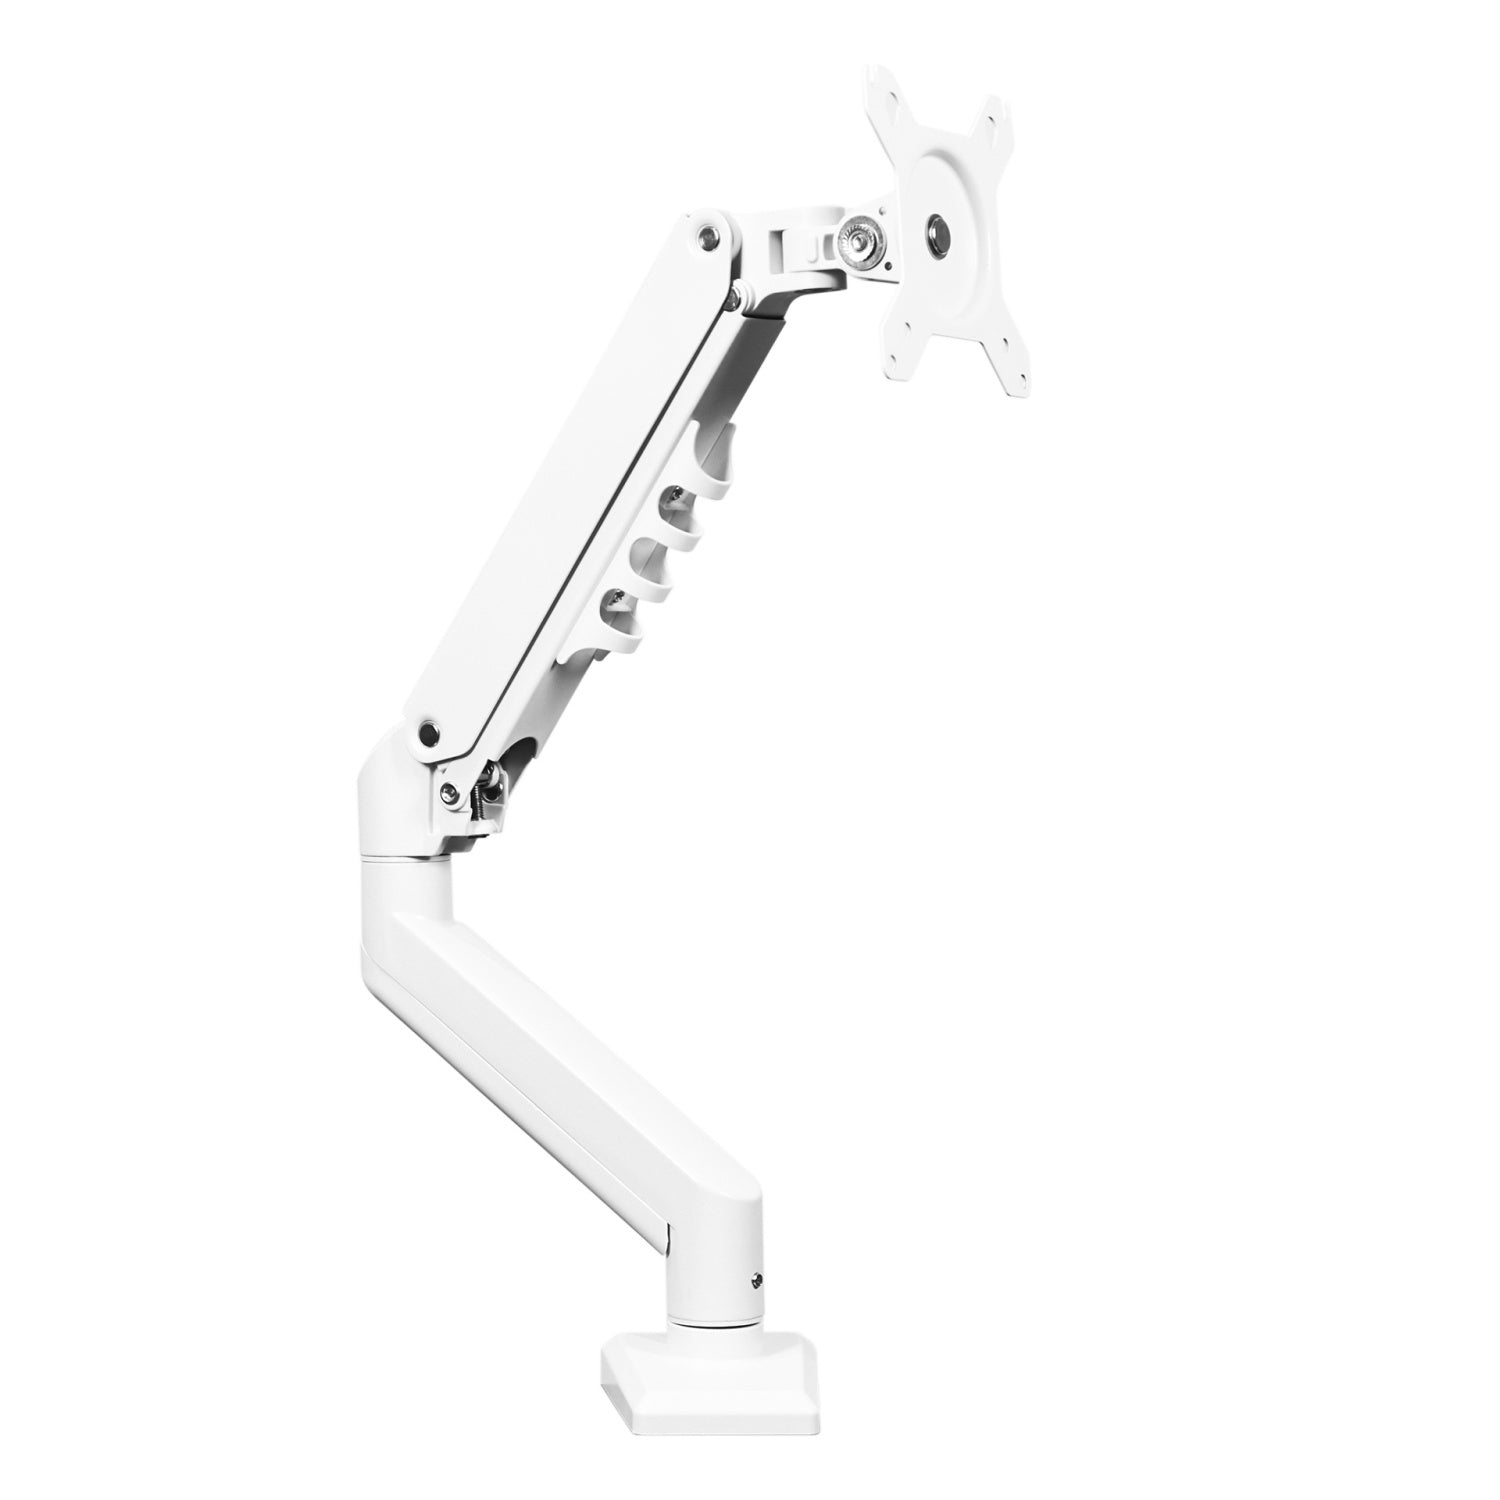
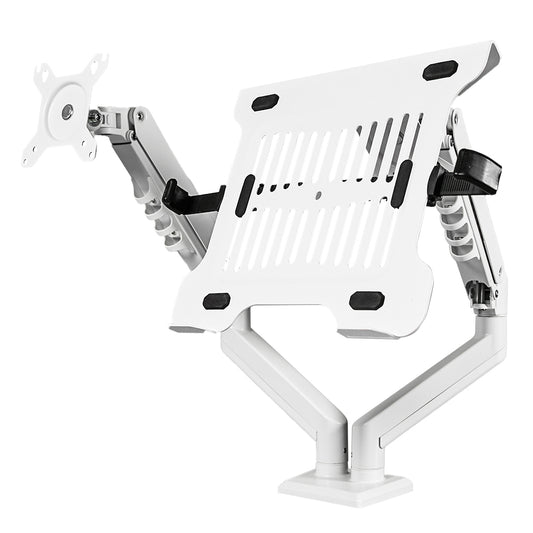
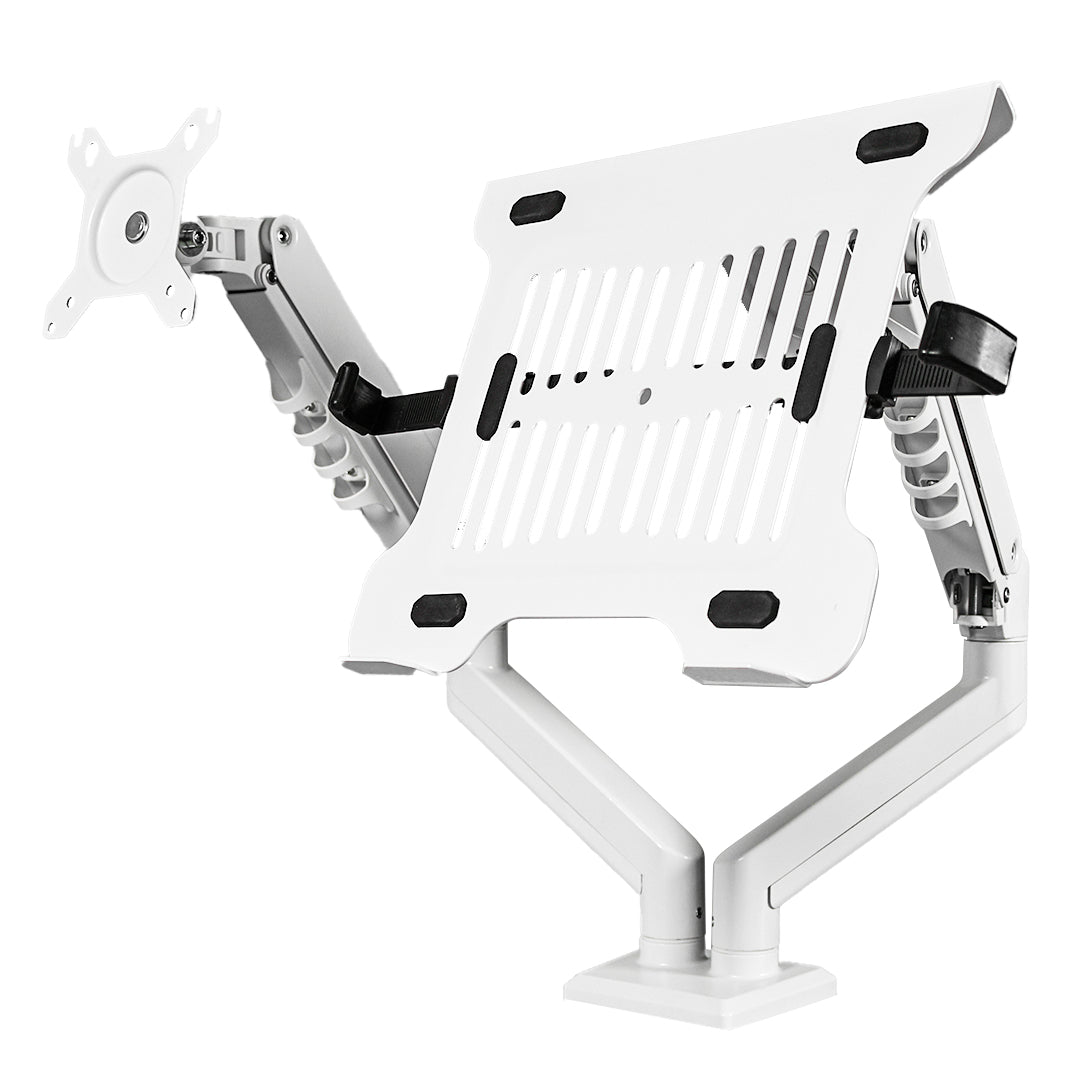
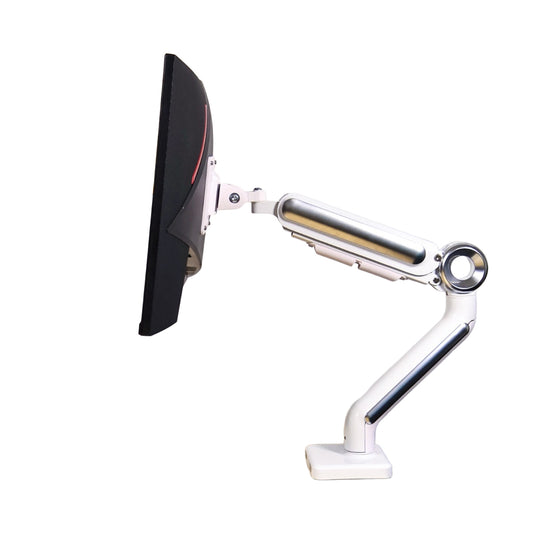
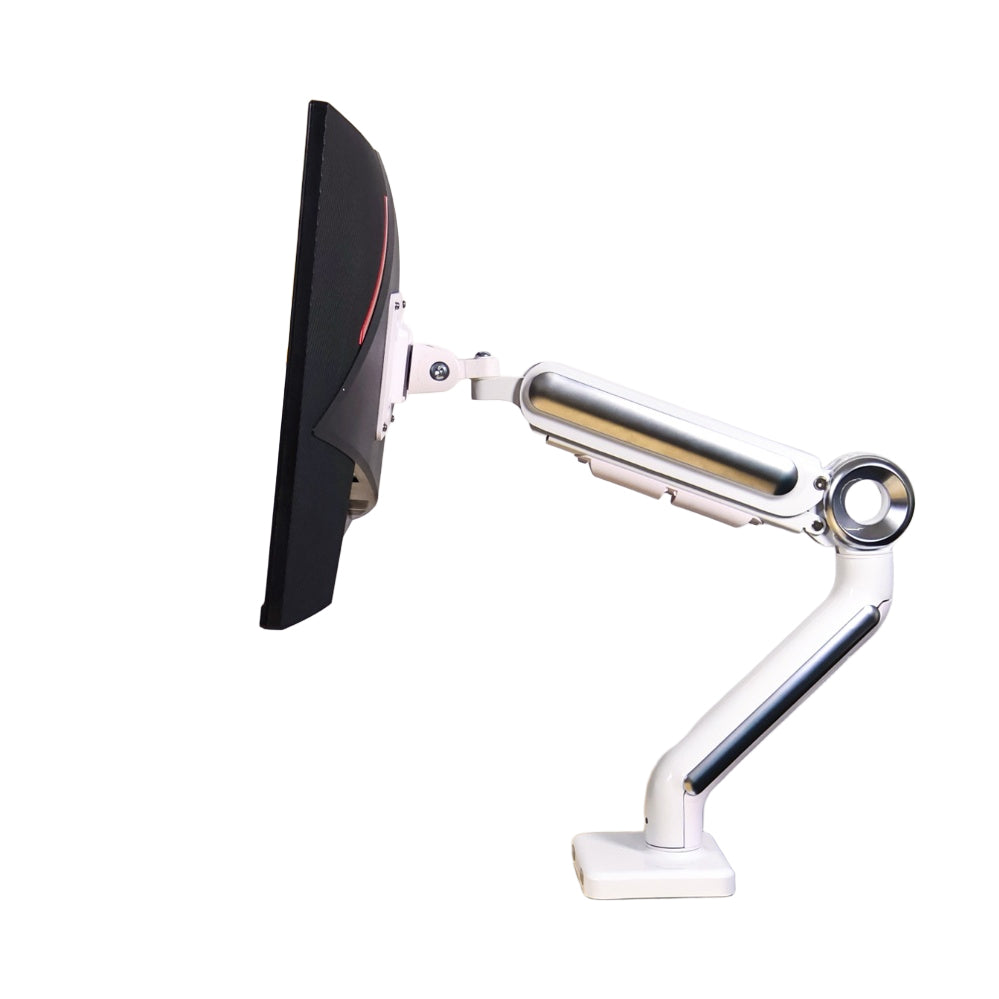
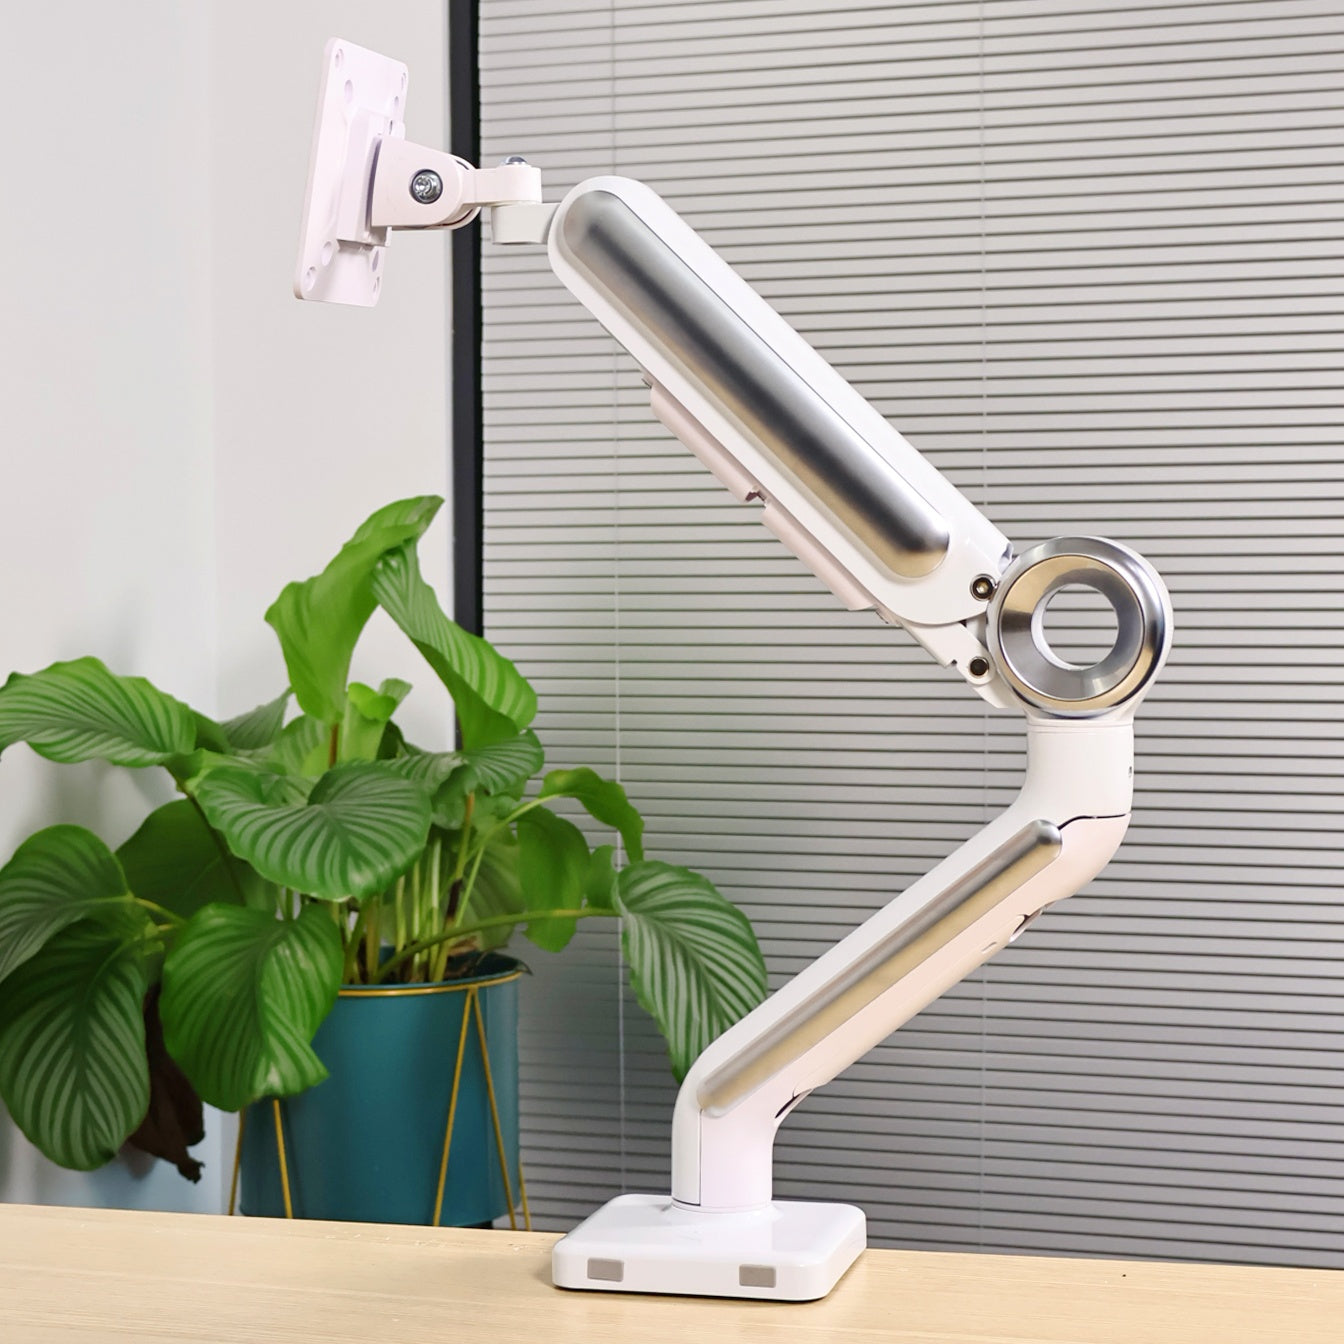
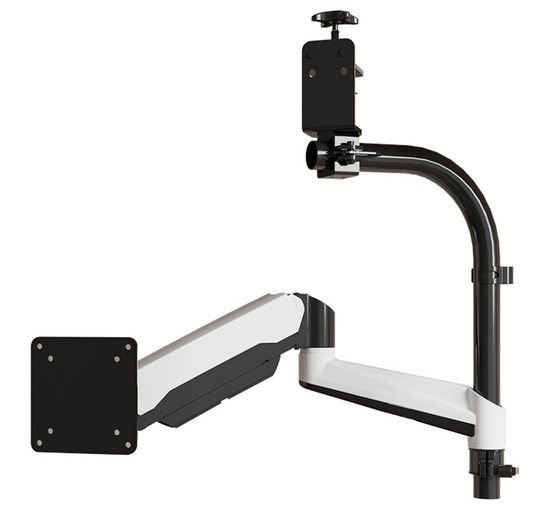
Step 5: Monitor Arm Setup 🦾

This made a bigger difference than I expected.
I’m using two single monitor arms from Swelix.
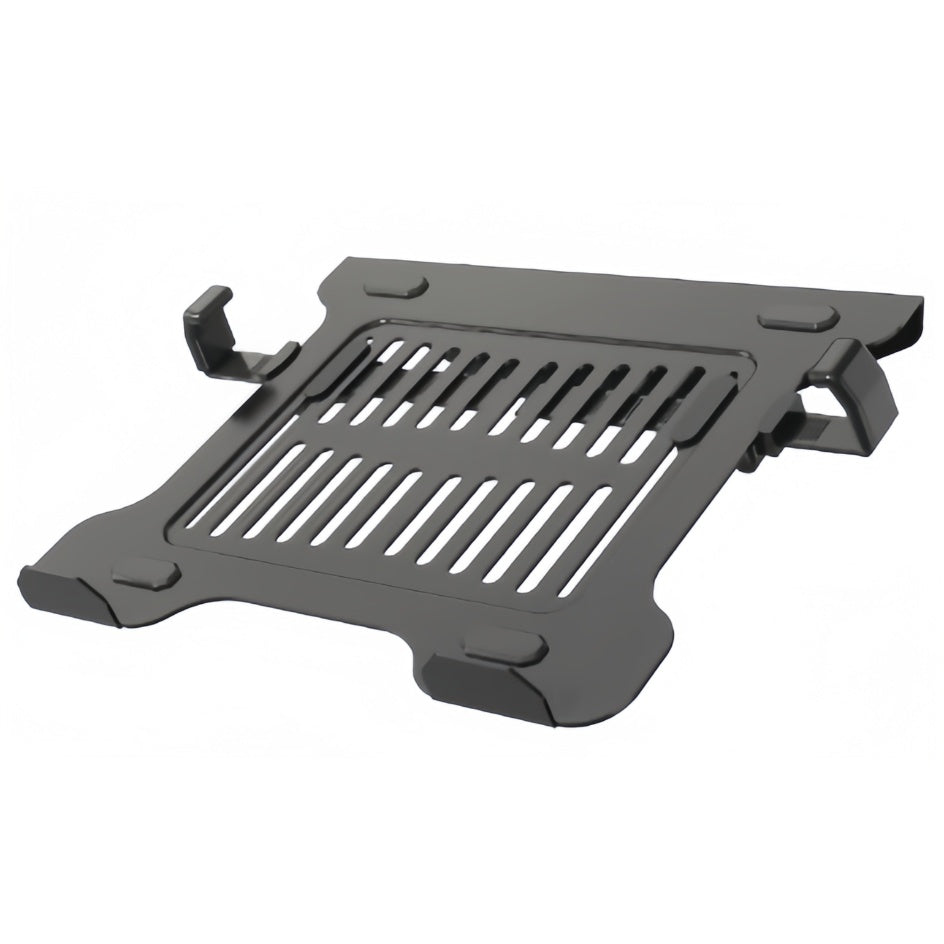
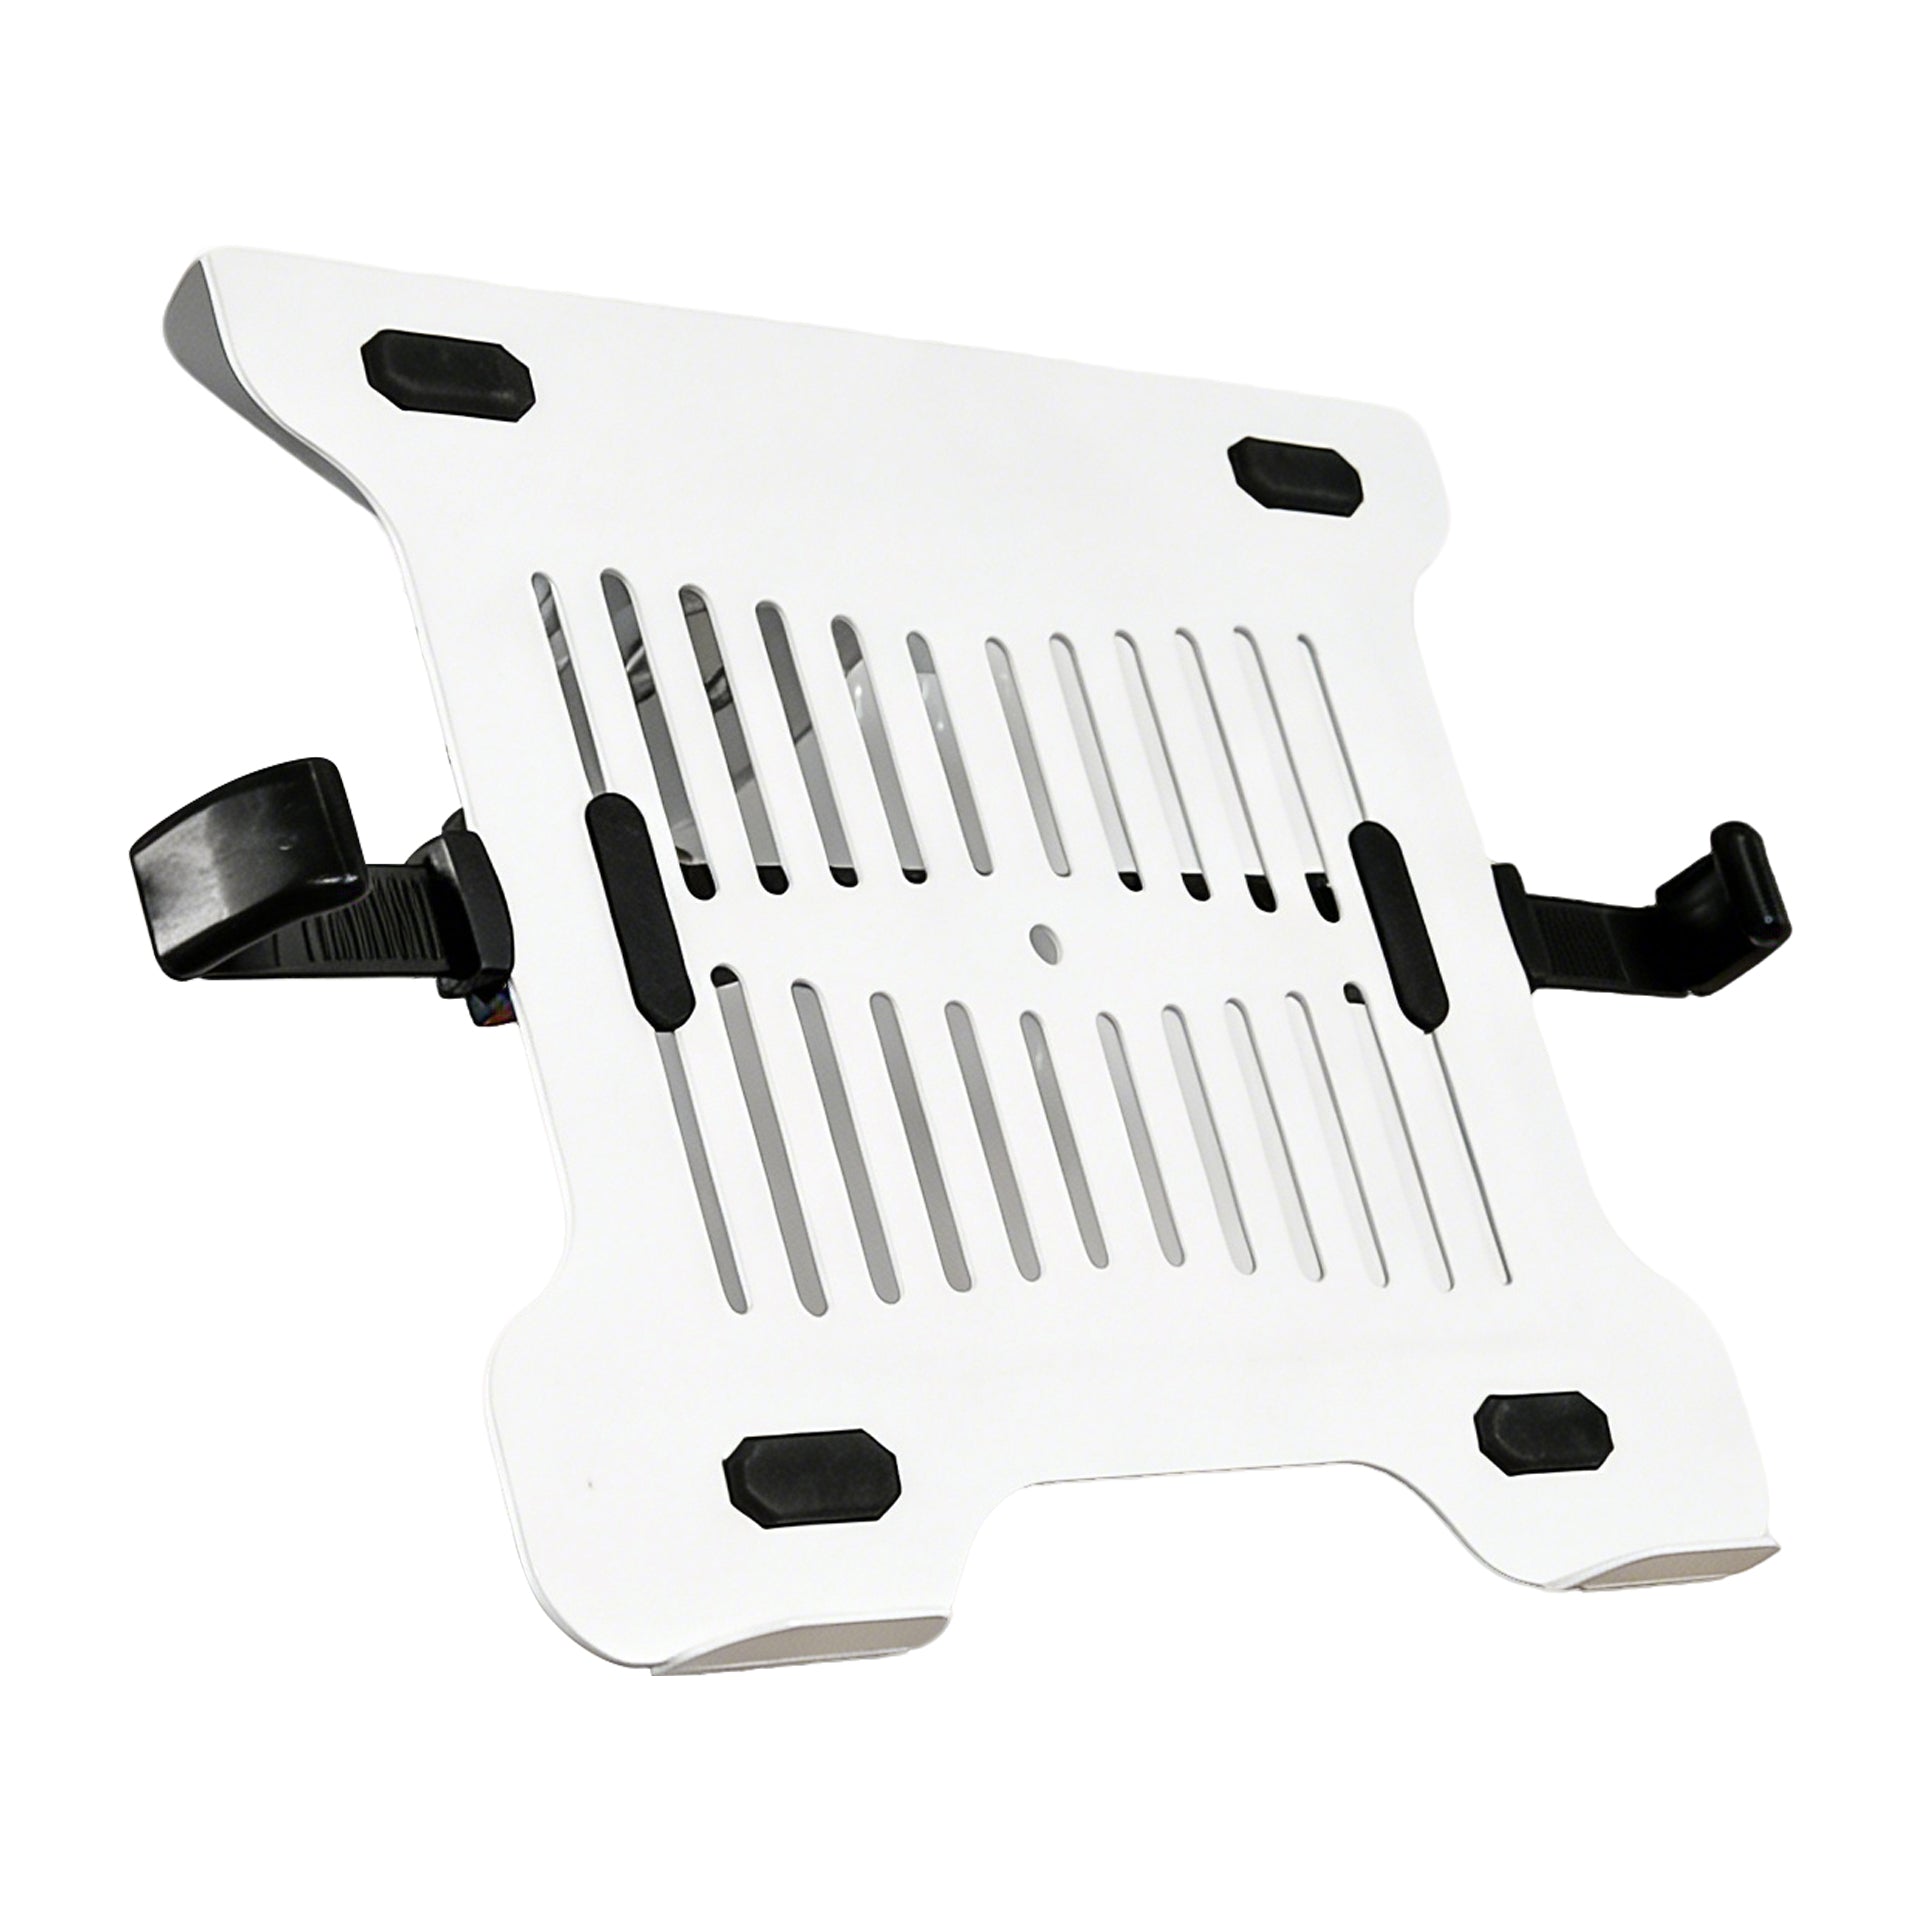
The main monitor is mounted directly, and for the portable screen, I added a laptop tray since it doesn’t support VESA.
Once everything was lifted off the desk, the space felt completely different.
More open, easier to organize, and just cleaner overall.
Other Small Things That Helped
These aren’t essential, but they made the setup feel more complete:
- – A small shelf to organize desk items
- – A keyboard I’m comfortable with
- – A simple DIY charging station
- – Screen light bar
- – Felt desk mat
- – Speakers
Before vs After
- More usable desk space
- Less visual clutter
- Better posture
- More focused workflow
- A setup that feels easier to use every day
What I’d Recommend If You’re Just Starting
- – Start with your screen setup first
- – Add a second screen before upgrading everything else
- – Fix your cable management early
- – Use monitor arms to free up space
Final Thoughts
This setup isn’t expensive, and it’s not complicated.
It just fits how I work.
You don’t need to copy it exactly.
But if your desk feels messy or uncomfortable, small changes like these can make a big difference.
If you’re thinking about improving your setup, start with the basics and build from there.
Upgrade Your Desk Setup Explore more desk setup inspiration