
How I Got Zero Cables on My Desk — A Designer's 3-Step Wire-Free Setup Guide
Every evening I'd sit down at my desk and see the same thing: a tangle of cables sprawled across the surface like something had nested there. Charging cables, data cables, the monitor cable looping down from the screen to the back of the computer — all of it sitting in plain sight, every single day.
I'm a designer at Swelix. Thinking about how things look and feel is literally my job. My desk had no excuse. After watching what felt like every cable management video on the internet, I bought a handful of simple tools, spent one afternoon, and came out with something I still appreciate every time I sit down: zero cables visible on top of the desk. One cable below it.
Total cost: under $100. No drilling, no specialist skills. Here's exactly how I did it — and the one tool that made the biggest difference.
The Tool List — 5 Things, That's All
Everything here is easy to find and easy to install. Some of it you might already own. None of it requires any permanent changes to your desk.
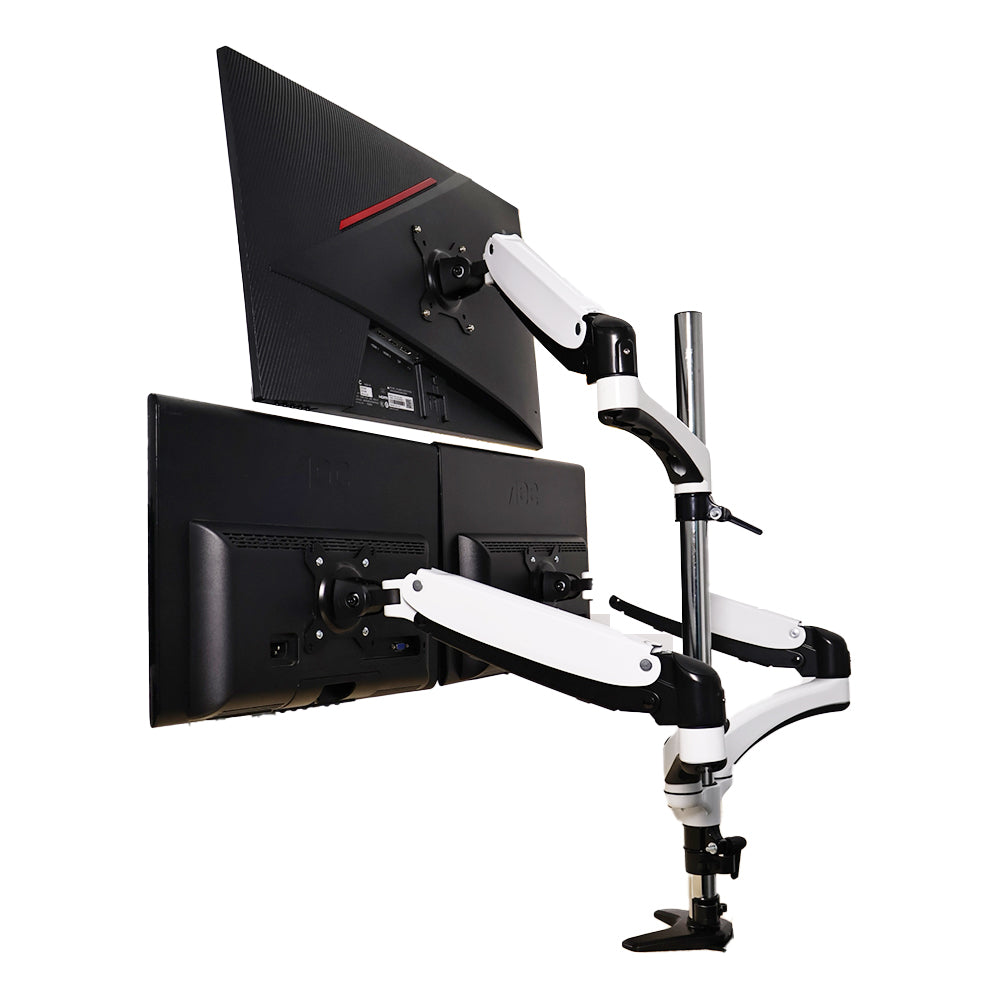
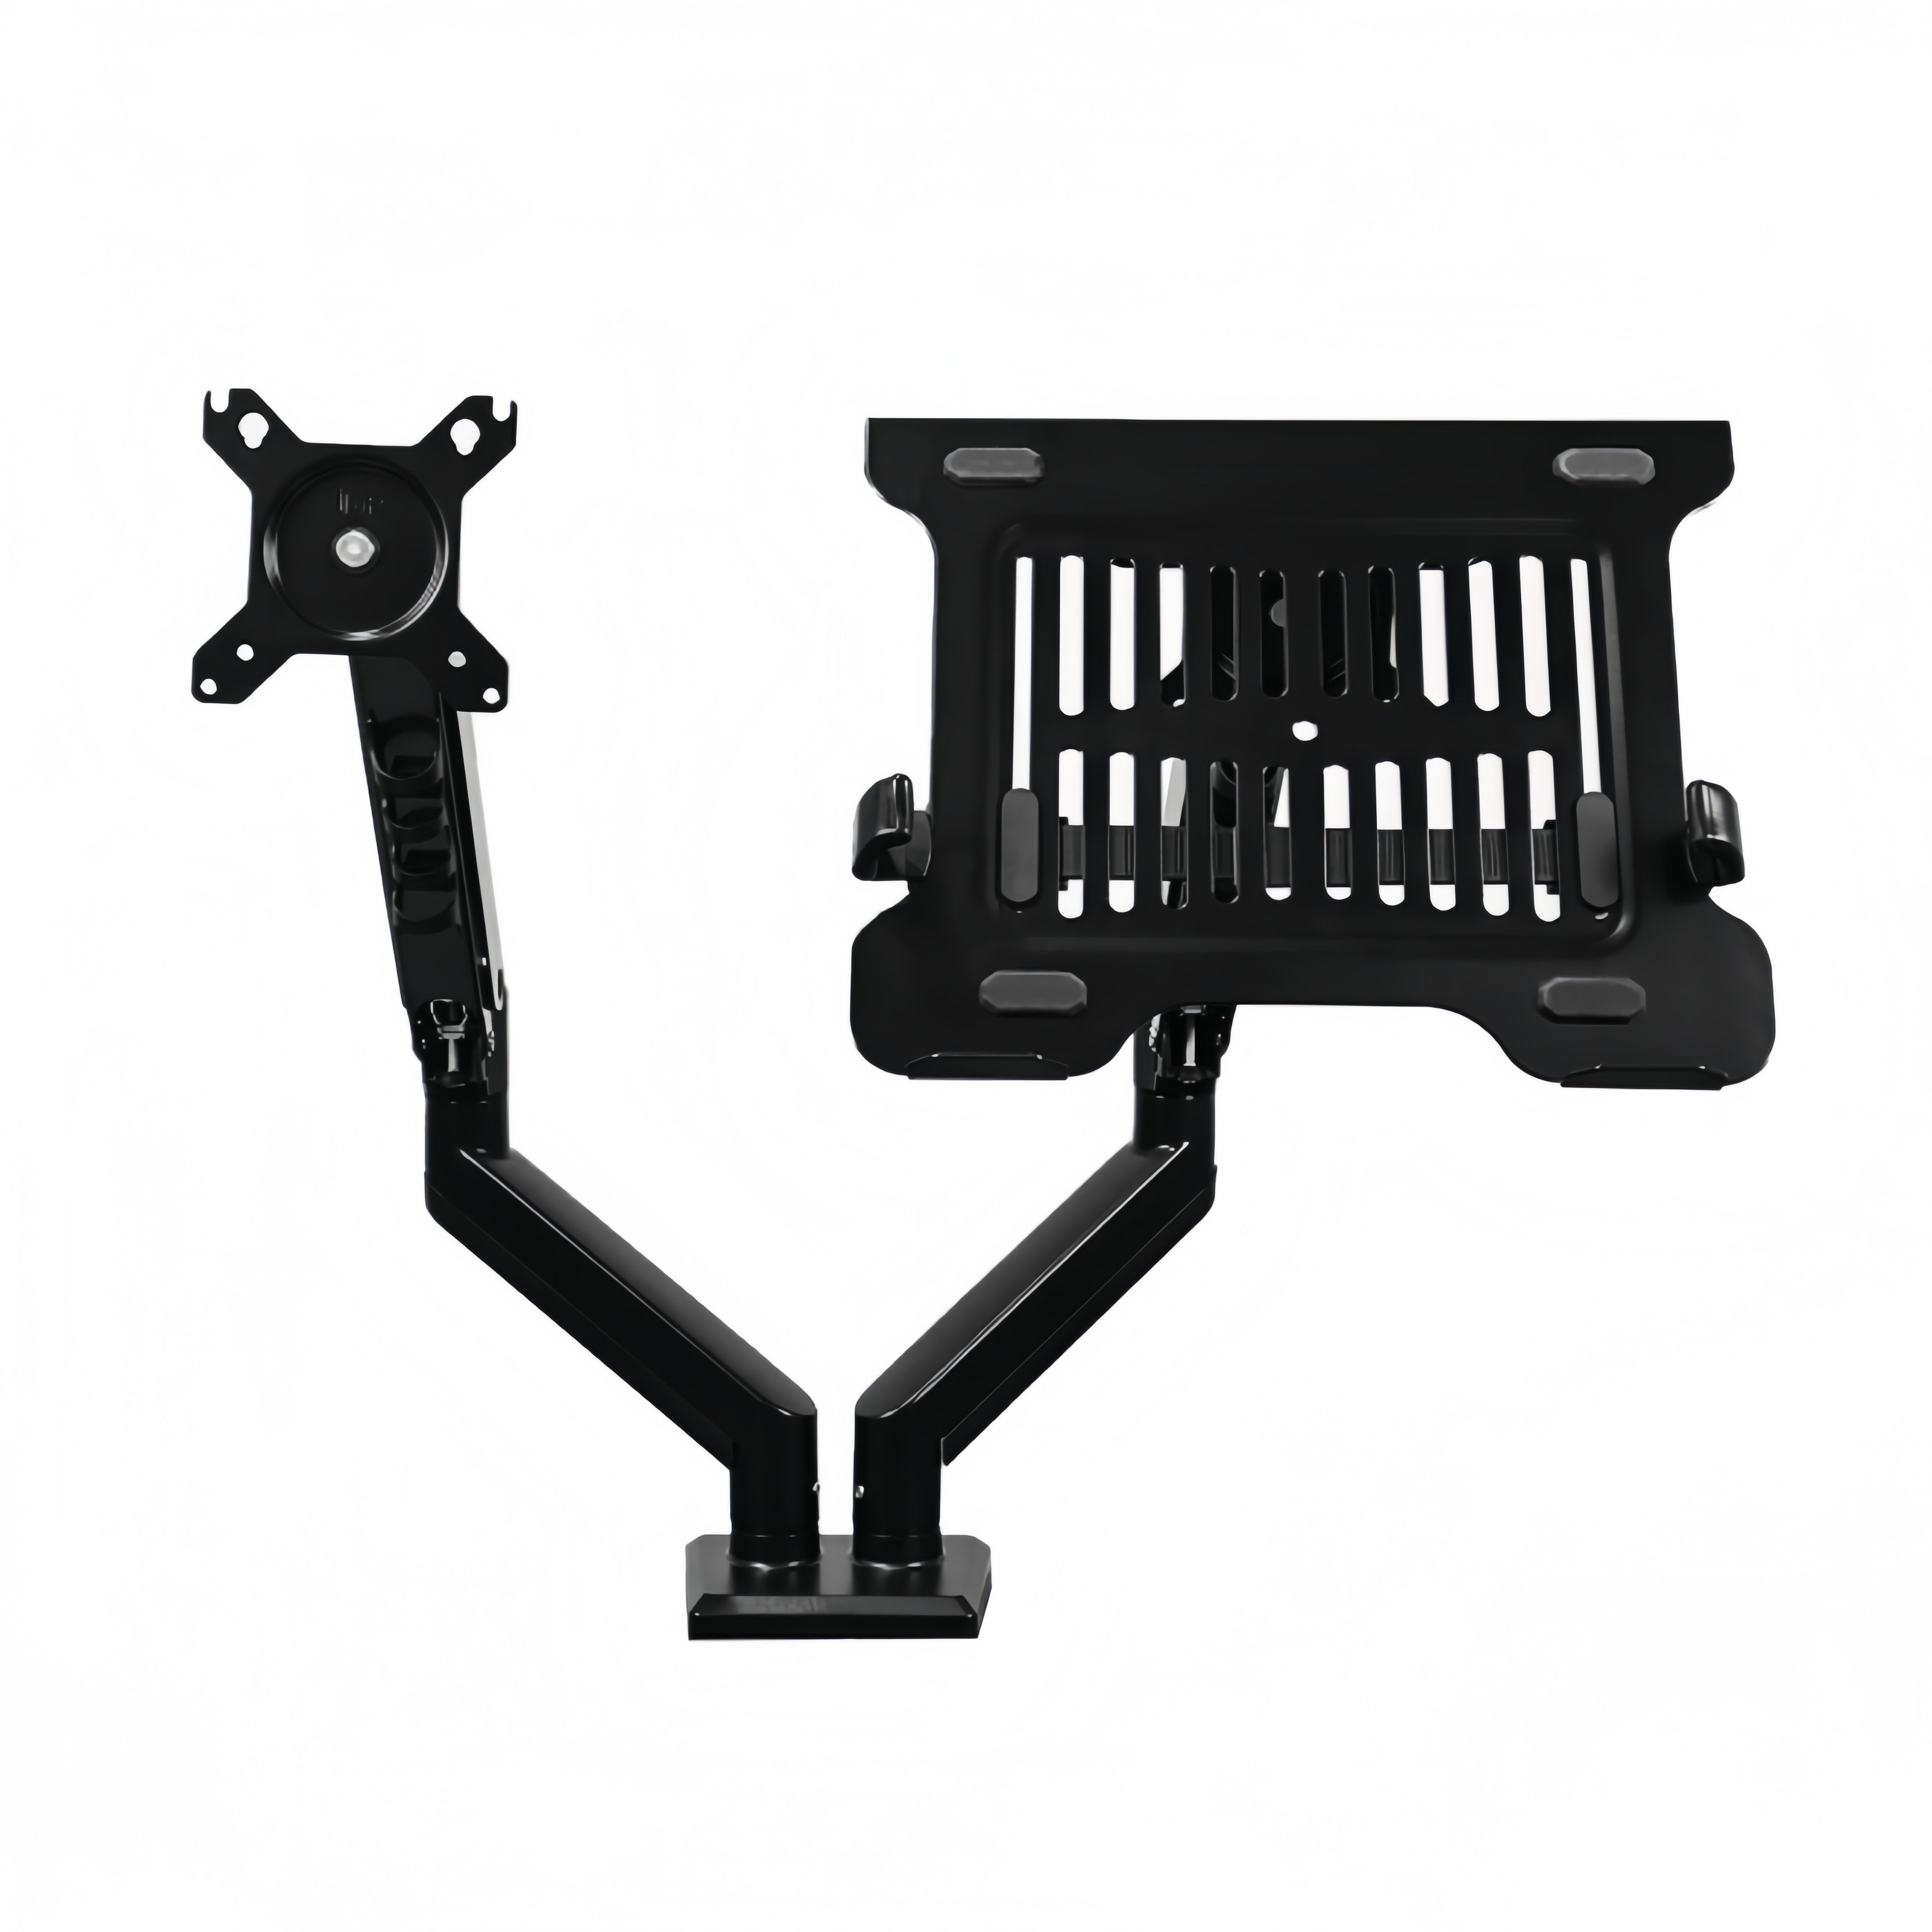
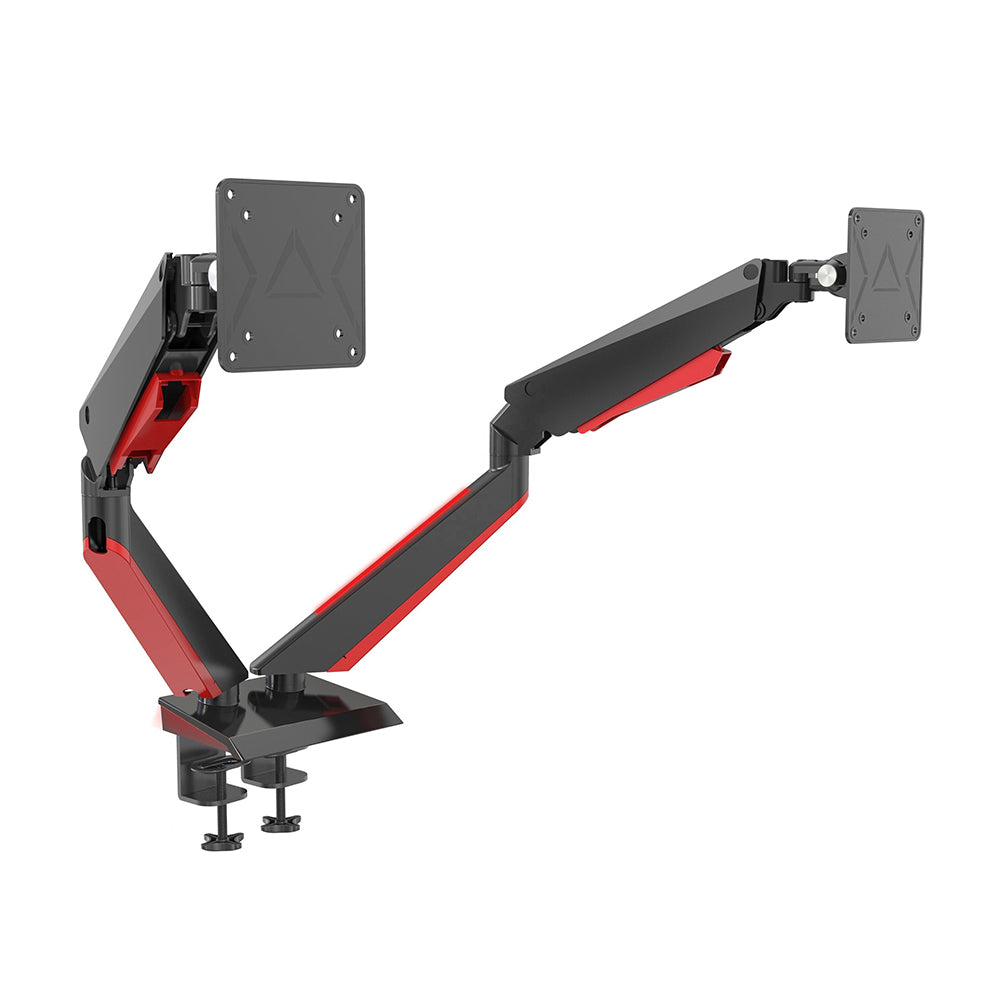
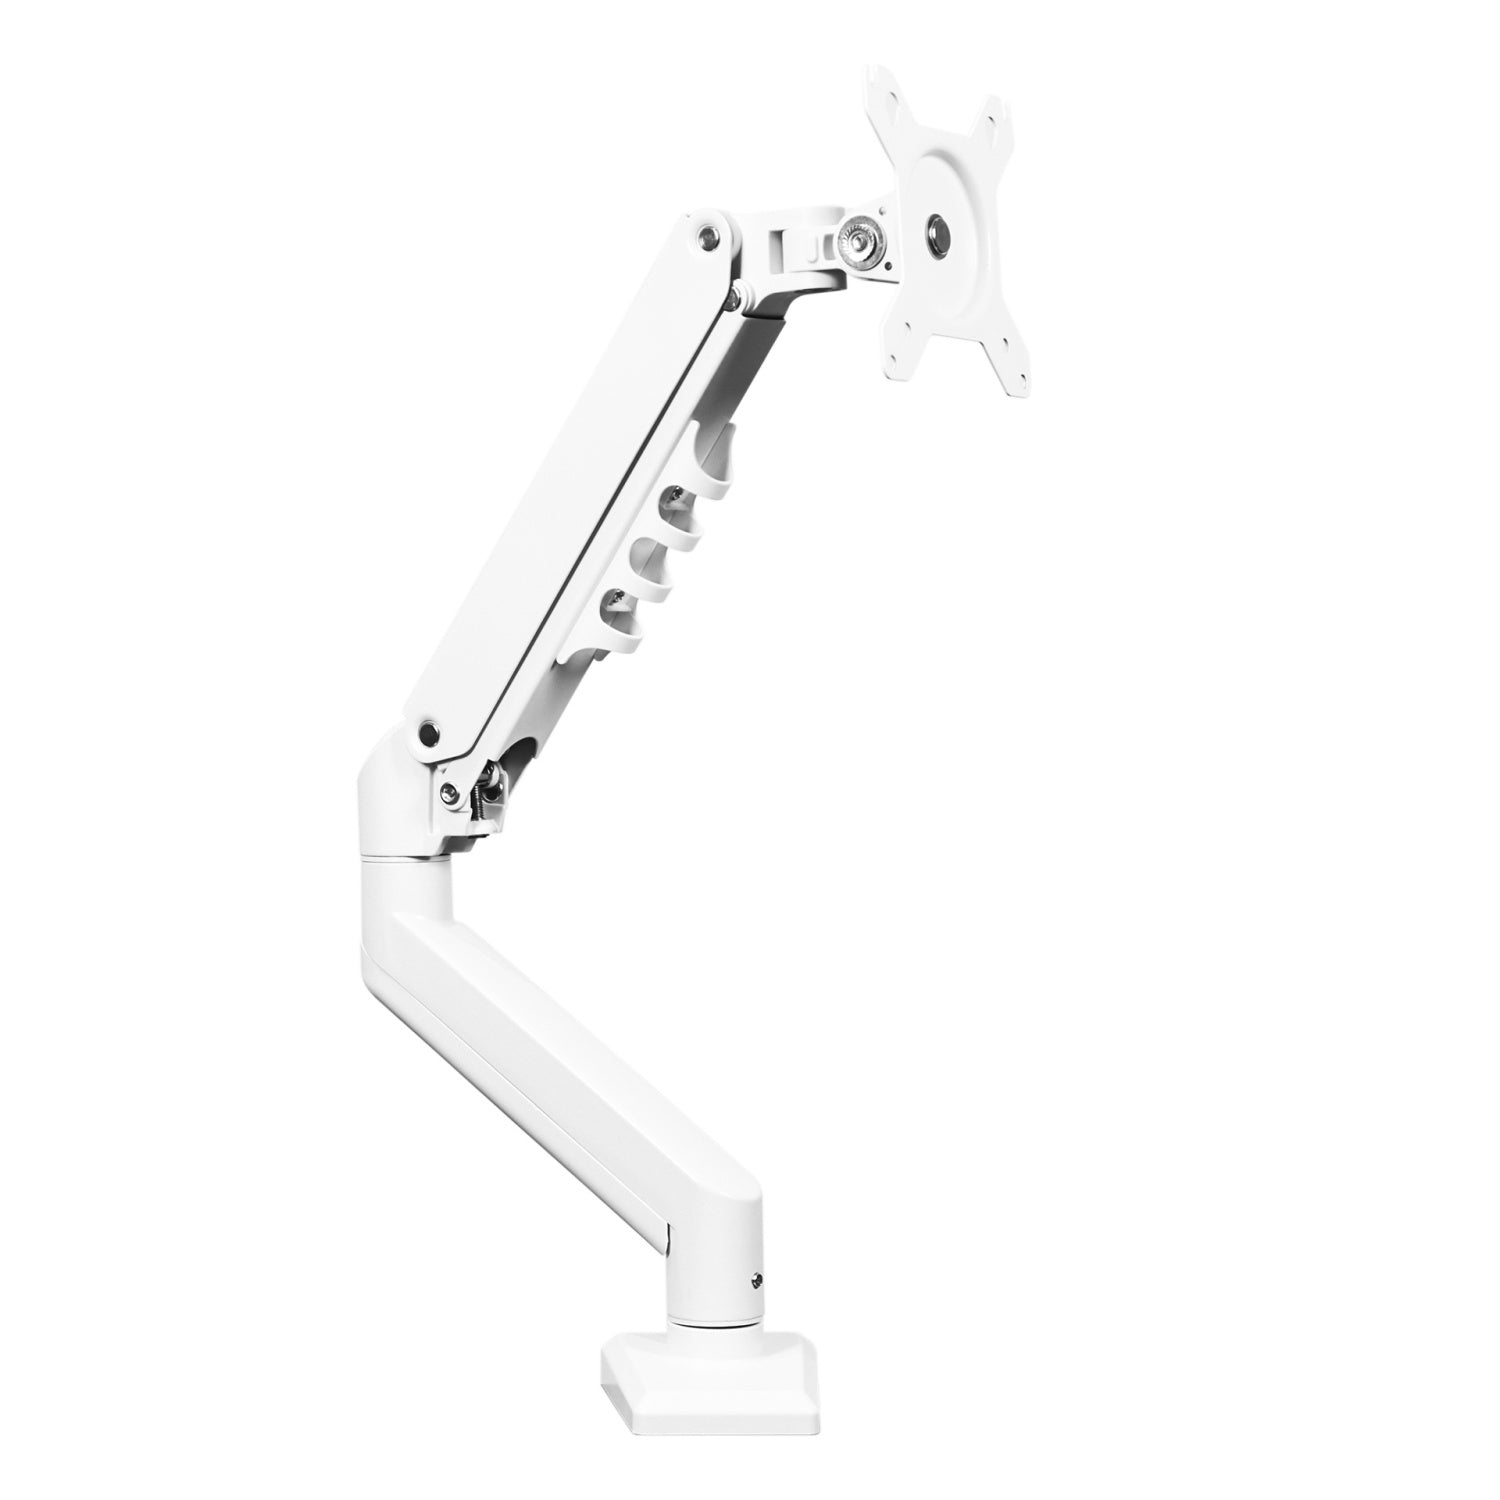
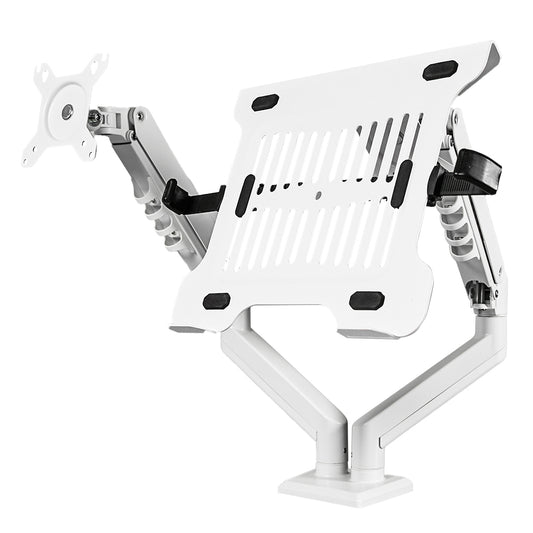
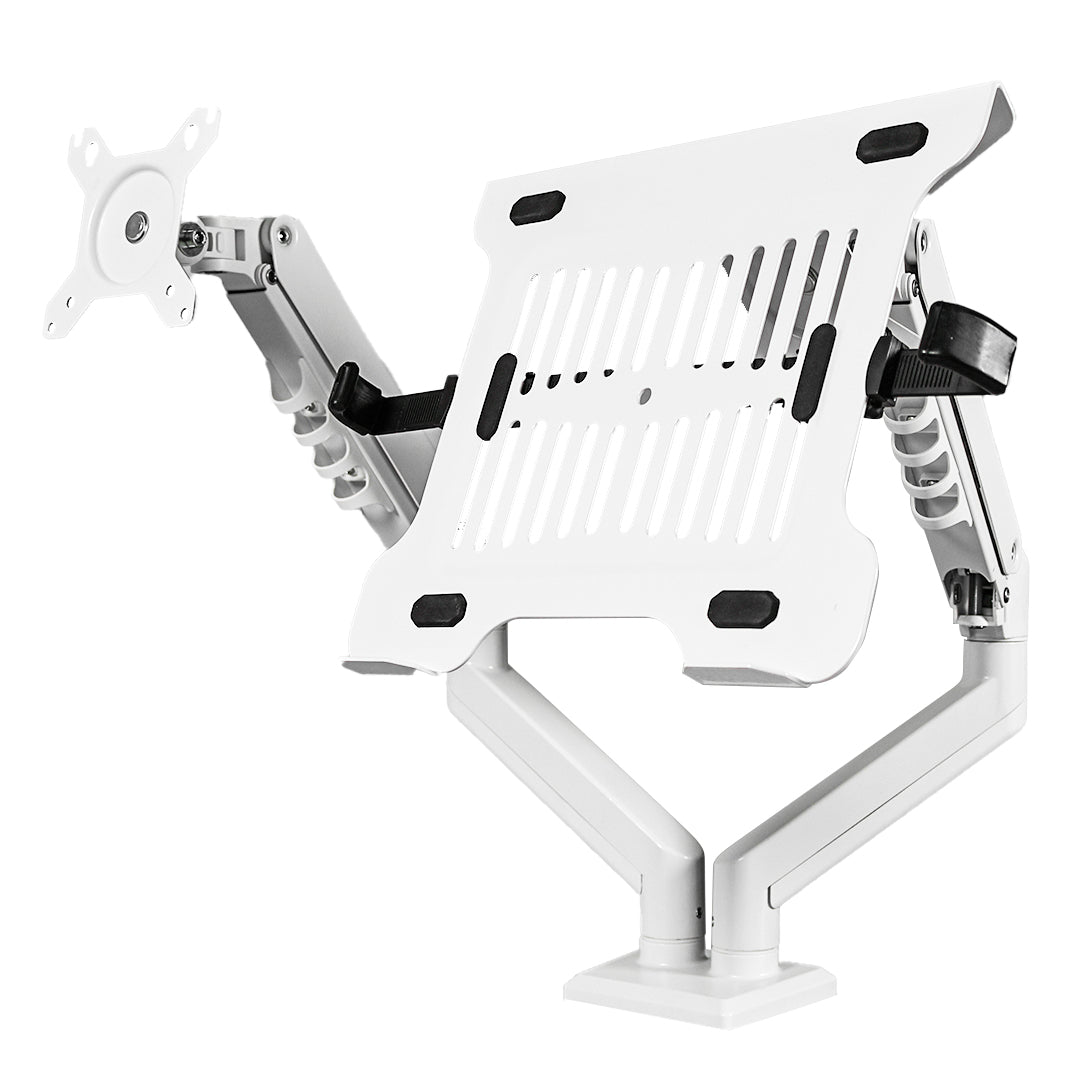
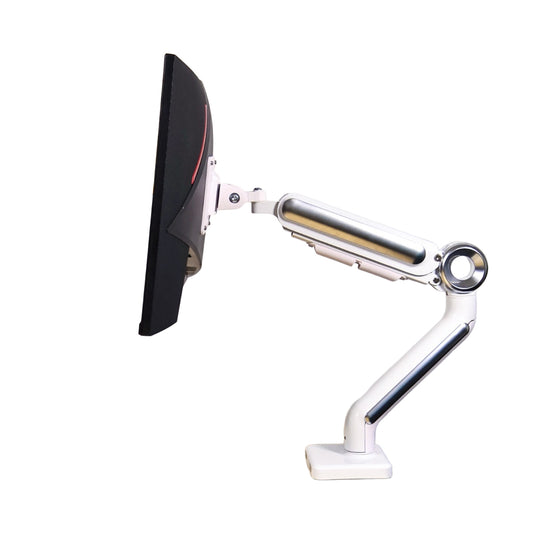
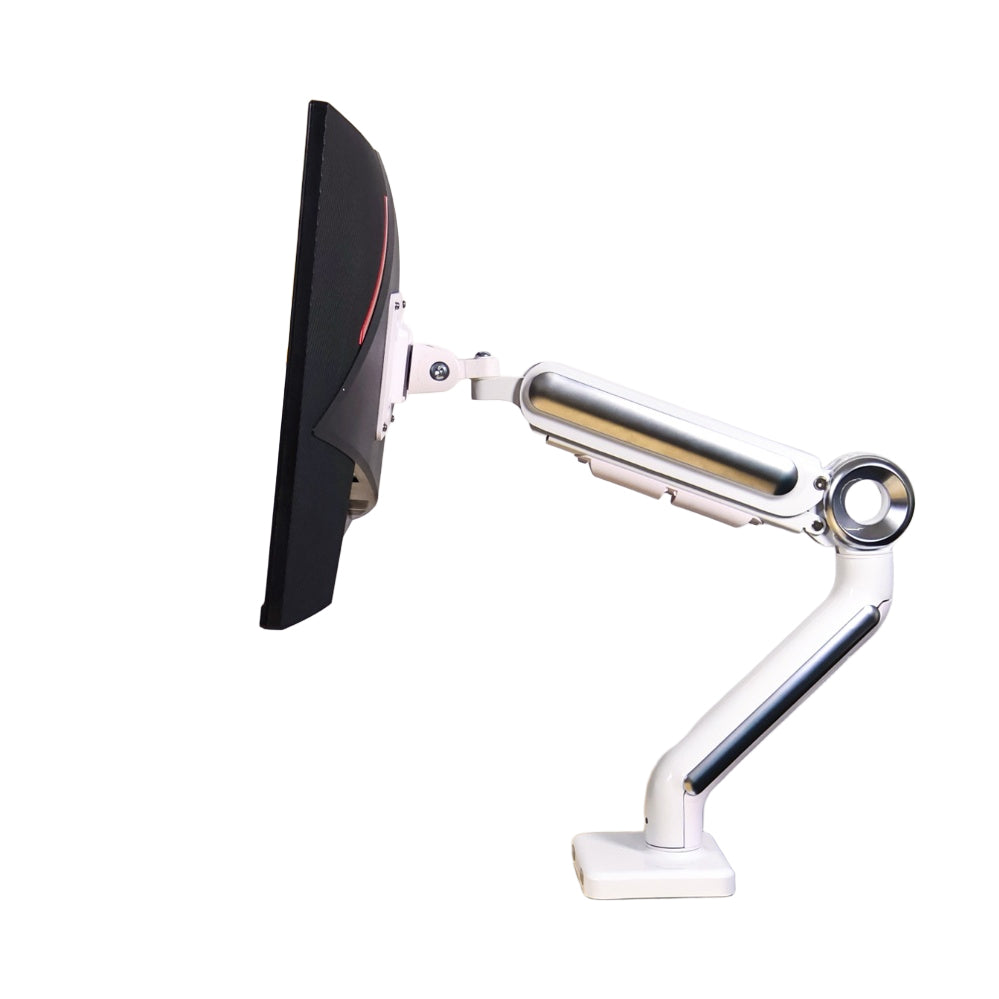
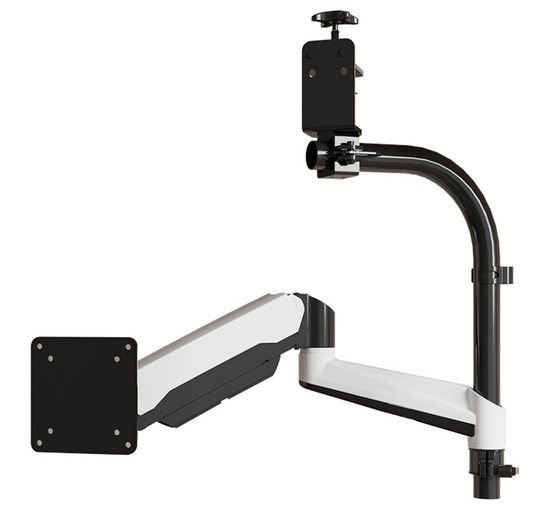
- Monitor arm with built-in cable management — this is the centerpiece of the whole setup, and the tool that makes the biggest visible difference. More on this below.
- Industrial cable raceway / duct — a rigid channel with a snap-on cover that hides cables completely along the underside of the desk.
- Under-desk cable management tray — mounts beneath the desk and gives every wire, adapter, and hub a permanent out-of-sight home.
- Velcro ties — for bundling any remaining loose cables. Velcro over zip ties: it's reusable when you need to swap something out.
- 3M nano adhesive tape — strong, residue-free, and what you'll use to mount the cable duct without drilling anything.
You'll notice a power strip isn't on this list as a special purchase — any well-spaced strip you already own will do. What matters is that it ends up mounted under the desk, not sitting on the surface. We'll get to that.
I'd been putting this off for months because I assumed it would be complicated. Buying everything and doing the work took less than one Sunday afternoon.
The 3-Step Transformation
These steps build on each other. Follow them in order and the whole thing comes together more smoothly than you'd expect.
Step 1 🏗️ — Build your under-desk command center
Start by attaching the under-desk cable management tray to the underside of your desk. Position it roughly in the center so cables can reach it from all directions. Most trays come with screws or adhesive — either works.
Next, use 3M nano adhesive tape to fix the industrial cable duct alongside the tray, running horizontally beneath the desk. This duct is where the bulk of your cables will live once everything is routed.
While you're under the desk, mount your power strip here too — fixed to the underside with its own adhesive or bracket, out of sight entirely. This single move eliminates the most visually noisy object on most people's desks.
Together, the tray, the duct, and the strip form your under-desk cable headquarters. Everything that doesn't belong on the surface will end up here. Take a few minutes to plan your cable routes before moving on — it saves a lot of time later.
Step 2 🖥️ — Let your monitor arm do the heavy lifting
This is the step that makes the most visible difference — and honestly, the one I wish I'd done years ago.
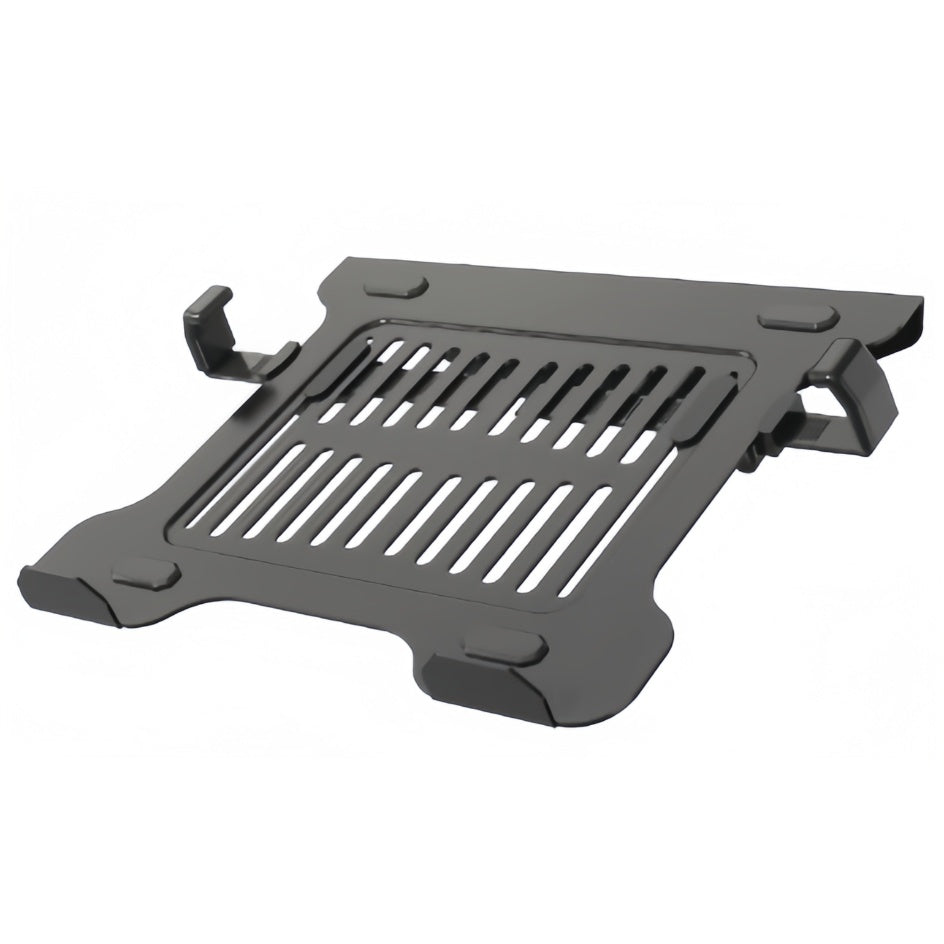
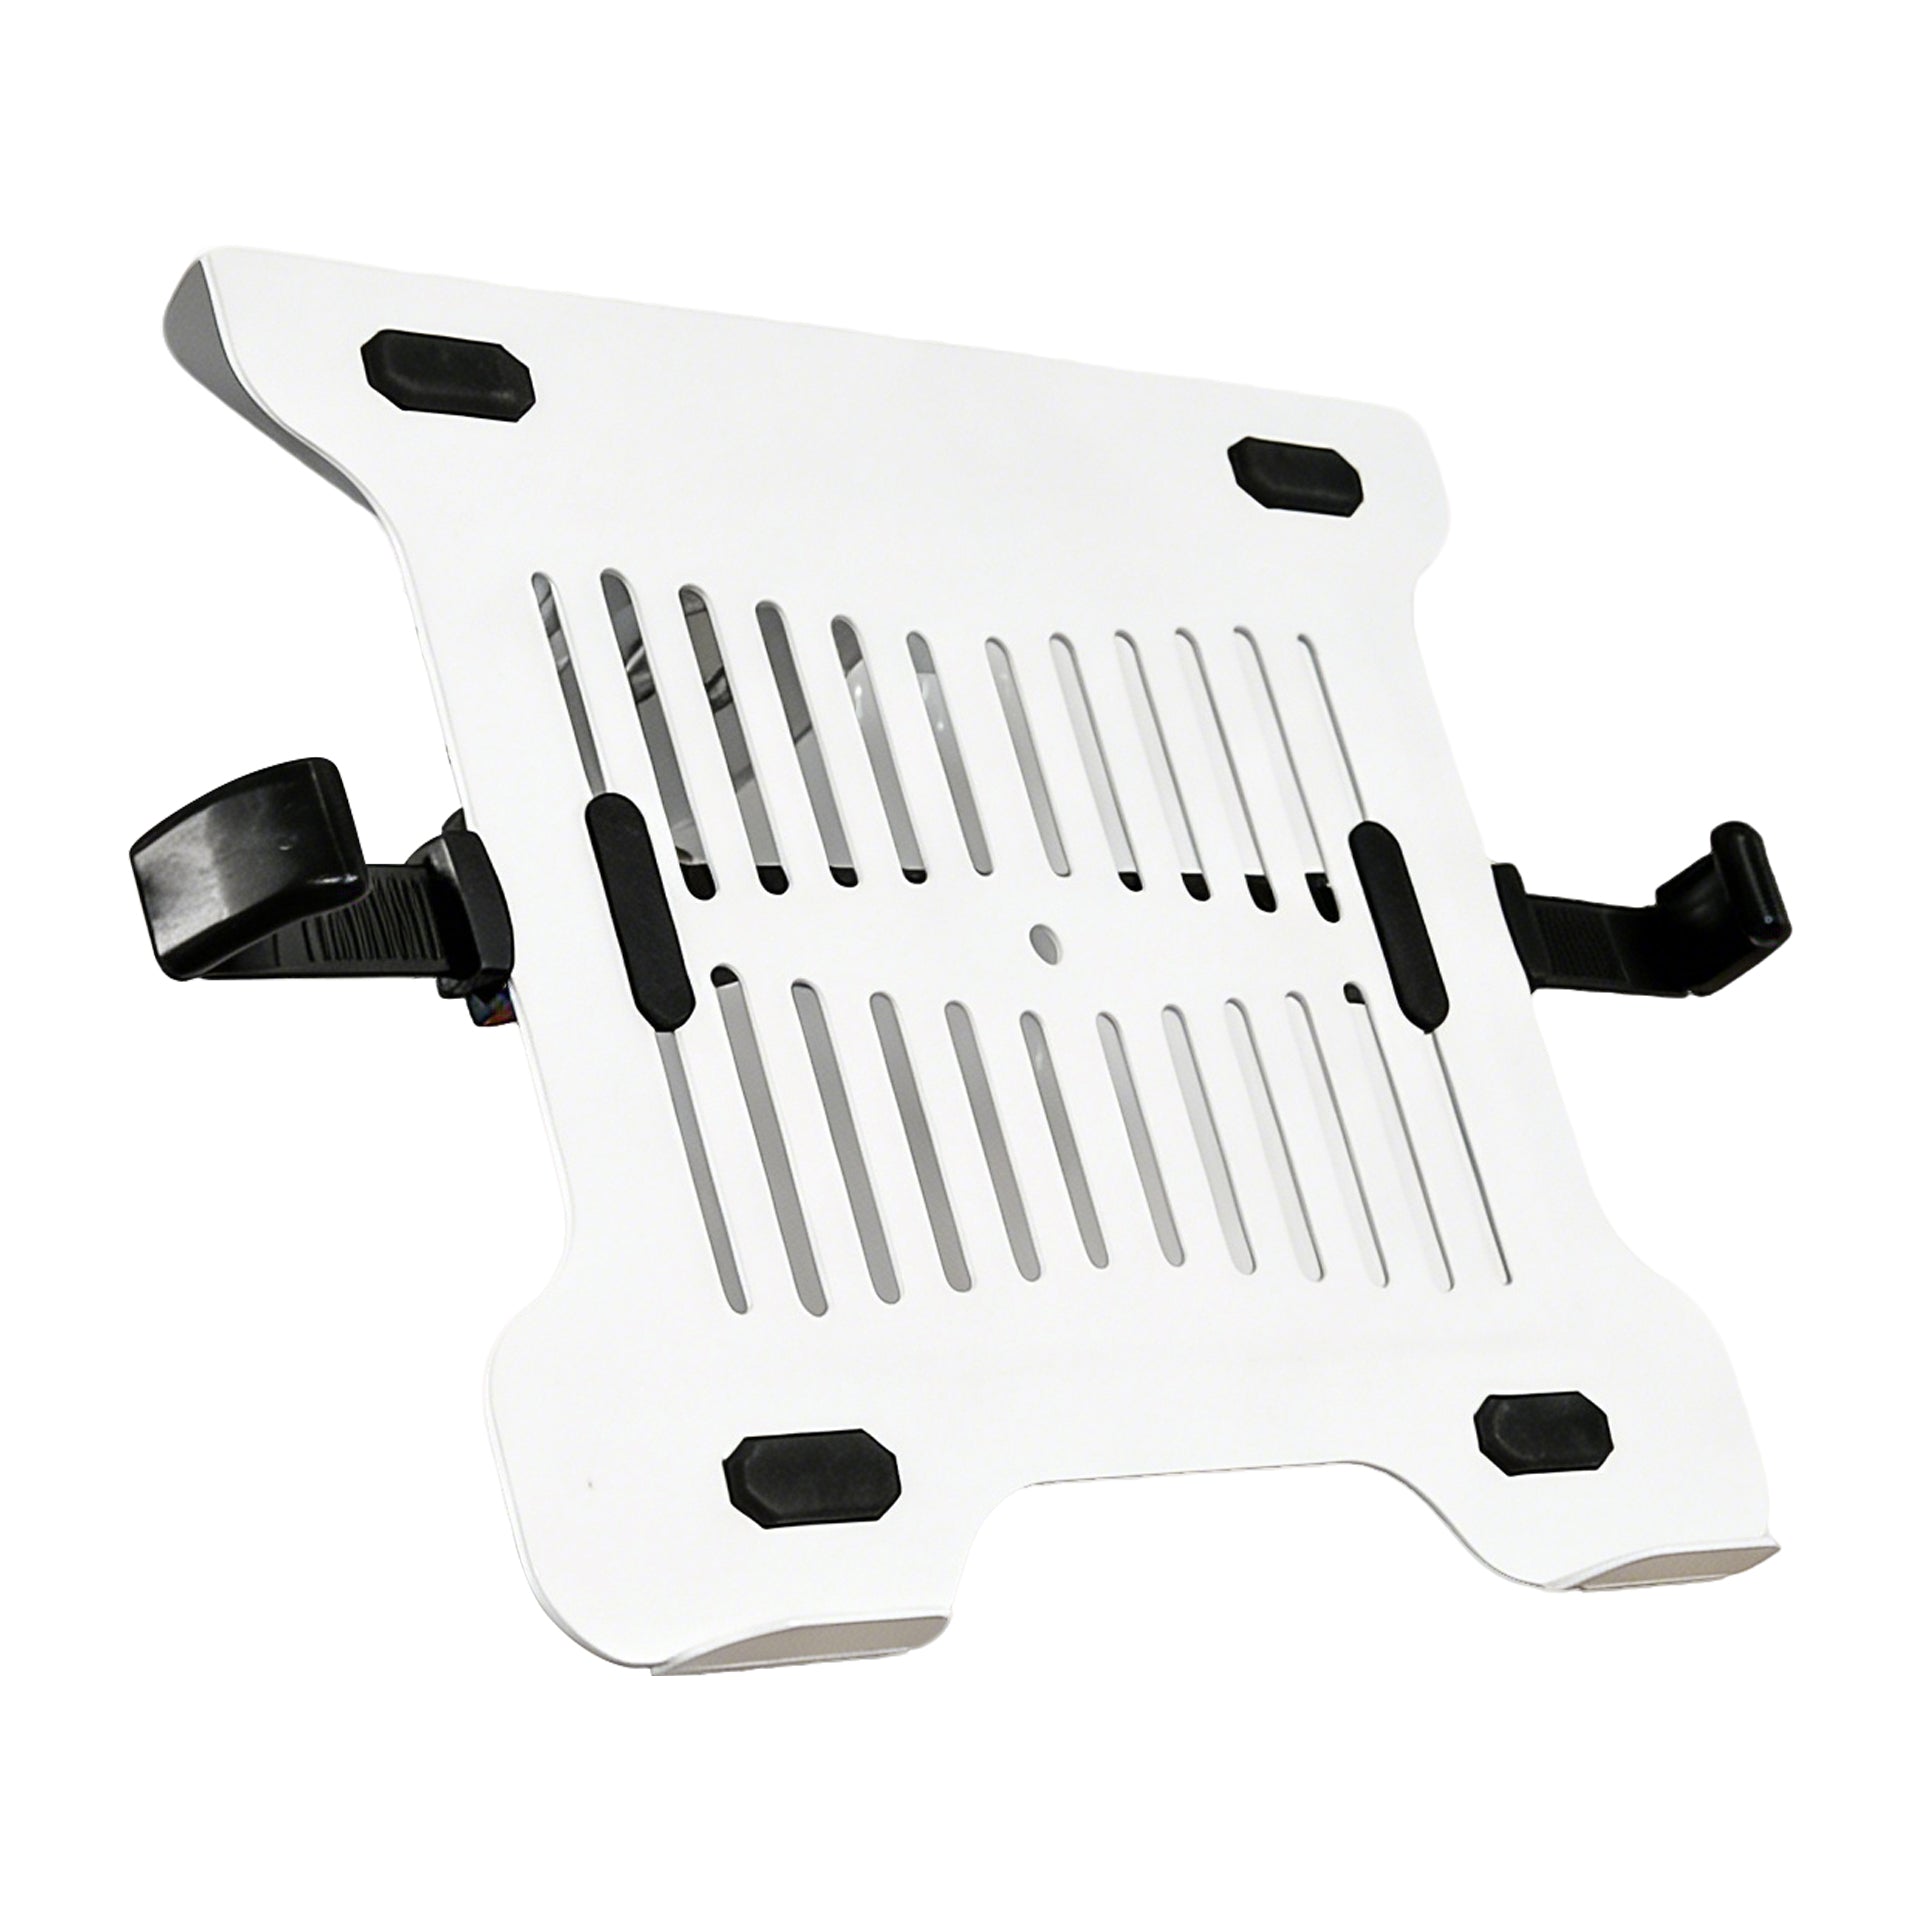
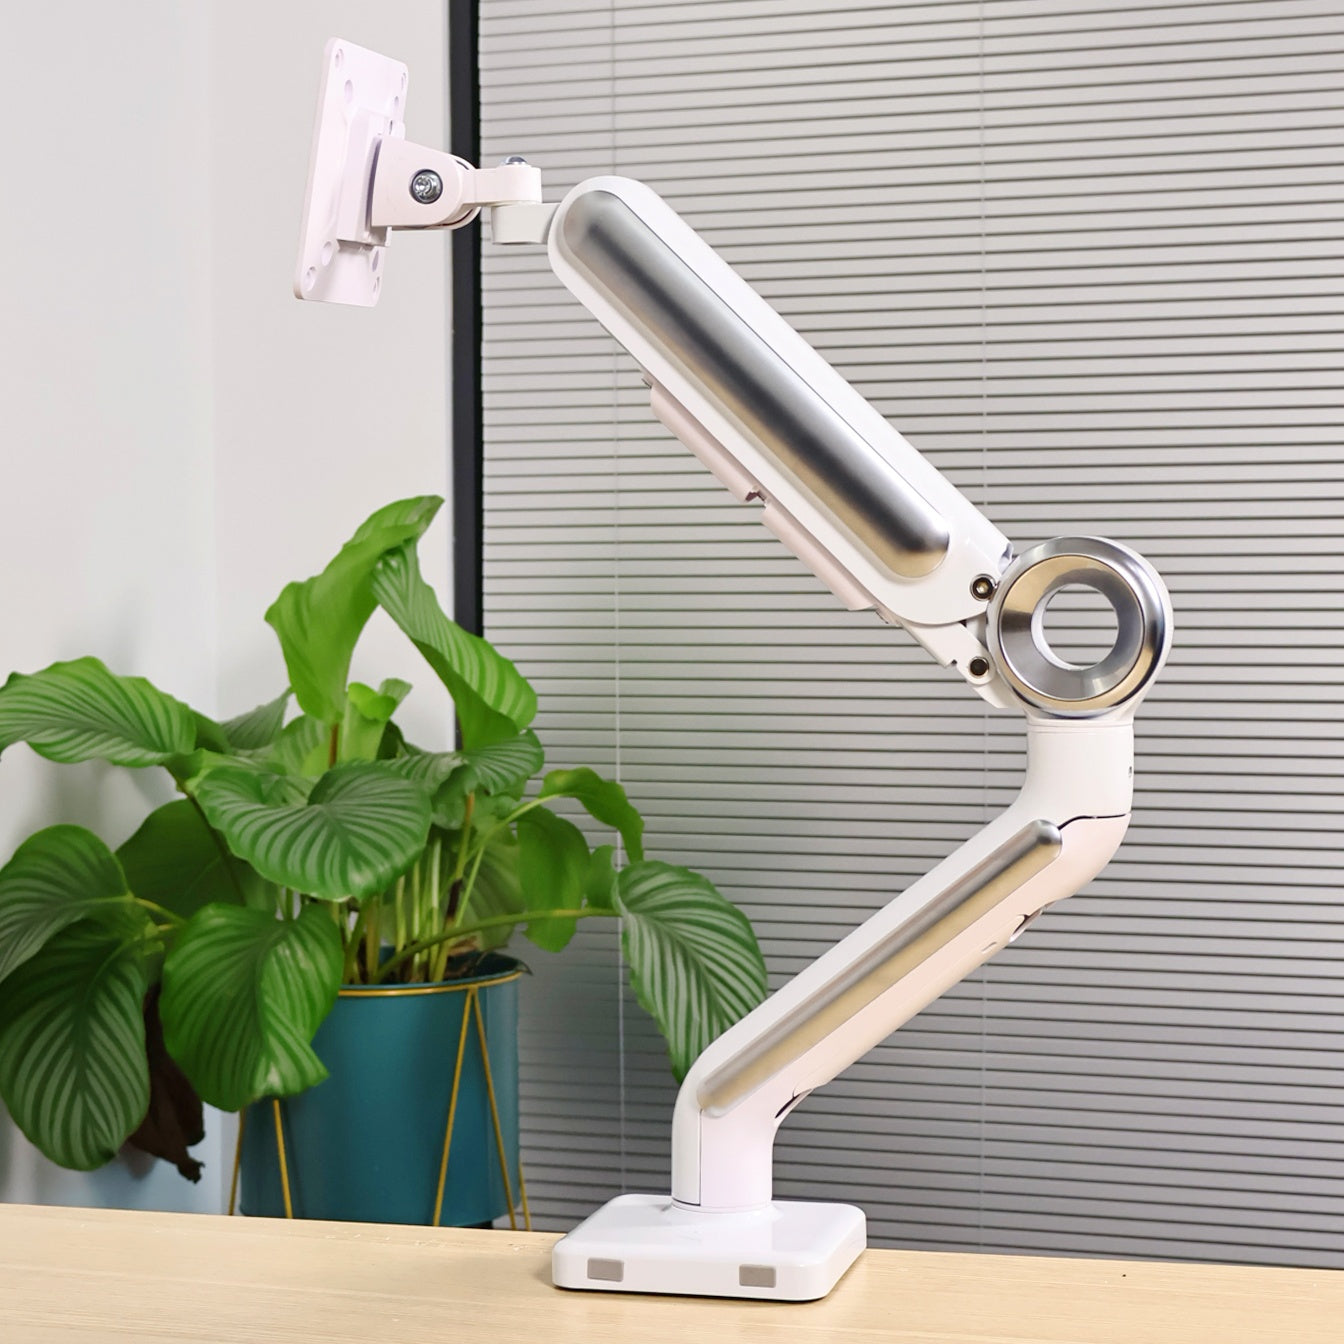
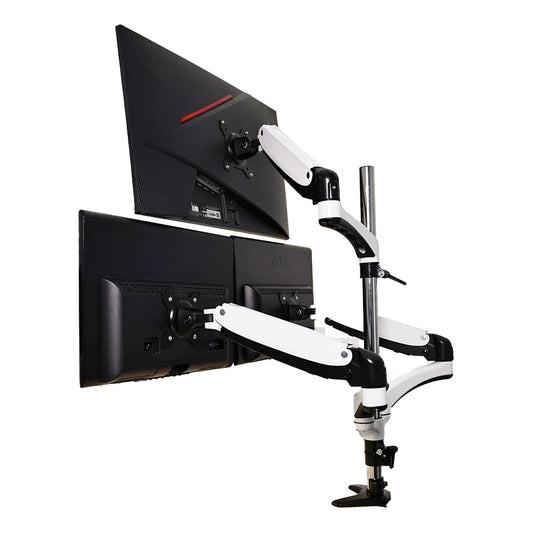
Most monitor arms have a built-in cable channel running through the arm itself. Your display cable, USB-C, and any other connections feed into the arm at the monitor end and exit at the desk end, travelling entirely inside. From the front of your desk, there is nothing to see. No cables hanging down the back of the screen, no loops across the surface — just the monitor sitting where you put it.
One thing worth checking when you choose an arm: make sure the cable channel actually runs the full length of the arm, not just partway. Some arms have a channel that stops halfway, which means you still end up with cables visible on the lower half. The Swelix arms route all the way through, which is what you want.
⚠️ One thing to get right before you start: measure how much cable length you need before feeding anything through the arm. Too little and you'll create tension at the connection points. Too much and you'll have a bundle of excess to deal with at the bottom. Thread one cable at a time, slowly. Getting this wrong and having to pull everything back out is genuinely miserable — ask me how I know.

Step 3 🫙 — Feed, seal, and disappear
With your under-desk infrastructure in place and your monitor arm routed, look at what cables are still exposed. Any remaining leads — peripheral cables, laptop charger, anything else that runs between a device and the power strip — get fed into the industrial cable duct now.
Press them in. Snap the cover shut. They vanish.
For anything that doesn't fit neatly into the duct — the odd stray cable, an adapter that needs to sit somewhere specific — use velcro ties to bundle them into tidy runs and secure them to the underside of the desk.
Then step back, sit down in your chair, and look at your desk from your normal working position. What you should see is a surface with nothing on it except what you put there intentionally. No cables. No clutter. Just your workspace.
What It Actually Feels Like Afterwards
I know it sounds like an exaggeration, but the first evening I sat down at the reorganized desk, something shifted. The low-grade irritation I hadn't even consciously noticed — gone. The desk felt like somewhere I actually wanted to be.
Visual clutter taxes your attention even when you're not aware of it. Every tangled cable is a small thing your brain registers as unresolved. Clear the surface and you clear that background noise too. It's a change that's hard to explain until you experience it, and then it seems obvious.
Of everything in this setup, the monitor arm made the single biggest difference. It's the only tool here that doesn't just hide cables — it eliminates them from sight entirely, at the point where they're most visible. The tray and duct tidy up what's left. The arm is where the transformation actually happens.

A Few Things I Learned the Hard Way
If I were doing this again, here's what I'd tell myself going in:
- Measure your cables before routing them through the monitor arm. An extra five minutes here prevents an hour of frustration later. This is the one step where rushing costs you.
- Don't overstuff the cable duct. It has a real capacity limit. Force too many cables in and the cover won't close properly. If you have more cables than space, use velcro bundles for the overflow rather than cramming everything in.
- Mount your power strip under the desk, not behind it. Behind-desk placement still leaves cable loops visible from the side. Underneath, nothing shows from any seated angle.
- Go wireless before you start, wherever you can. A wireless keyboard and mouse eliminates two cables before you've done anything. Every cable you remove is one less cable to manage.
- Buy more velcro ties than you think you need. They're cheap, they're useful, and there's always one more stray cable that needs tidying.
Looking back, the monitor arm was the one thing I'd been skipping because it felt like overkill. Turns out it was the piece that made everything else actually work.
One last thing
Most of the tools in this guide are genuinely interchangeable — grab whatever cable tray and velcro ties you can find locally, they'll all do the job. The one thing worth being selective about is the monitor arm, specifically whether it has a cable channel that runs the full length of the arm. That detail is what makes the difference between a tidy desk and a truly wire-free one.
Everything else is just an afternoon of work. It's not complicated, it's not expensive, and the result is one of those small changes that ends up mattering more than you'd expect.
If you're curious about the monitor arm I use, you can find it at Swelix. Happy to answer any questions.
Browse monitor arms → More desk setup inspiration