
Where Did All the Cables Go? My Desk Setup and the Cable Management Routine I Actually Use
I'm someone who can't focus when the space around me is messy. Cables bundled up on the desk, a power strip sitting in plain sight, chargers snaking across the surface — I put up with that for longer than I'd like to admit.
Then one afternoon I cleared everything off, put it all back intentionally, and noticed the difference immediately. The desk felt calm. Sitting down to work felt different.
People who visit my studio always end up asking the same thing: "Wait — where are all your cables?" This post is the answer. I'm sharing the exact four things I use, and a few habits that tie it all together.

The real trick happens underneath the desk
Most people try to tidy their desk from the top down — a new tray here, a cable clip there. The cables stay. What actually works is getting every single wire out of your line of sight entirely, which means routing them below the desk surface and keeping them there.
It doesn't take much. Four tools, a clear afternoon, and you won't have to think about it again.
Before I sorted this out, the first thing I saw every time I sat down was the mess. Changing that one thing made the whole desk feel like a different place.
My cable management checklist — four things
Each of these does something specific, but they work best as a system. Here's how I think about them.
1. 🔌 A long power strip — the foundation of everything
If I had to keep just one thing on this list, it would be this. With a lot of devices on my desk, the power strip is where everything starts — and a bad one makes every other part of the setup harder.
The one I use has 8 outlets with enough spacing between them that every plug sits comfortably — no adapter blocking the one next to it. There are also USB-A and USB-C fast-charge ports (20W each), so my phone and earbuds charge directly without using up an outlet.
It has an automatic overload shutoff, so if I push the total wattage too high it cuts out rather than quietly damaging something. There's also built-in surge protection, which I don't think about until a storm rolls through — and then I'm glad it's there.
The part I appreciate most is the 360° adjustable mounting bracket. It comes with both adhesive pads and screws, and I've had it fixed to the underside of my desk ever since. From any normal seated angle, it's completely invisible. The matte black finish helps — it just disappears into the shadow under the desk.

2. 🗂️ An under-desk cable tray + velcro ties
Once the power strip is mounted under the desk, the cables still need somewhere to go. A cable management tray mounts to the underside of the desk and gives every wire a home — power cables, USB hubs, spare adapters, all of it.
I pair it with a handful of velcro ties, grouped loosely by device. Once it's set up, I don't touch it. The area below my desk went from a tangled mess to something I don't think about at all. Out of sight, genuinely out of mind.

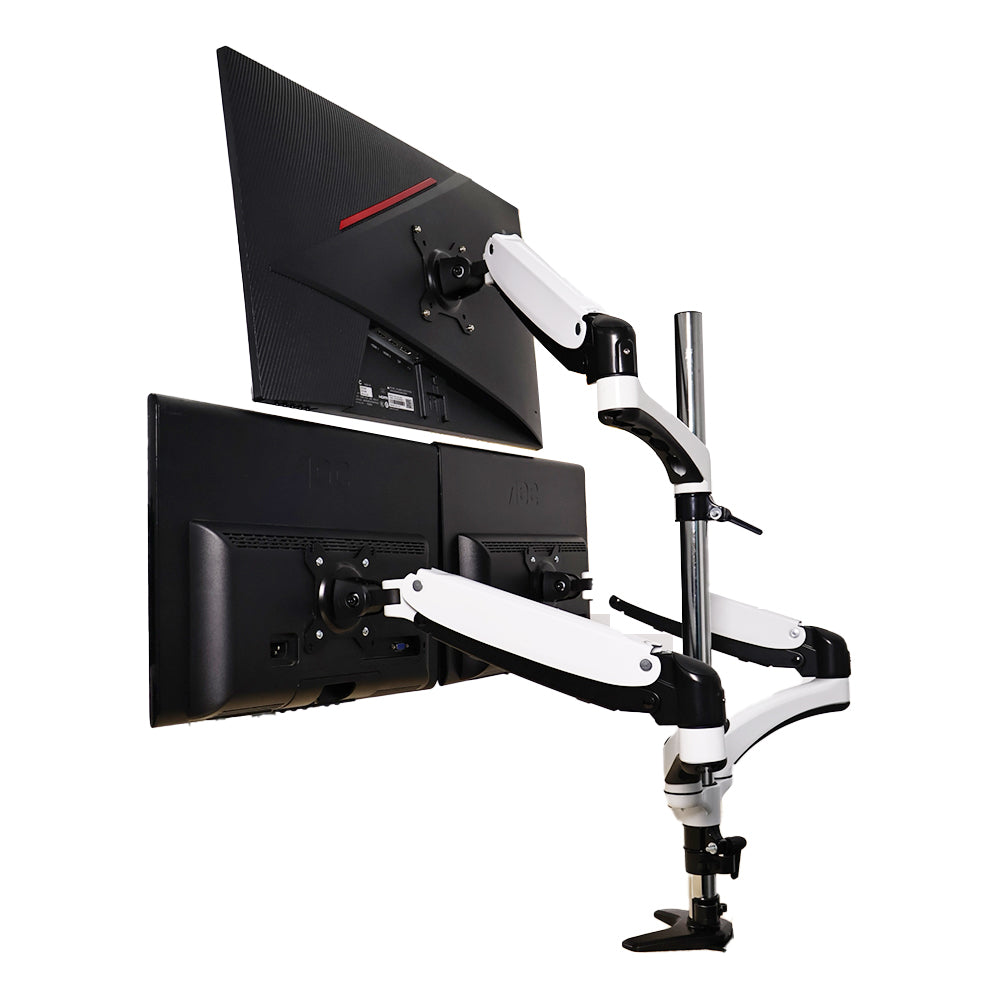
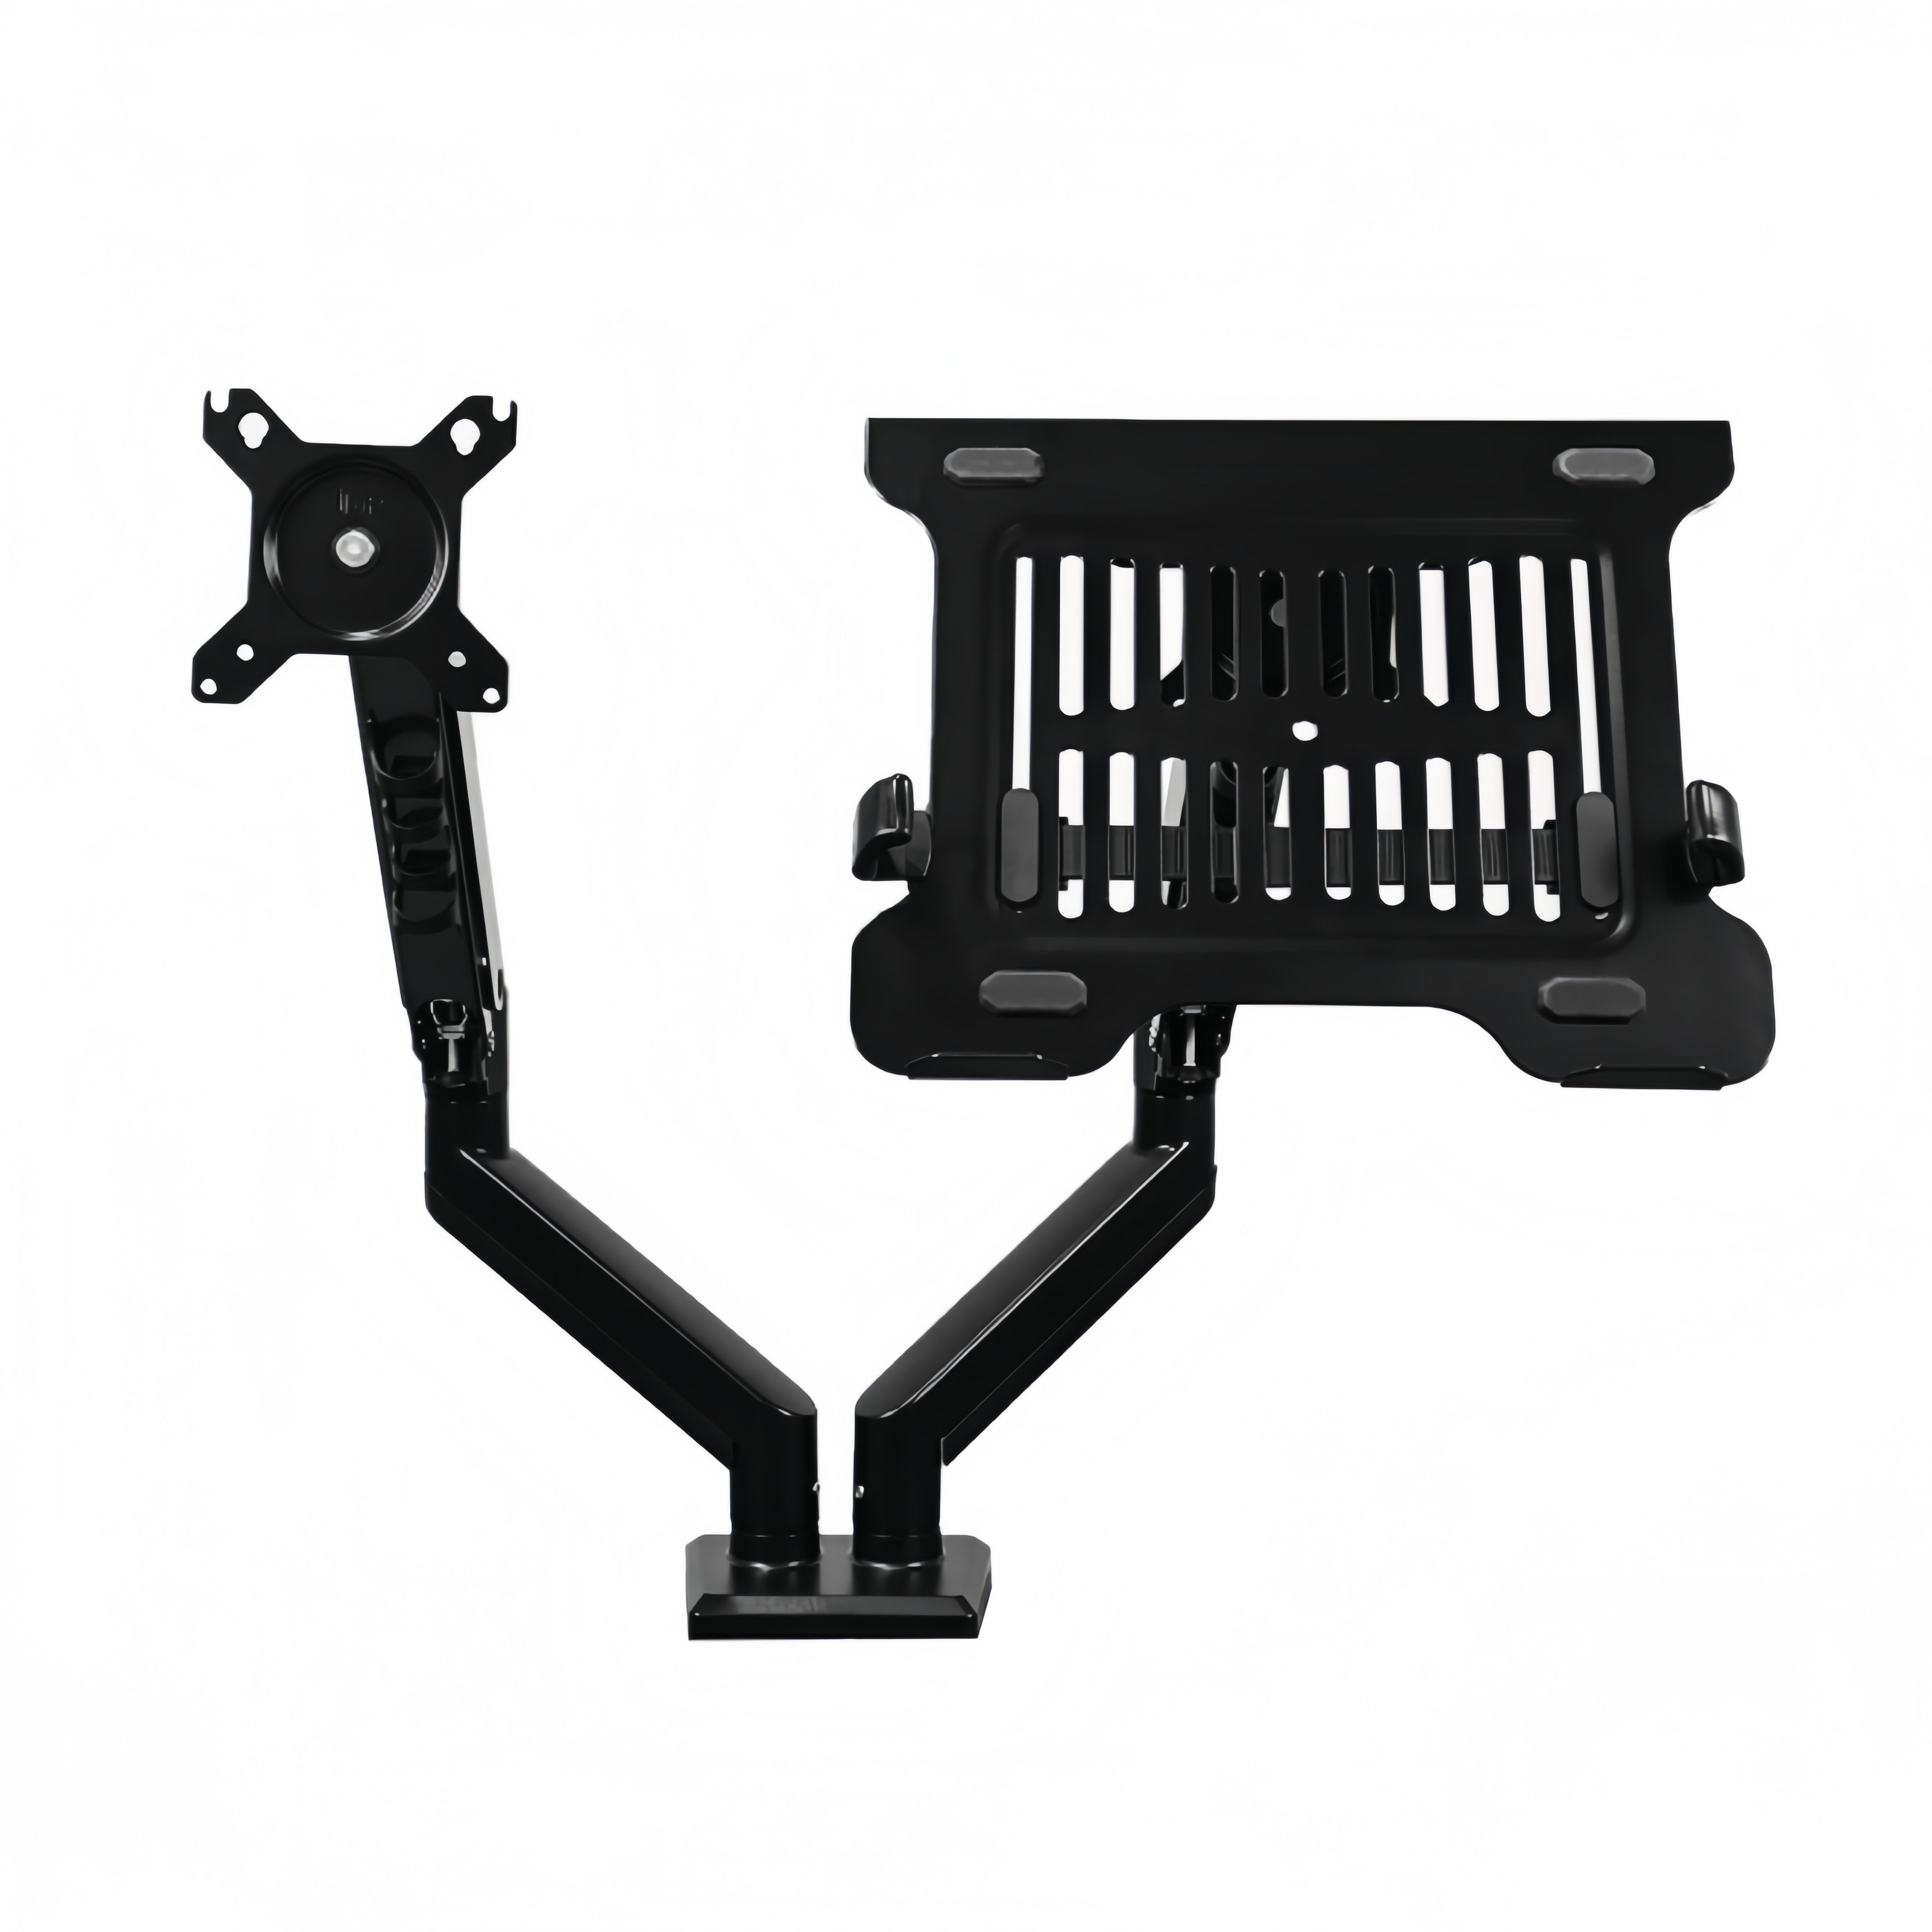
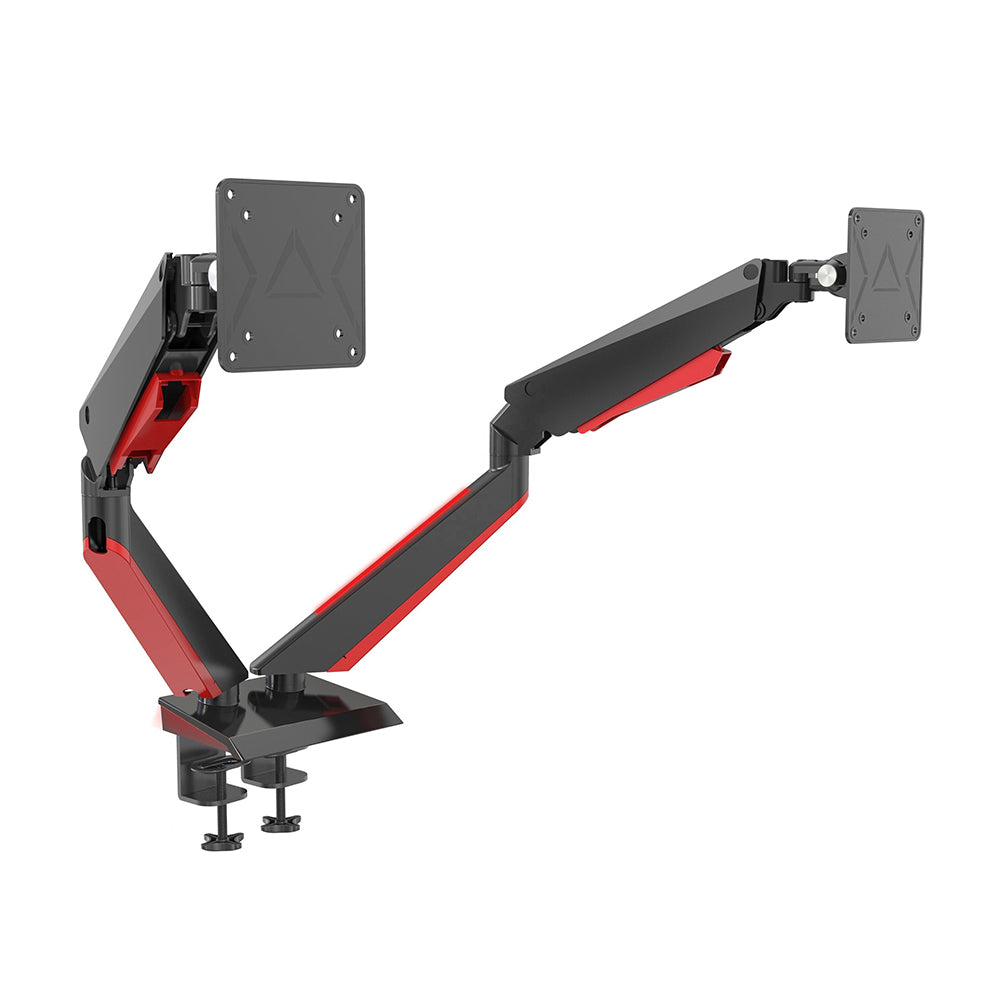
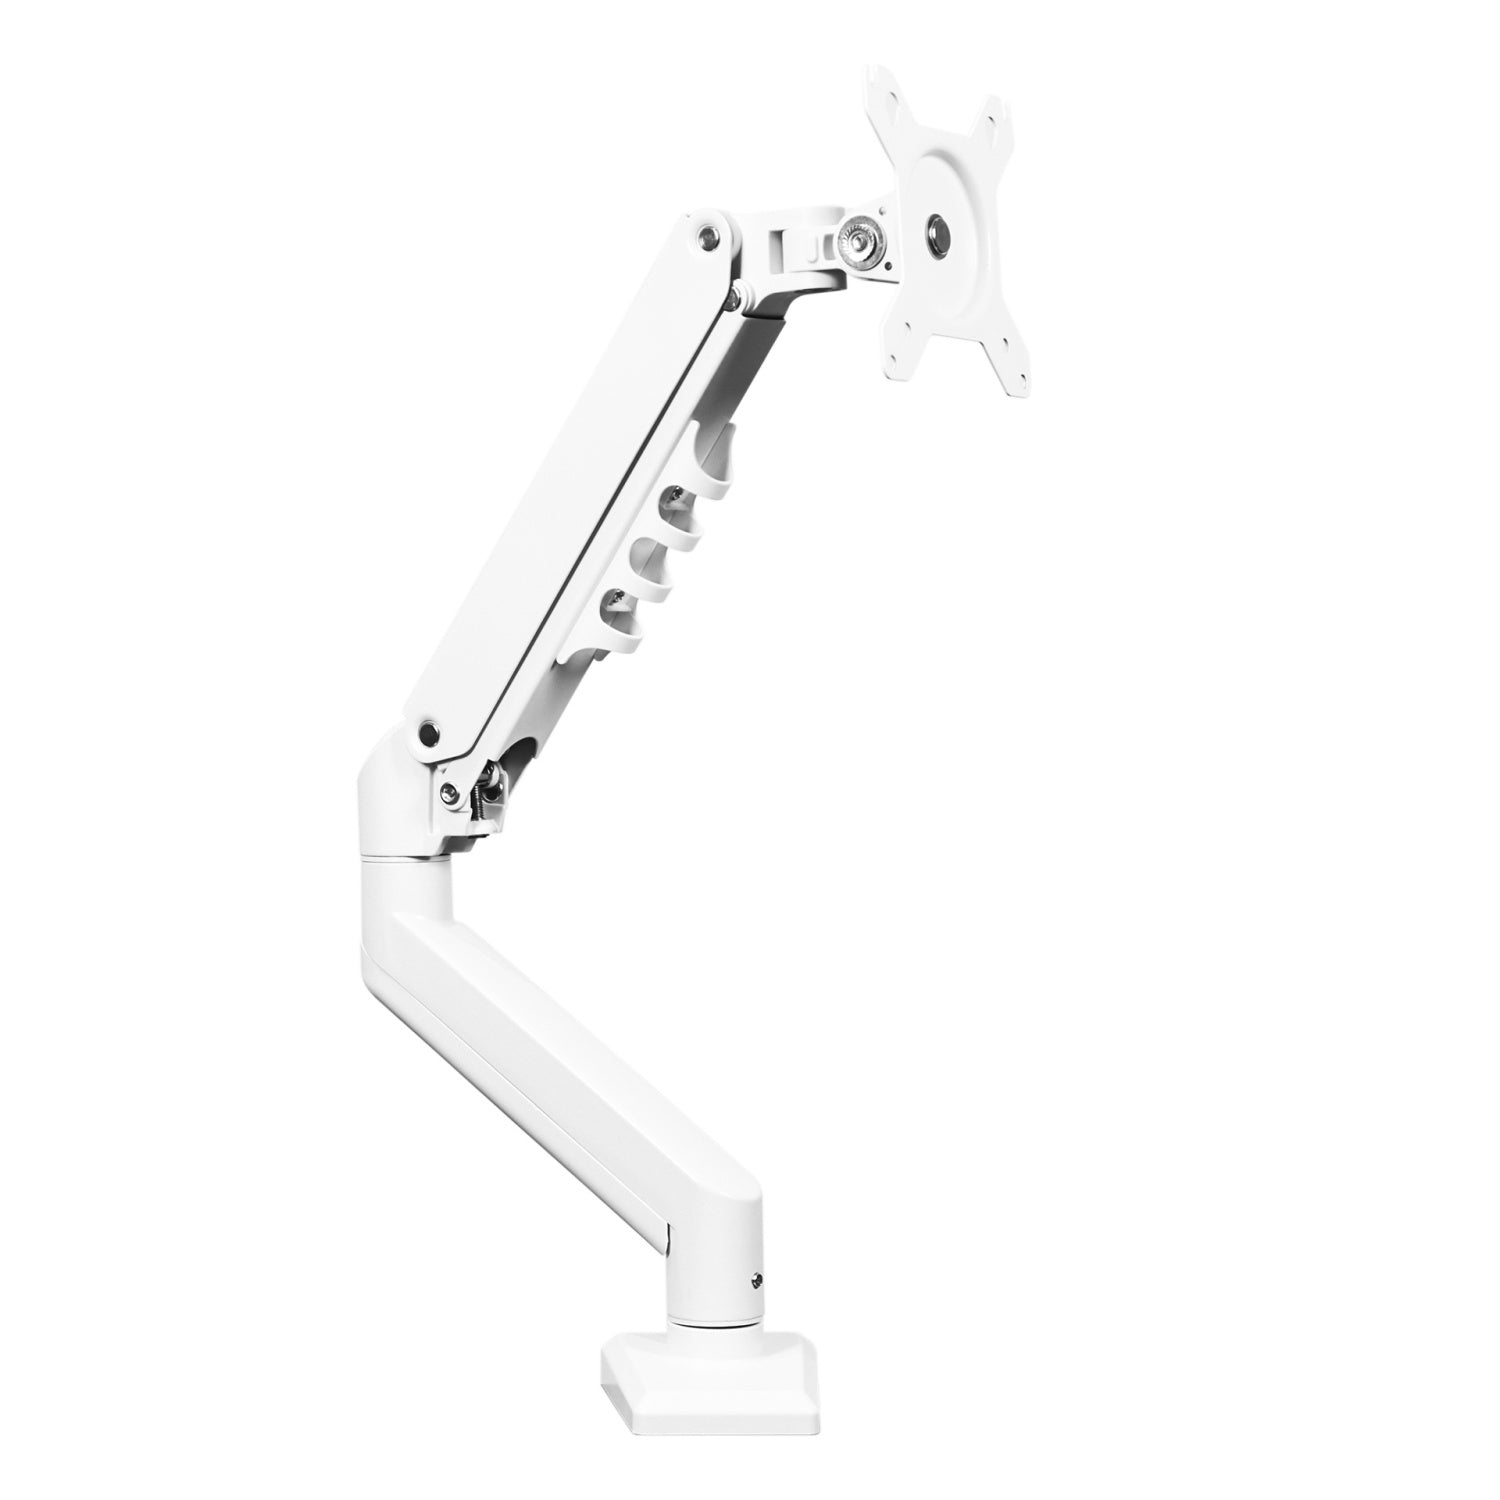
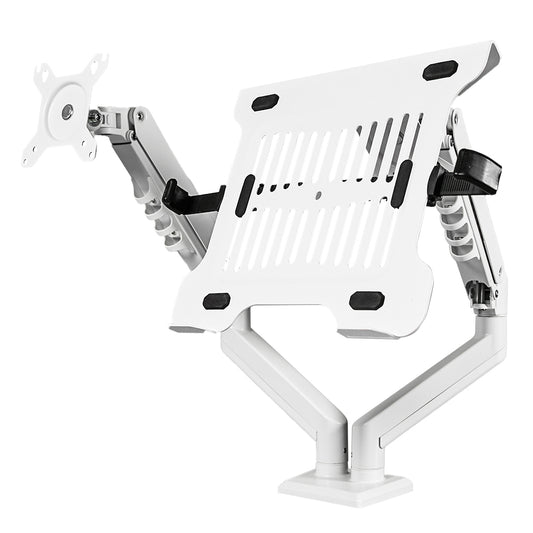
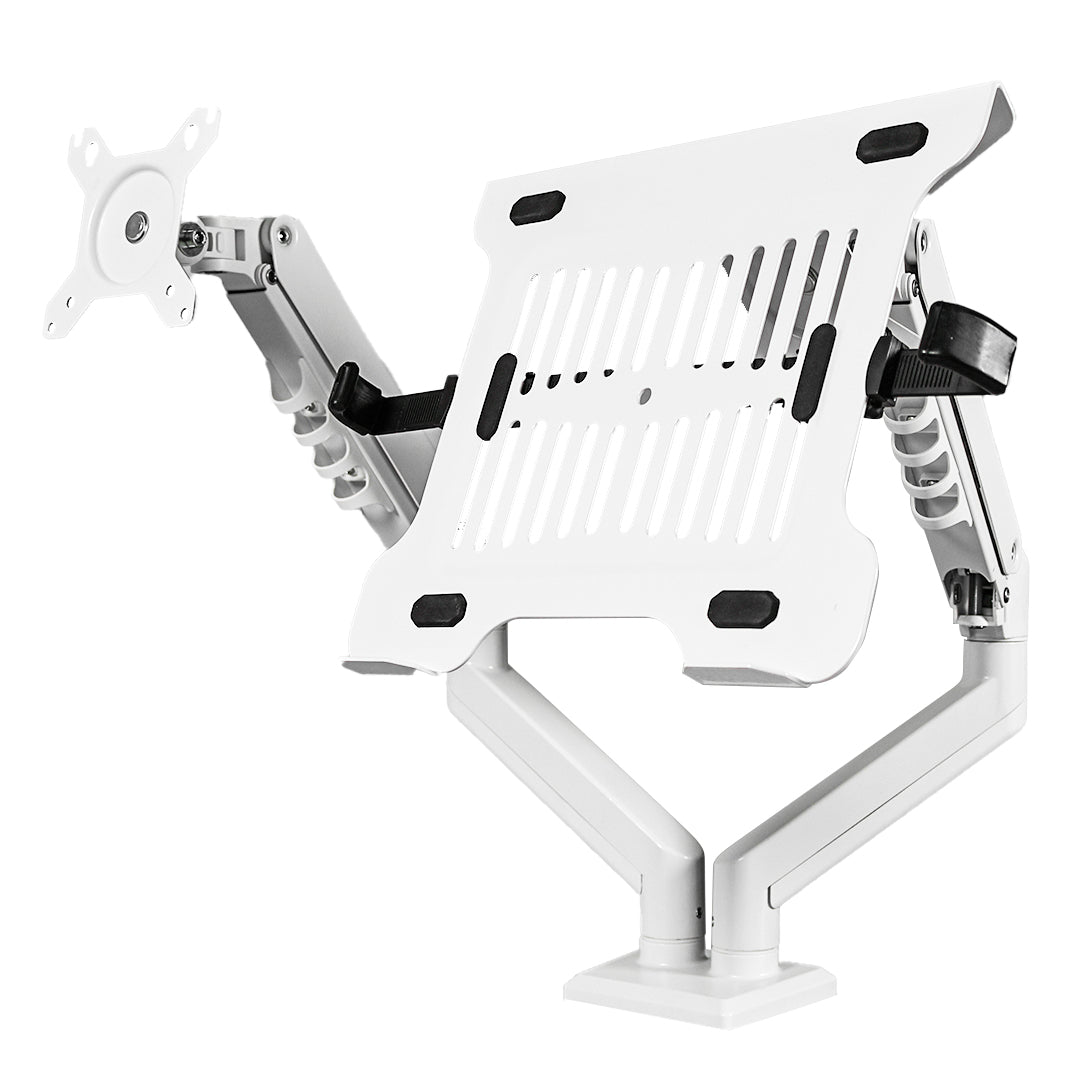
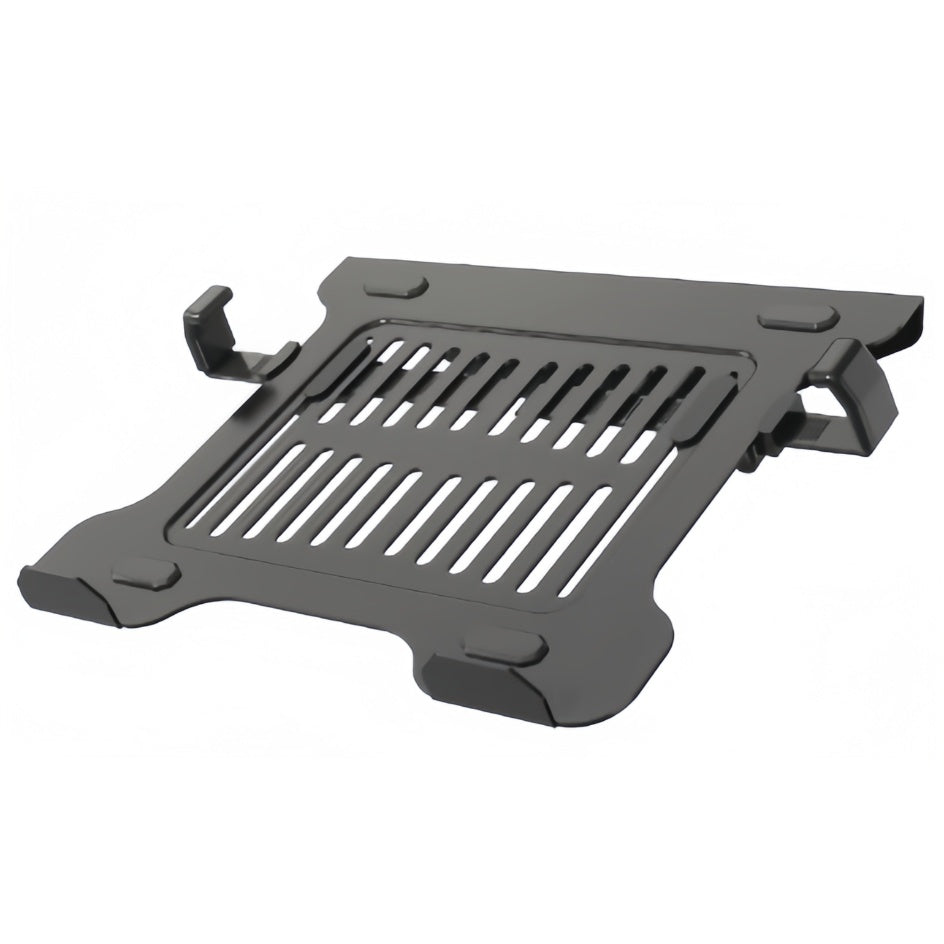
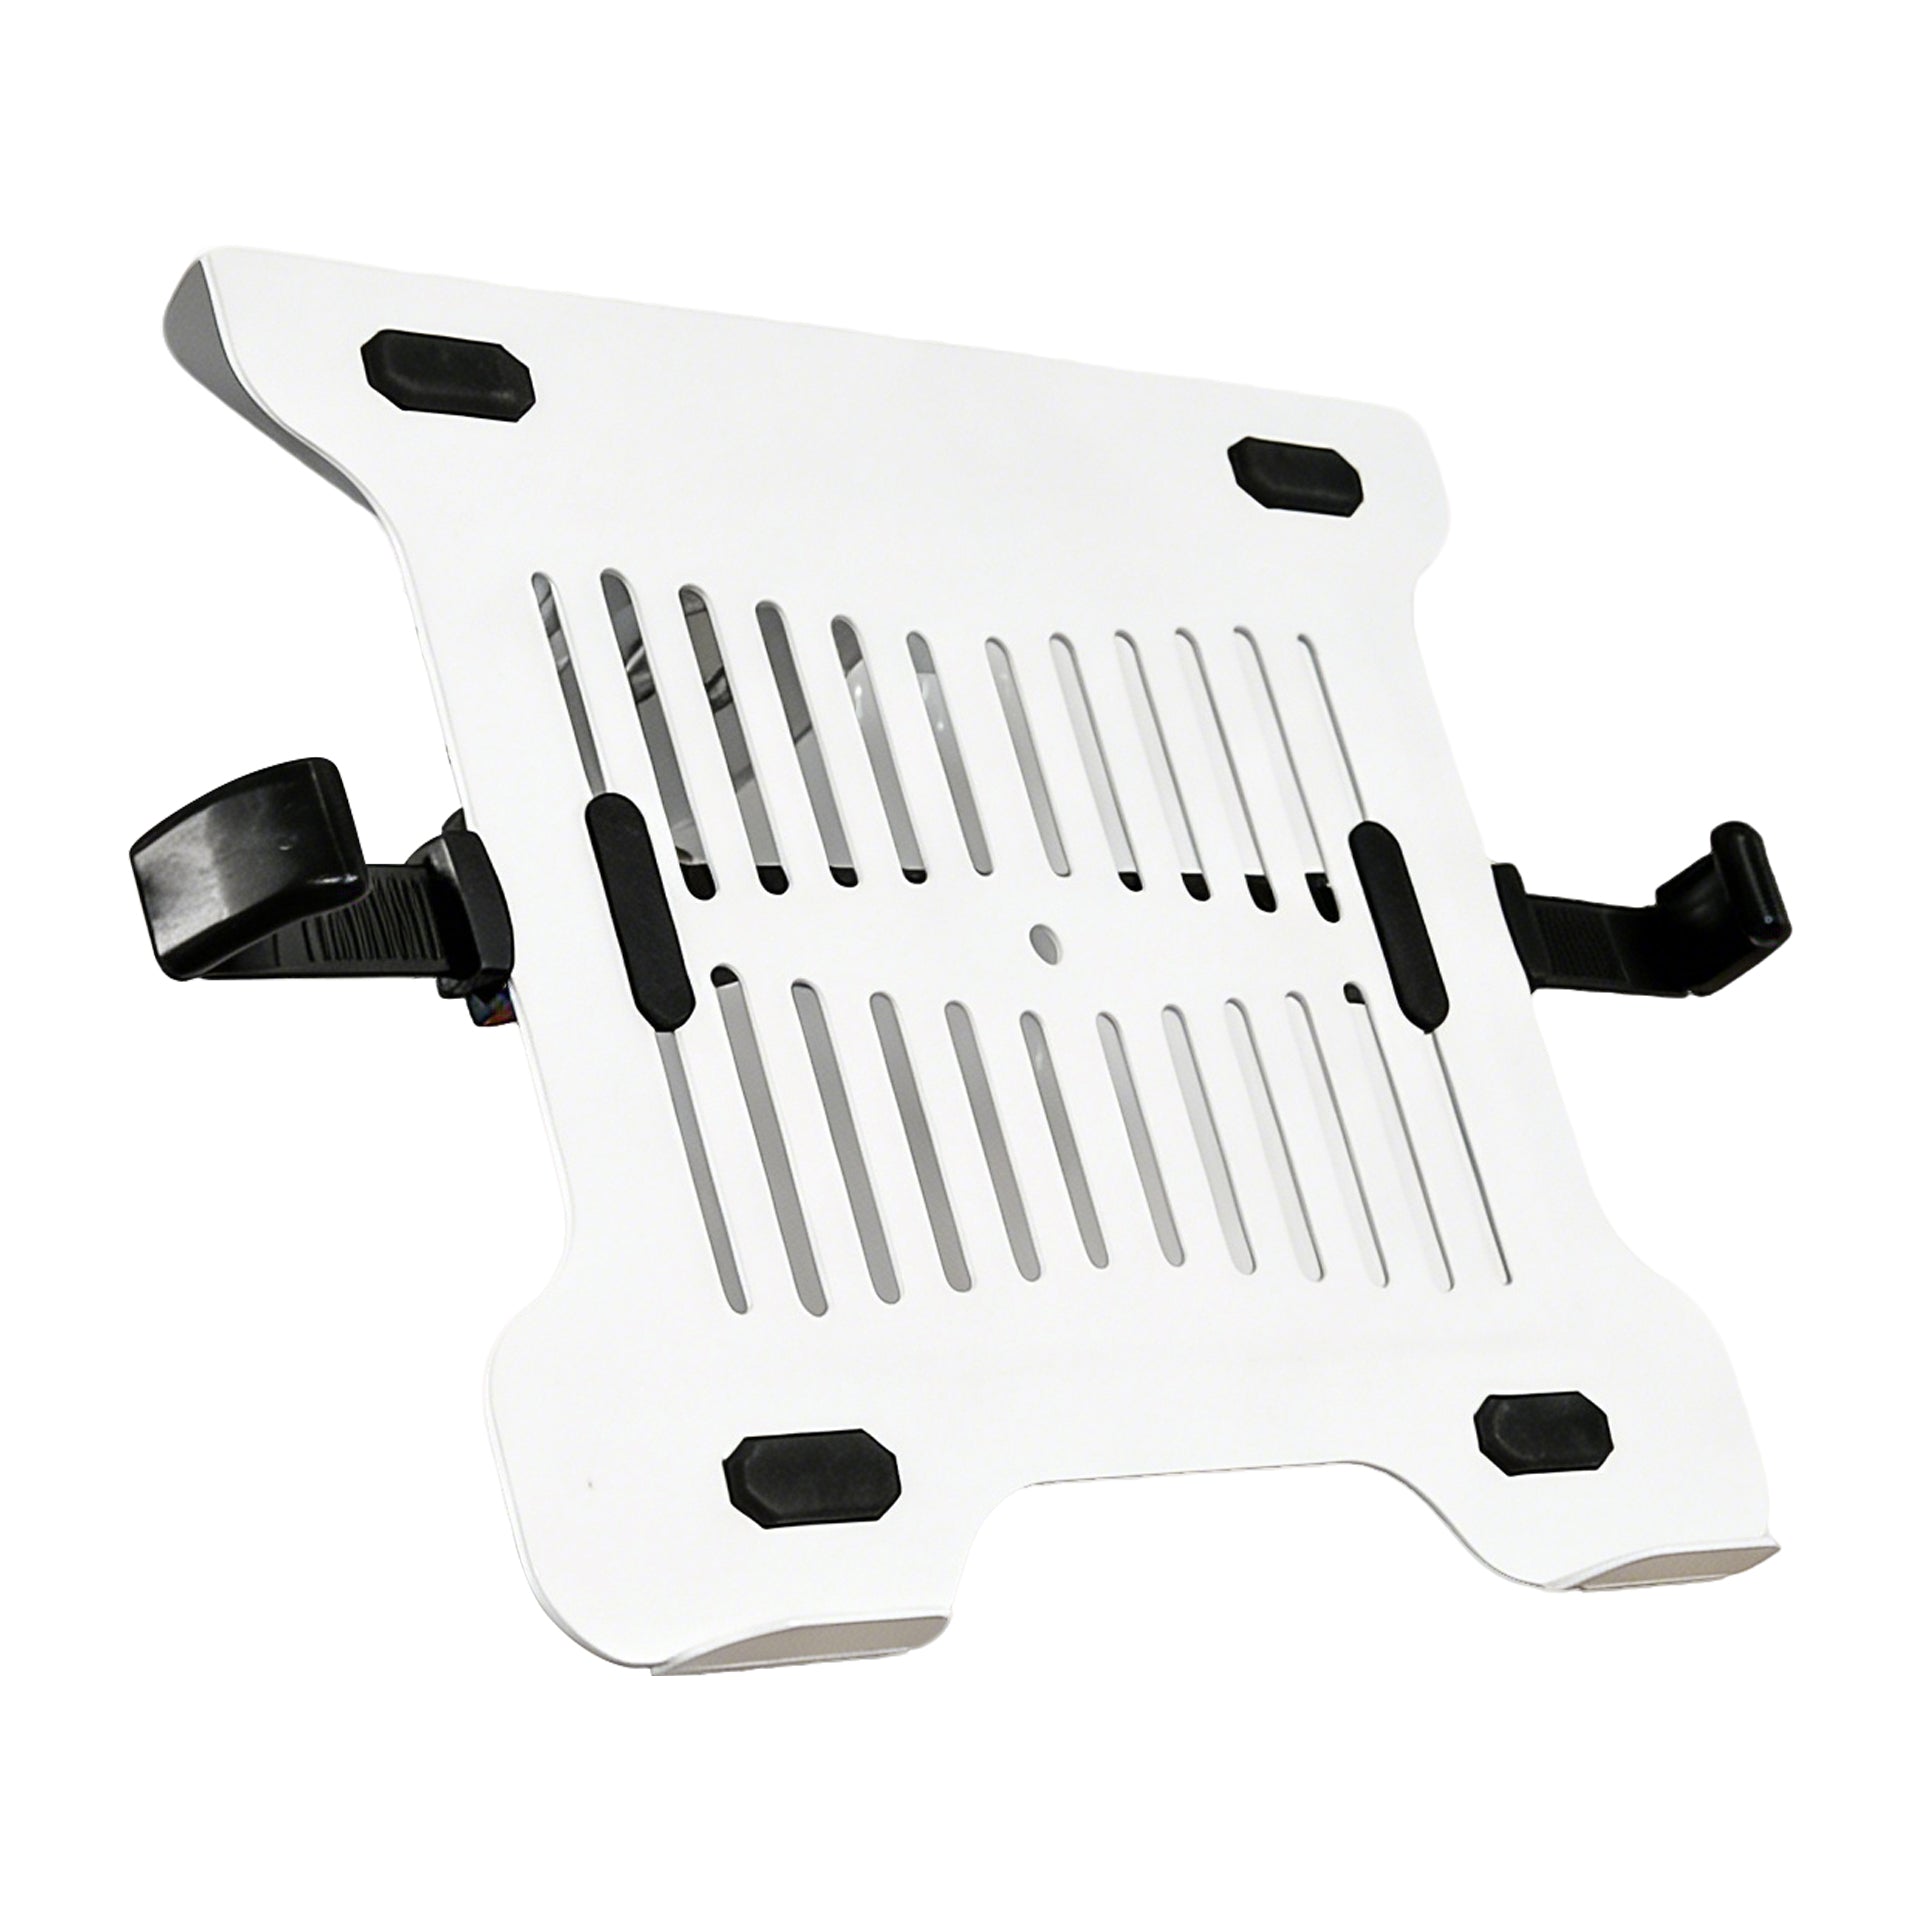
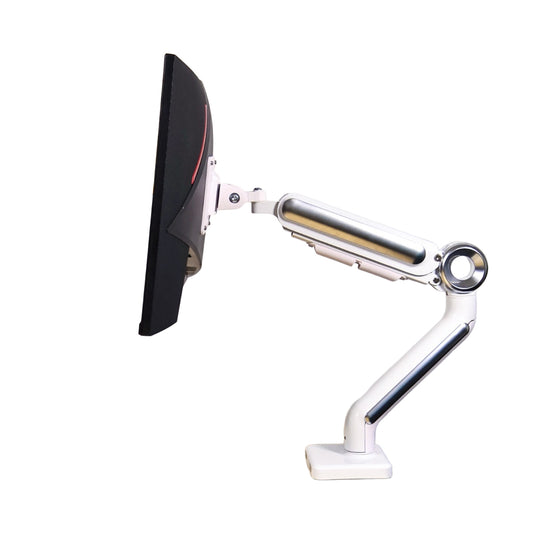
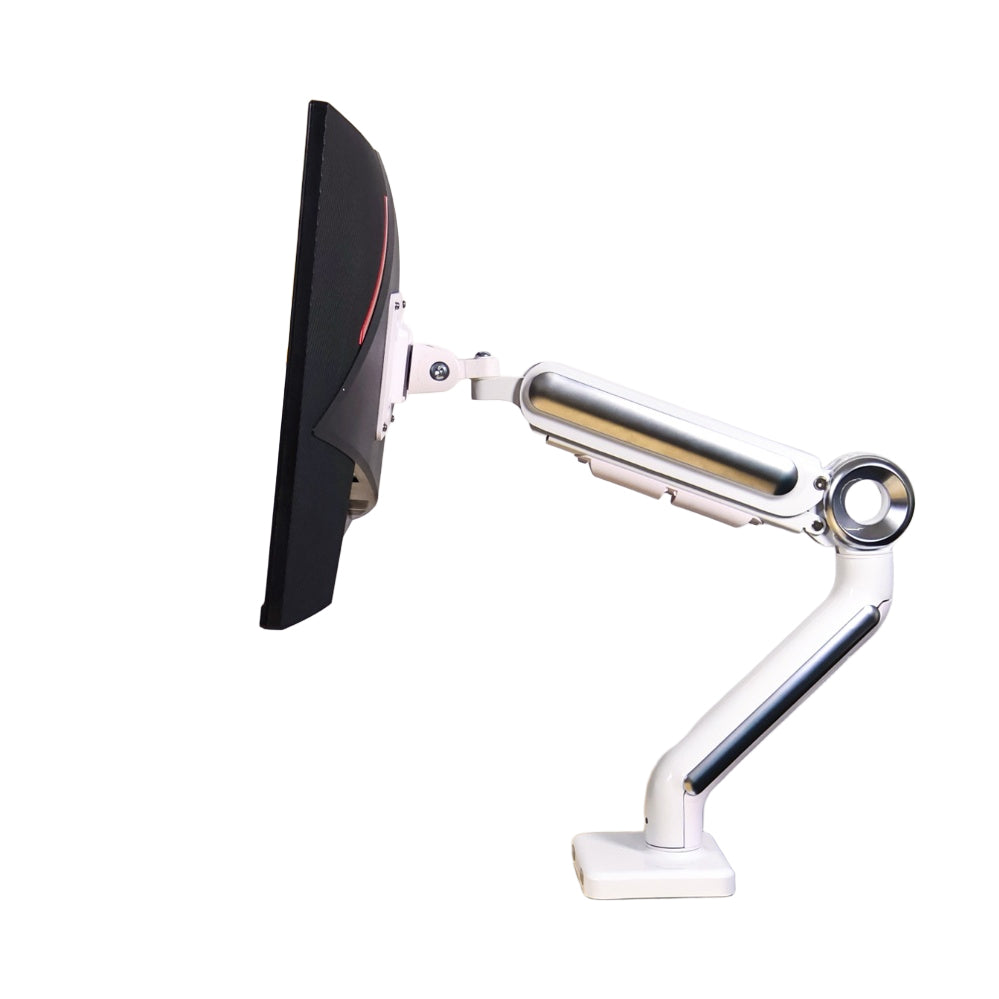
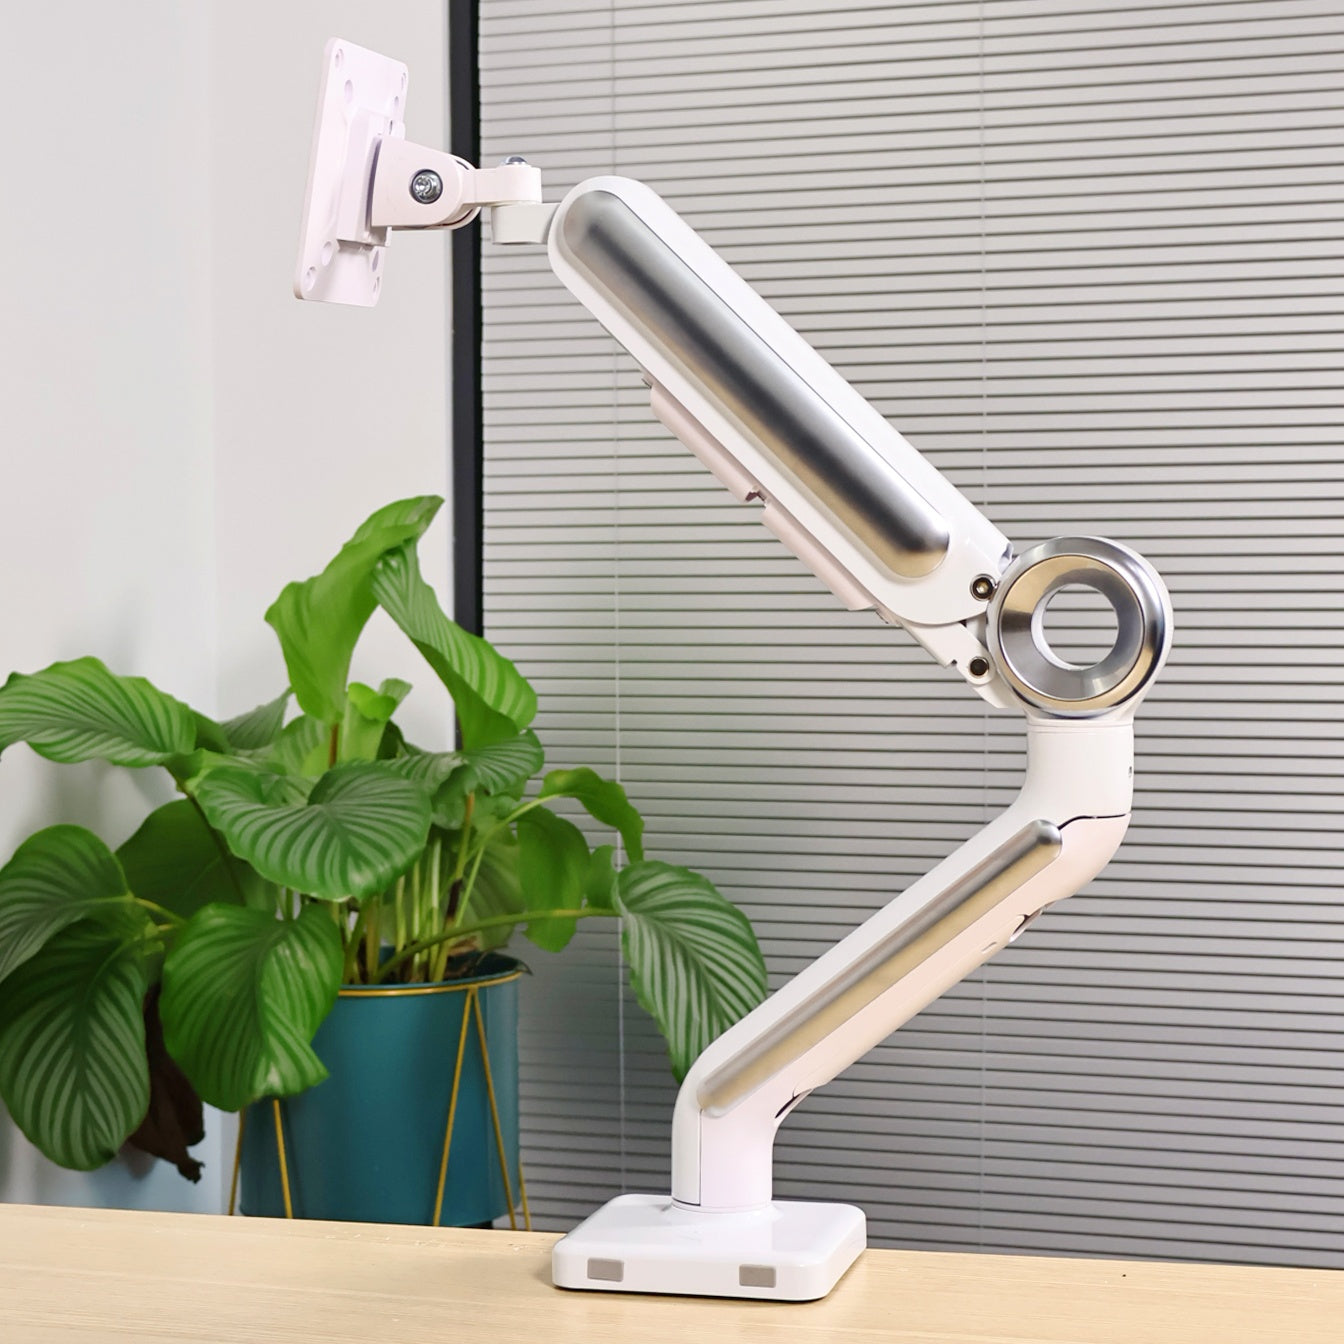
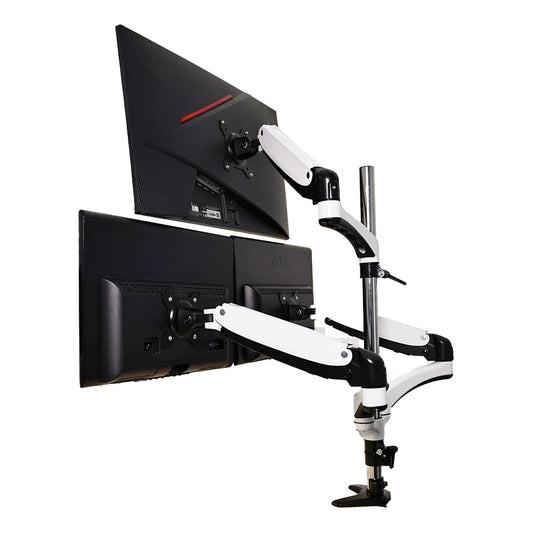
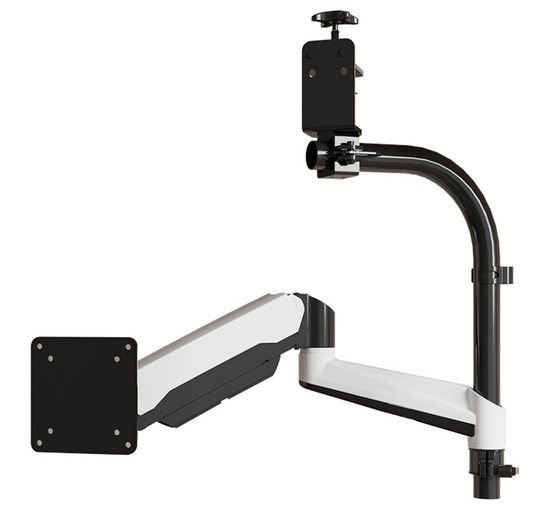
3. 🖥️ A monitor arm with built-in cable routing
This is the one that gets the most reactions. My monitor floats above the desk at exactly the height and angle I want — and there is not a single visible cable attached to it.
The arm has an internal cable channel running through it. Every wire — DisplayPort, USB-C, power — travels inside the arm and exits at the desk end, where it drops straight into the cable tray below. Looking at the desk from the front, you just see the screen.
It also frees up the footprint where the monitor stand used to sit, which turns out to be a meaningful amount of desk space. Room for a notebook, a glass of water, or just nothing at all.

4. 🪵 An aluminum desk riser
The riser is underrated as a cable tool. The shelf it creates is useful for books or a small plant, and it lifts a laptop or secondary screen to a more comfortable height — but what I find most useful is the natural shadow zone underneath it.
Hubs, dongles, extra cable length — anything sitting under the riser is hidden from normal eye level without needing a dedicated cable management solution. The brushed aluminum looks good, too.

A few habits that help
- Mount the power strip underneath the desk, not behind it. Behind-desk placement still leaves loops of cable visible from the side. Underneath, nothing shows from any angle.
- Coil excess cable, don't cut it. Fold the slack into a small bundle and velcro-tie it into the tray. You can always undo that — cutting is permanent.
- Go wireless where you can. Keyboard, mouse, charging pad. Every cable you don't have is one less cable to manage.

Why I care about this
I started Swelix because I think the environment you work in shapes how you work — more than people usually give it credit for. A cluttered space doesn't just look bad; it quietly pulls at your attention all day.
This setup isn't about having a perfect desk for photos. It's about making the space feel good to actually sit in. When the tools disappear, the work — or the thinking, or the conversation — becomes the only thing in the room.
Everything I've mentioned here is something I use personally. If you've been meaning to sort out your desk and aren't sure where to start, begin with the power strip. Get it off the surface and onto the underside of your desk. The rest follows from there.
When someone visits and asks where the cables went, that question alone is enough to know the setup is working.
Everything in this post is available at Swelix. Feel free to browse, and reach out if you have any questions.
Shop the setup → More desk inspiration